
Article Overview
1. Decide on a Screen Size2. Understand Throw Ratio3. Calculate the Correct Projection Distance4. Screen Size Isn't Always the Same Width5. Know Your Projector's Throw Type6. Get the Mounting Height Right7. How to Place an Ultra Short Throw Projector8. Common Projector Placement Mistakes9. Projector Placement by Room Type10. What to Check Before Buying a ProjectorFrequently Asked QuestionsConclusionFAQPrime Day Special
Ends at July 18

Aurora Pro MKII
Next-Level 4K Tri-Color Laser Projector
$2699 $3499
Projector Placement Guide: Distance, Height & Throw Ratio Explained
NexiGo | Sept 3, 2026
A projector can only deliver its best picture when it is positioned correctly. Place it too close to the screen, and the image may not reach your desired size. Place it too far away, and the image may exceed the screen. Mount it at the wrong height, and you may need excessive keystone correction to make the image look rectangular.
So, how far should a projector be from the screen?
It depends primarily on three factors: your screen size, the projector's throw ratio, and the projector's optical design.
The basic formula is:
Projection Distance = Image Width × Throw Ratio
For example, a 100-inch 16:9 screen is approximately 87 inches (221 cm) wide. With a projector that has a 1.2:1 throw ratio, the required projection distance is about 104 inches, or 8.7 feet (2.65 m).
In addition to projection distance, you also need to consider mounting height, lens offset, lens shift, screen aspect ratio, and the type of projector you're using.
Whether you're setting up a home theater, upgrading your living room, building a gaming space, or using a portable projector outdoors, this guide will help you determine where your projector should go—and how to avoid common installation mistakes.
1. Decide on a Screen Size
Before measuring projection distance or mounting your projector, decide how large you want the image to be. Your target screen size affects nearly every other part of the installation, including how far the projector needs to sit from the screen and whether your room has enough space for the setup.
There is no single "correct" screen size. The ideal size depends on your room dimensions, seating distance, viewing habits, and personal preference.
As a general rule, choose a smaller screen for compact rooms and a larger screen for bigger spaces. When selecting a screen size, it’s important that you have both enough wall space for the projection and enough room depth to keep your projector at the required distance from the wall.
For many home environments, these screen sizes are a useful starting point:
| Room Type | Recommended Screen Size |
|---|---|
| Bedroom | 80–100 inches |
| Living Room | 100–120 inches |
| Dedicated Home Theater | 120–150+ inches |
| Outdoor Movie Night | 100–150 inches |
Tip: Choose your target screen size first, then select a projector that can produce that image within your available space.
2. Understand Throw Ratio
Once you know your target screen size, the next question is:
How far does the projector need to be from the screen?
That's where throw ratio comes in.
What Is Throw Ratio?
Throw ratio describes the relationship between the projection distance and the width of the projected image.
The formula is:
Throw Ratio = Projection Distance ÷ Image Width
This means throw ratio is a relationship, not a fixed distance.
For example, a 1.2:1 throw ratio means the projector requires approximately 1.2 inches of distance for every 1 inch of image width.
Throw Ratio vs. Throw Distance
Throw ratio tells you the relationship between distance and image width. Throw distance is the actual physical distance between the projector and the screen.
A projector with a lower throw ratio can create a large image from a shorter distance, while a projector with a higher throw ratio requires more space.
3. Calculate the Correct Projection Distance
Once you know the projector's throw ratio, calculating the required projection distance is straightforward.
Projection Distance = Image Width × Throw Ratio
One important detail: Throw ratio is calculated using image width, not the screen's diagonal measurement.
Example: 100-Inch Screen
A 100-inch 16:9 screen is approximately:
- 87 inches (221 cm) wide
- 49 inches (124 cm) tall
Suppose your projector has a 1.2:1 throw ratio.
The calculation is:
87 × 1.2 = 104 inches
So the projector should be placed approximately:
104 inches / 8.7 feet / 2.65 m
from the screen.
The same formula works for other screen sizes. As the image becomes wider, the required projection distance increases proportionally for a fixed throw ratio.
Projector Distance Chart
The following chart provides approximate projection distances for common 16:9 screen sizes.
| Screen Size | 0.8:1 | 1.0:1 | 1.2:1 | 1.5:1 |
|---|---|---|---|---|
| 80" | 4.6 ft (1.40 m) | 5.8 ft (1.77 m) | 7.0 ft (2.12 m) | 8.7 ft (2.65 m) |
| 100" | 5.8 ft (1.77 m) | 7.3 ft (2.21 m) | 8.7 ft (2.65 m) | 10.9 ft (3.32 m) |
| 120" | 7.0 ft (2.13 m) | 8.7 ft (2.66 m) | 10.5 ft (3.19 m) | 13.1 ft (3.99 m) |
| 150" | 8.7 ft (2.66 m) | 10.9 ft (3.32 m) | 13.1 ft (3.99 m) | 16.3 ft (4.98 m) |
These values are approximate. Always check the manufacturer's specifications for your specific projector, as the actual throw ratio and installation distance may vary.
If a projector has an optical zoom lens, the manufacturer may specify a throw-ratio range, such as 1.2–1.5:1. This provides some flexibility in where the projector can be installed.
Tip: Before buying a projector, compare its required projection distance with your available room depth. A projector may support a 120-inch image, for example, but that does not mean your room has enough space to produce that image.
4. Screen Size Isn't Always the Same Width
Because throw distance is calculated using image width, screen aspect ratio matters.
A screen's diagonal measurement alone doesn't tell you its exact width.
For example, a 100-inch screen has different dimensions depending on its aspect ratio:
| Screen Size | Aspect Ratio | Approx. Image Width |
|---|---|---|
| 100" | 16:9 | 87.2" (221 cm) |
| 100" | 16:10 | 84.8" (215 cm) |
| 100" | 4:3 | 80.0" (203 cm) |
This is why projector manufacturers typically calculate throw ratio using image width rather than diagonal screen size.
For most modern home theater and TV-style projector setups, 16:9 is the most common reference. However, if you're using a different screen format, make sure you use the correct image width when calculating projection distance.
5. Know Your Projector's Throw Type
Different projectors are designed for different installation distances. Common categories include:
| Projector Type | Typical Throw Ratio | Common Applications |
|---|---|---|
| Ultra Short Throw (UST) | Less than 0.4:1* | Living rooms, Laser TV setups |
| Short Throw | 0.4:1–1.0:1* | Small rooms, gaming, classrooms |
| Standard Throw | 1.0:1–2.0:1* | Home theaters, general-purpose setups |
| Long Throw | Greater than 2.0:1* | Large rooms, venues, auditoriums |
*These ranges are general references. Manufacturers may use different classifications, and individual models can fall outside these ranges.
The basic principle is simple:
- Lower throw ratio: larger image from a shorter distance.
- Higher throw ratio: requires more distance to produce the same image size.
Throw ratio itself does not determine picture quality. A lower throw ratio doesn't automatically make a projector better; it primarily determines where the projector can be installed.
6. Get the Mounting Height Right
Projection distance is only half of the installation equation. The projector also needs to be positioned at the correct height so the image naturally aligns with the screen. Three features are particularly important:
- Lens Offset
- Lens Shift
- Keystone Correction
Understanding how these features work can help you achieve better alignment without unnecessary digital correction.
Lens Offset: Where the Image Naturally Appears
Lens offset describes the position of the projected image relative to the projector's lens.
Depending on the projector's optical design and installation orientation, the image may naturally appear above or below the lens.
For example:
- A table-mounted projector may project the image above the lens.
- A ceiling-mounted projector may project the image below the inverted lens.
Lens offset is built into the projector's optical design, so it cannot simply be adjusted like lens shift.
Because offset varies between projector models, always check the manufacturer's installation specifications before permanently mounting a projector.
Lens Shift: Fine-Tune the Image Optically
Some projectors include lens shift, which allows you to move the projected image up, down, left, or right without physically moving the projector.
Because lens shift adjusts the optical path rather than digitally reshaping the image, it is generally preferable to digital correction when available.
Lens shift can be especially useful when:
- The ceiling mount cannot be positioned perfectly.
- The projector cannot be centered with the screen.
- You need minor vertical or horizontal alignment after installation.
If your projector supports lens shift, use it for fine adjustments before turning to keystone correction.
Keystone Correction: Use It When Necessary
Keystone correction digitally transforms the projected image to compensate for an installation angle that causes the image to appear trapezoidal.
It's convenient for quick setup, but heavy correction can reduce effective image quality, particularly around fine text and detailed content.
For the best results, follow this order:
- Position the projector at the correct distance.
- Mount it at the correct height.
- Center the projector with the screen whenever possible.
- Use lens shift for minor adjustments when available.
- Apply keystone correction only when necessary.
The goal is to get the projector physically aligned before relying on digital image processing.
Lens Shift vs. Keystone Correction
| Feature | Lens Shift | Keystone Correction |
|---|---|---|
| Adjustment Method | Optical | Digital |
| Primary Purpose | Fine alignment | Correcting image geometry |
| Image Quality | Preserves the original image path | May reduce effective image quality |
| Best For | Minor installation adjustments | Correcting unavoidable alignment issues |
Think of lens shift as the preferred optical adjustment and keystone correction as a digital backup.
7. How to Place an Ultra Short Throw Projector
UST projectors require a different installation approach from standard-throw projectors.
Instead of being placed several feet away, a UST projector is designed to sit very close to the projection surface while creating a large image.
This makes UST particularly useful in living rooms where space is limited.
UST Placement Basics
When installing a UST projector:
- Follow the manufacturer's specified distance from the screen or wall.
- Place the projector on a stable, level surface.
- Keep the projector centered with the screen whenever possible.
- Match the projector's height to the manufacturer's installation requirements.
- Avoid moving the projector forward or backward casually after alignment.
- Use a compatible screen when possible, particularly for brighter rooms.
UST projection is especially sensitive to placement because a small change in the projector's position or angle can noticeably affect the projected image geometry.
For this reason, physical alignment is particularly important with UST projectors.
UST Projector + ALR Screen
If you're using a UST projector as a TV replacement in a living room, pairing it with an Ambient Light Rejecting (ALR) screen can help manage ambient light and improve the viewing experience.
Because the projector sits close to the screen, UST setups can also keep the room cleaner and reduce the long cable runs associated with conventional projector placement.
8. Common Projector Placement Mistakes
Even after calculating the correct projection distance, several installation mistakes can affect image quality and usability.
Ignoring Throw Ratio
One of the most common mistakes is choosing a projector without checking its throw ratio.
For example, if your room is only 10 feet (3 m) deep but a projector requires approximately 13 feet (4 m) to produce a 120-inch image, that setup simply won't fit.
Always compare the projector's required projection distance with your available room depth before buying.
Relying Too Much on Keystone Correction
For example, if your room is only 10 feet (3 m) deep but a projector requires approximately 13 feet (4 m) to produce a 120-inch image, that setup simply won't fit.
Whenever possible:
- Physically reposition the projector.
- Use lens shift if available.
- Use keystone correction only when necessary.
Mounting the Projector Too High or Too Low
A projector should be installed according to its specified lens offset and mounting requirements.
Mounting it significantly above or below the recommended position can create alignment problems and increase the need for digital correction.
Before drilling mounting holes, always check the manufacturer's installation guide.
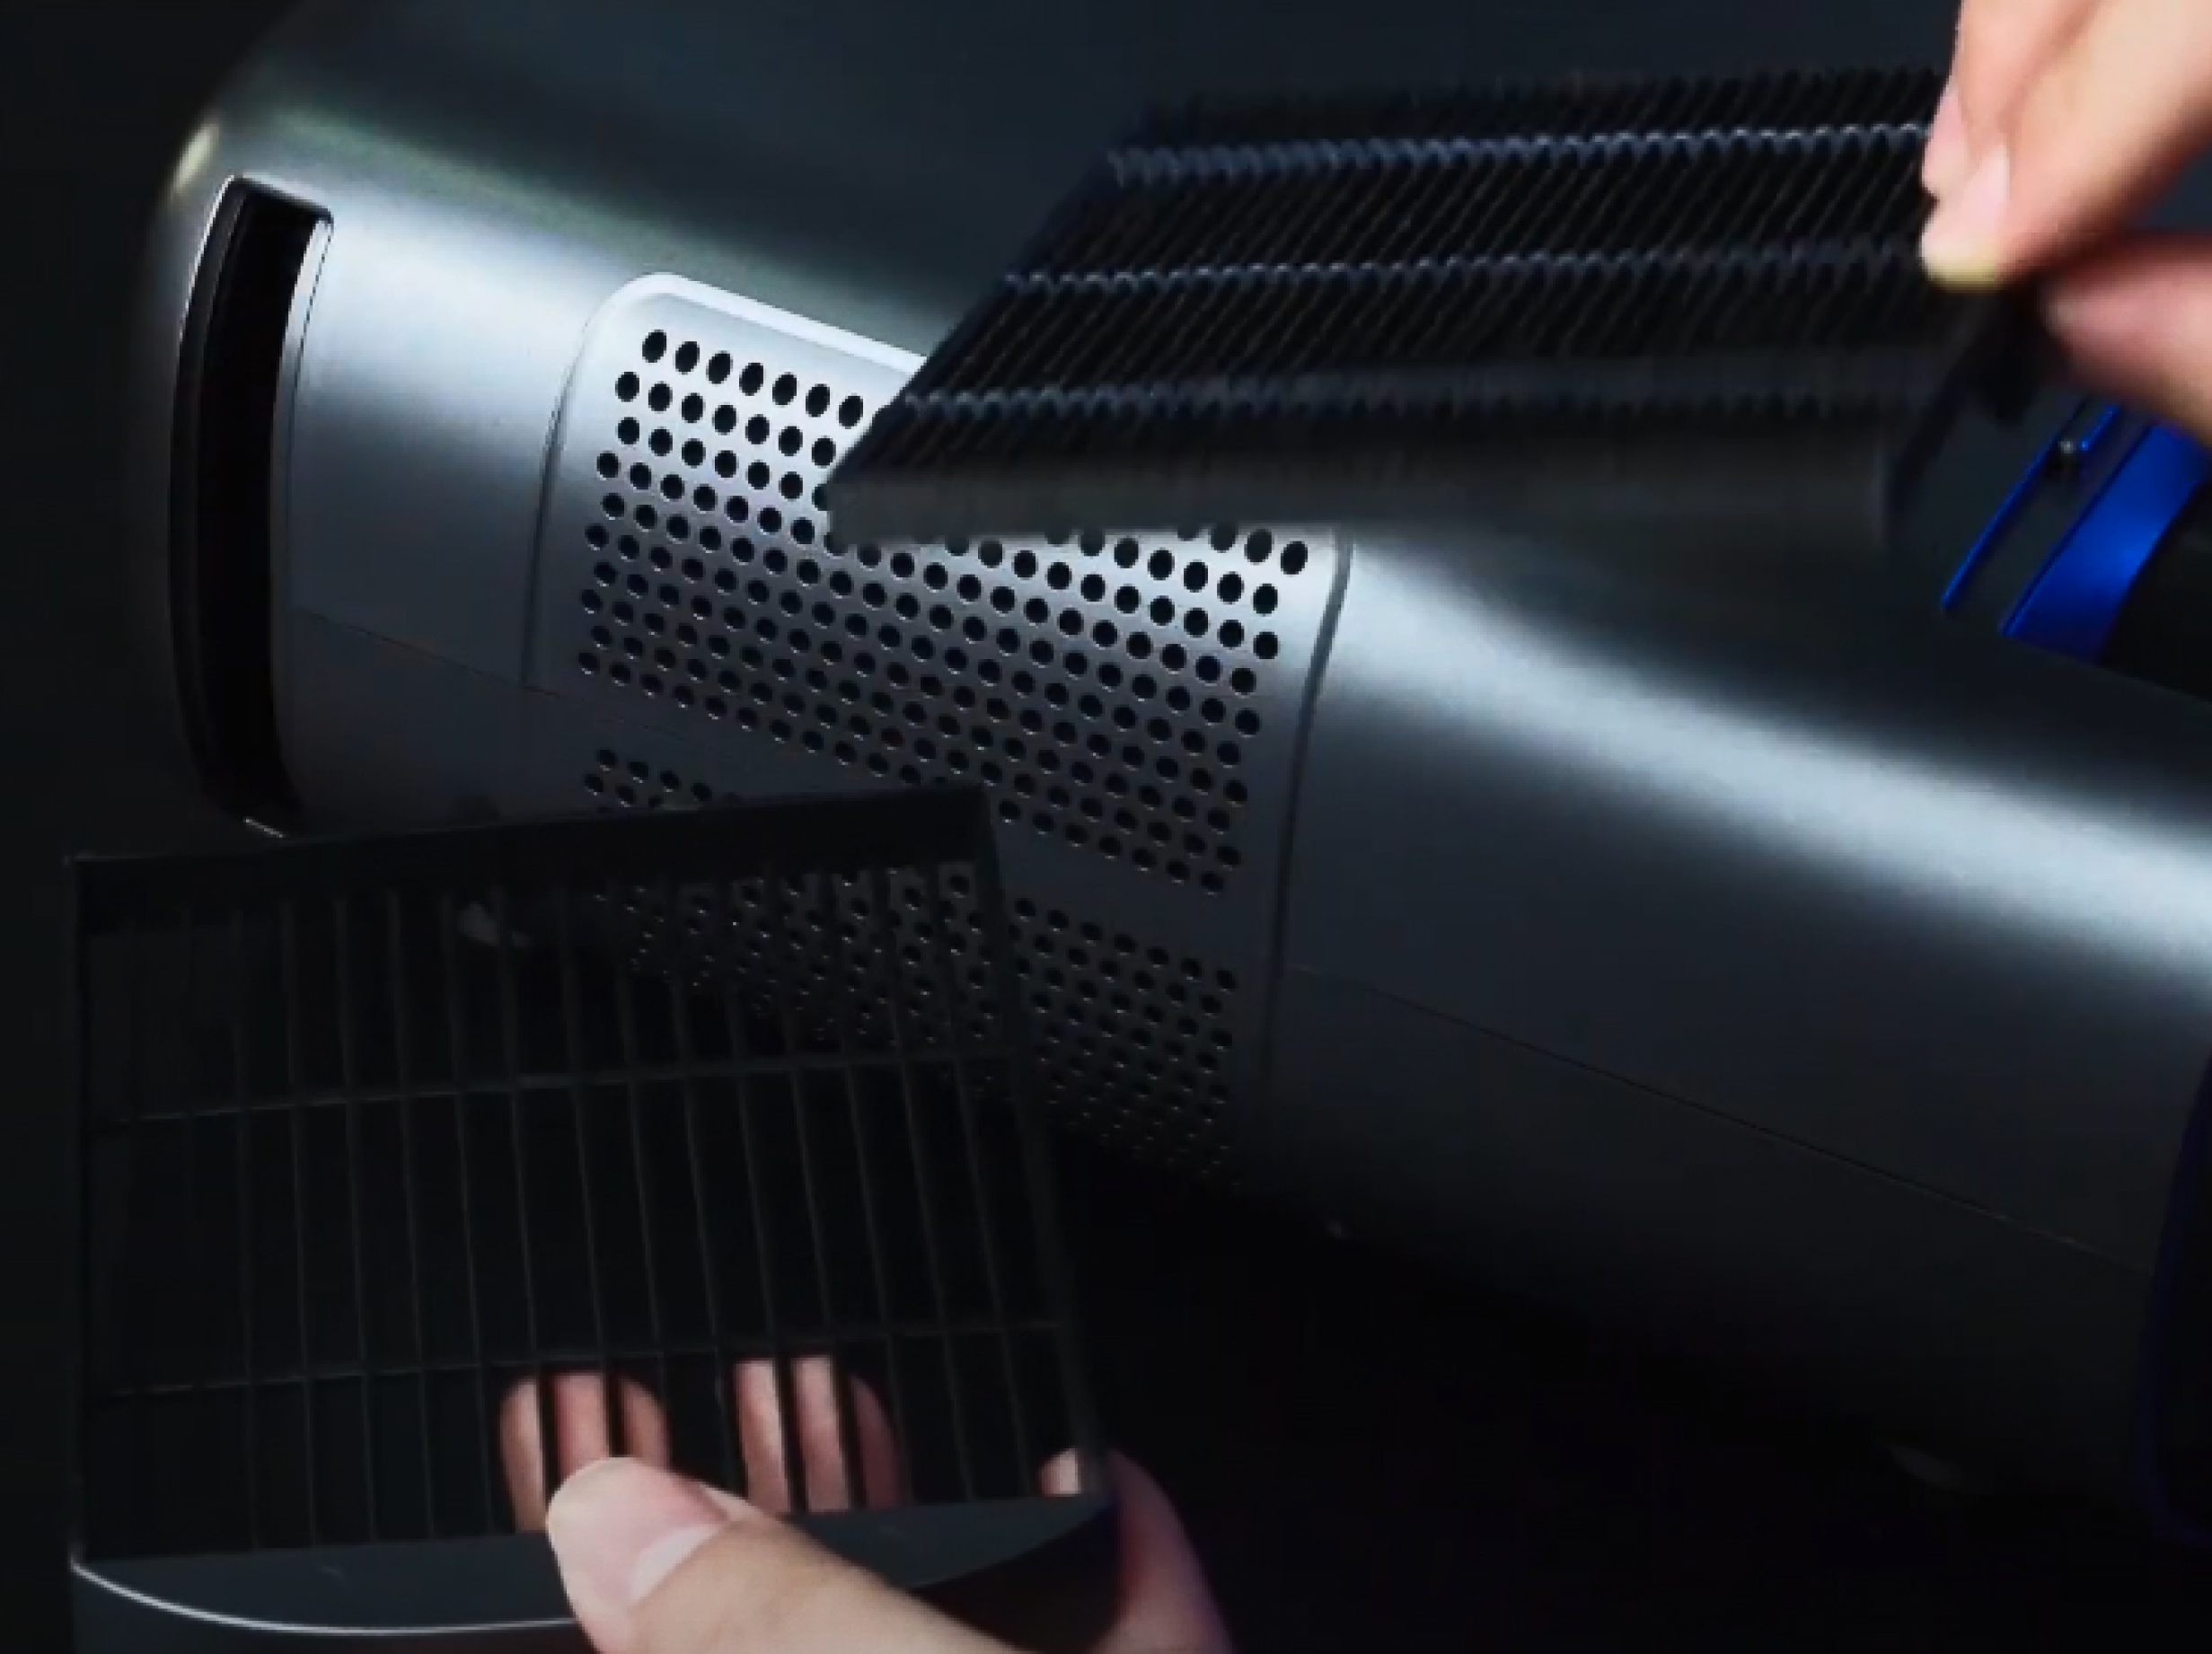
Forgetting Ventilation Space
Projectors generate heat during operation, so adequate airflow is important for reliable performance.
Avoid placing a projector inside a tightly enclosed cabinet or directly against a wall unless the manufacturer specifically allows it.
Make sure the air intake and exhaust vents have sufficient clearance.
Blocking the Projection Path
A clear projection path is essential.
Furniture, ceiling fans, light fixtures, or people moving through the room can interrupt the projected image.
Before finalizing the projector position, make sure nothing will obstruct the light path between the projector and the screen.
Overlooking Cable Management
Cable routing should be considered before installing the projector.
For ceiling-mounted setups, plan the power and signal paths before drilling mounting holes.
If you're connecting a gaming console, streaming device, or AV receiver, make sure your HDMI cables support the bandwidth required by your setup, including features such as 4K, HDR, or 120 Hz, when applicable.
9. Projector Placement by Room Type
The ideal placement depends on your room size, projector type, screen size, and intended use.
Bedroom
Bedrooms often have limited depth, so projection distance can be the biggest constraint.
A short throw projector can be a practical choice when you want a large image without placing the projector across the room.
Recommended setup:
- Screen Size: 80–100 inches
- Projector Type: Short Throw or Standard Throw
- Placement: Table or shelf
- Best For: Movies, streaming, casual gaming

Recommended: Nova Mini
Smart Laser Projector with Google TV
- 1200 ANSI lumens
- >15000:1 Contrast with SAE
- Built-in Google TV
- Laser Projection & 3D Support
- 4K at 120 Hz Input and 4.2 ms~ 8 ms latency is ideal for gaming and high-definition content.
- Flexible Projection with Gimbal Stand (Sold Separately)
- Smart Screen Adaptation Makes Setup Effortless
Keep the projector as level and centered as practical to minimize the need for keystone correction.
Living Room
Living rooms typically prioritize flexibility, clean installation, and everyday usability.
For a TV-replacement setup, a UST projector paired with an appropriate screen can create a large image while keeping the projector close to the wall.
Recommended setup:
- Screen Size: 100–120 inches
- Projector Type: Ultra Short Throw (UST)
- Best For: Everyday TV, movies, sports

Recommended: Aurora Pro MKII
Smart Laser Projector with Google TV
- Dynamic Contrast Ratio over 30,000:1 for true blacks and radiant highlights
- Next-Gen ALPD® 5.0 Laser Engine with Dolby Vision & HDR10+
- 2400 ANSI lumens optimized for cinematic viewing
- 0.21:1 Ultra Short Throw Ratio, ideal for smaller rooms and large screens
- 4K at 120 Hz Input and 4.2 ms~ 8 ms latency is ideal for gaming and high-definition content.
- 107% BT.2020 color gamut with △E≈1 accuracy
- 60 W Dolby Atmos speakers for immersive audio
If you're using a standard-throw projector, ceiling mounting or rear-shelf placement can help keep the projector out of the main walking path.
Dedicated Home Theater
A dedicated theater room usually provides more flexibility in projector placement.
A standard-throw projector can be a good fit when there is sufficient room depth, while ceiling mounting keeps the projector out of the way.
Recommended setup:
- Screen Size: 120–150+ inches
- Projector Type: Standard Throw
- Placement: Ceiling mount
- Best For: Movies, HDR content, immersive home cinema
Use lens shift for final alignment when available, and minimize keystone correction.

Recommended: TriVision Ultra
Smart Laser Projector with Google TV
- Hybrid RGB Max Tri-LED-Laser technology for bright, speckle-free images
- 2600 ANSI lumens with 110% BT.2020 Wide Color Gamut
- Outstanding out-of-box color accuracy (△E<1)
- 4K with Dolby Vision and HDR10+ support
- Hybrid RGB Max Tri-LED-Laser technology for bright, speckle-free images
- Auto Screen Adaptation for fast, easy setup
- Hidden Fire TV Stick compartment (stick not included) for a clean installation
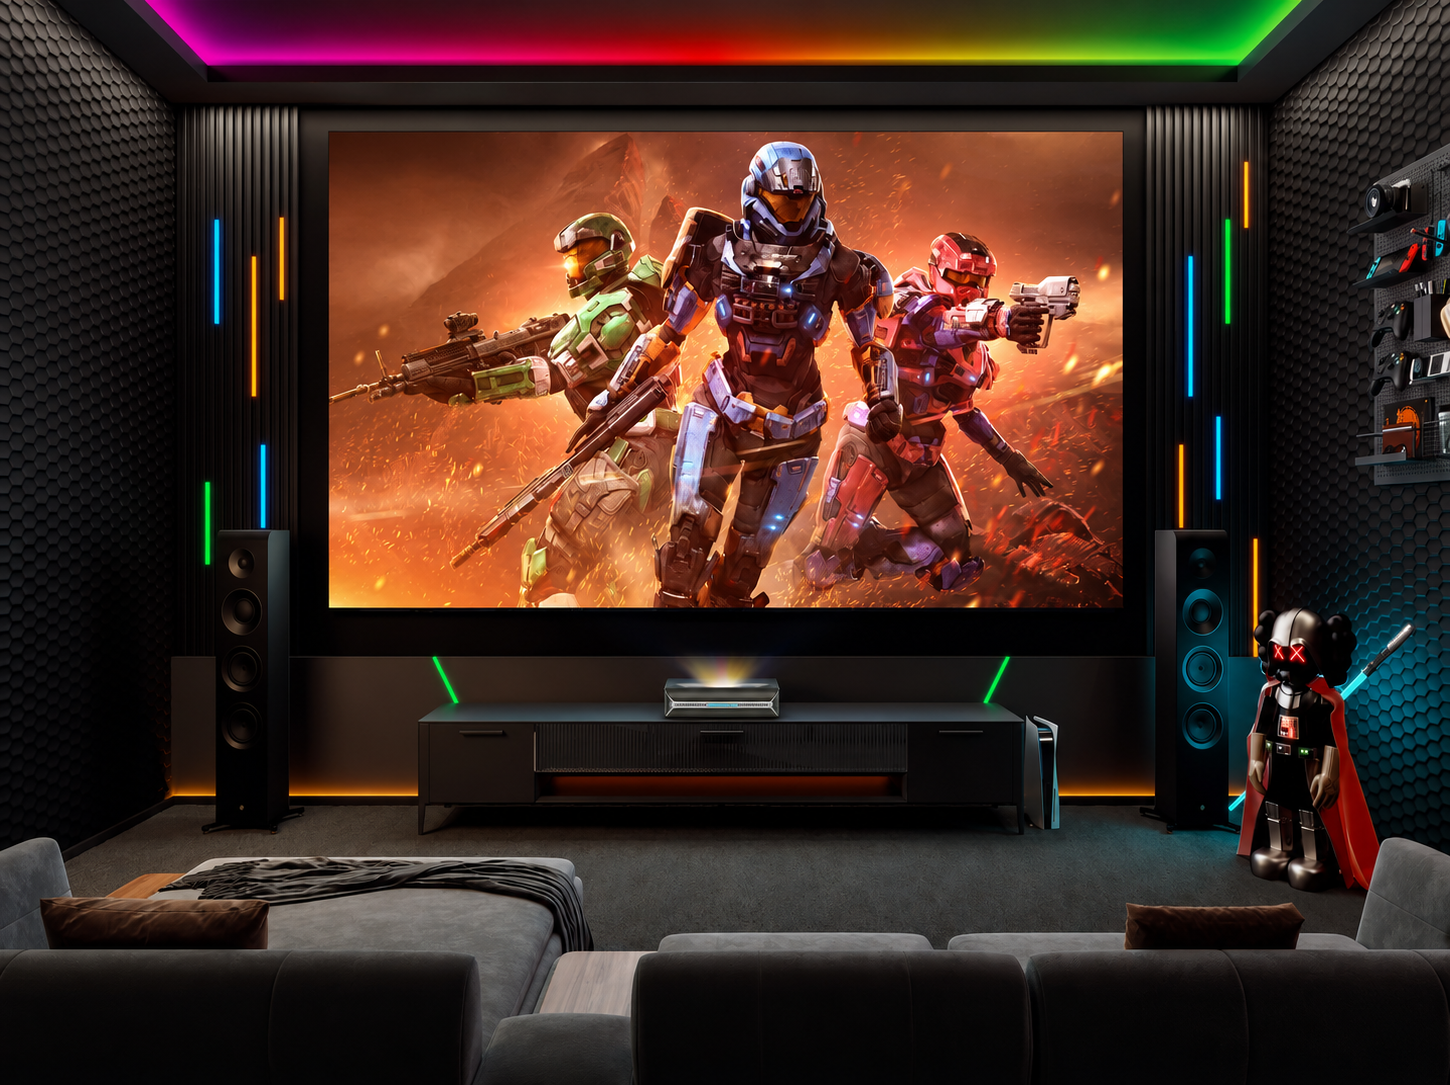
Gaming Room
For gaming, projector placement should balance screen size, viewing comfort, and performance.
A short throw projector can create a large image without requiring a long room, while keeping the projector out of the main play area.
If your projector supports features such as ALLM, VRR, or 4K at 120 Hz, make sure your connected devices and HDMI cables support the required capabilities as well.
Recommended setup:
- Screen Size: 100–120 inches
- Projector Type: Short Throw or Standard Throw
- Placement: Ceiling mount or rear shelf
- Best For: Console and PC gaming

Recommended: Aurora Pro
Smart Laser Projector with Google TV
- Stunning 4K with Dolby Vision for lifelike contrast and depth
- 6,000:1 Dynamic Contrast for deeper blacks and enhanced detail
- 107% BT.2020 Wide Color Gamut with △E≈1 color accuracy
- 60 W speakers with Dolby Atmos, plus HDMI eARC support for external audio
- 4K at 120 Hz Input and 4.2 ms~ 8 ms latency is ideal for gaming and high-definition content.
- Brightness tuned for comfort, not intensity
Outdoor Movie Night
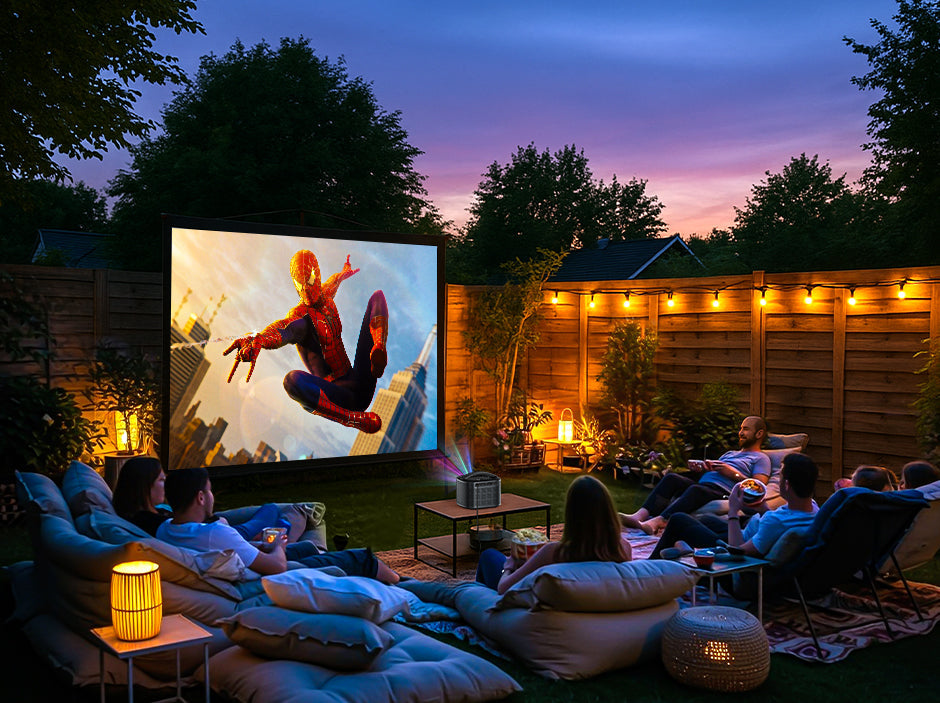
Outdoor setups are usually temporary, so stability and convenience matter more than permanent mounting.
Place the projector on a stable, level surface and keep it aligned with the screen whenever possible.
Ambient light has a significant effect on projected images outdoors, so for the best results, use the projector after sunset.
Recommended setup:
- Screen Size: 100–150 inches
- Projector Type: Portable or Standard Throw
- Placement: Folding table or tripod
- Best For: Backyard movies and events

PJ40 Pro
Native 1080p Projector with Google TV
- 800 ANSI Lumens
- Native 1080p with AI Picture Enhancement
- Built-in Google TV
- 3000:1 High Contrast Ratio
- 4K at 120 Hz Input and 4.2 ms~ 8 ms latency is ideal for gaming and high-definition content.
- 10ms Low latency for Smooth Gaming
- Supports an Impressive 300-inch Display
Quick Placement Guide
| Room Type | Recommended Screen | Recommended Projector | Typical Placement |
|---|---|---|---|
| Bedroom | 80–100" | Short Throw / Standard Throw | Table or shelf |
| Living Room | 100–120" | UST | TV cabinet |
| Home Theater | 120–150+" | Standard Throw | Ceiling mount |
| Gaming Room | 100–120" | Short Throw / Standard Throw | Ceiling or rear shelf |
| Outdoor | 100–150" | Portable / Standard Throw | Table or tripod |
10. What to Check Before Buying a Projector
Available Projection Distance
Measure the distance between the planned projector position and the screen or wall.
Desired Screen Size
Decide whether you want an 80-inch, 100-inch, 120-inch, or larger image.
Throw Ratio
Check whether the projector can produce your desired image size within your available space.
Mounting Position
Determine whether the projector will sit on a table, shelf, media console, ceiling mount, or other surface.
Alignment Features
Check whether the projector supports features such as lens shift, lens offset adjustment, or keystone correction.
Tip: Don't choose a projector based only on brightness, resolution, or price. Make sure its optical design and installation requirements actually fit your room.
Frequently Asked Questions
Conclusion
Proper projector placement is a complex balance of screen size, projection distance, and mounting height to suit your room. Before installing your projector, remember these four essentials:
- Choose a screen size that fits your space.
- Verify the projector's throw ratio.
- Calculate the correct projection distance.
- Align the projector physically before using keystone correction.
A few careful measurements during setup can make a significant difference in picture quality and save you from unnecessary adjustments later.
Whether you're building a dedicated home theater, upgrading your living room with a UST projector, or setting up an outdoor movie night, proper placement is the first step toward getting the best performance from your projector.
Like what we do? Stay tuned for more.
Whether you work at home or in the office, NexiGo provides a wide range of quality and affordable technology to elevate your daily life. Our products encompass everything from webcams and portable monitors to projectors and gaming accessories.
Articles we think you'll love