
Basic Projector Maintenance: How to clean your NexiGo projector
Amber Stefanson | February 16, 2026
Projectors are pretty low-maintenance, but they're not zero maintenance. There's a silent killer that you have to look out for. If unchecked, it can cause overheating, extra fan noise and even burn spots on your projection. The offending villain: dust.
When dust and pet hair build up in your projector vents, it can block airflow. If that happens, your projector can’t effectively push hot air out and pull cool air in. This can cause the projector to develop permanent visual defects that won't go away once your clean it.
To keep your projector in good condition, it's recommended to clean it once a month.
Luckily, cleaning a projector is super easy — they don’t get very dirty because most projectors have a closed system to prevent dust from getting deep inside the projector. The whole process takes less than 5 minutes.
In this article, I’ll give you the step-by-step instructions for cleaning your projector and your screen.
Overview
- Estimated Time: 5 minutes
- Step-by-step: Turn off the projector, clean the lens, and clean the air filter
- How often to clean your projector: Once a month
Video Tutorial
Feel free to watch the video tutorial or keep reading for a step-by-step overview of how to clean your projector.
How to Clean a Projector
Cleaning your projector is a quick process, and it should take you no longer than 5 minutes. To keep your projector in good condition, make sure to do these steps once a month.
There are 3 easy steps to clean your projector:
- Step 1: Turn it off
- Step 2: Clean the lens
- Step 3: Clean the vents/filter
Step 3 is a little different depending on your projector. I'll go over the process for the NexiGo PJ40, NexiGo TriVision Ultra, and NexiGo Aurora Pro.
Step 1: Turn off your projector
- Power off your projector using the remote or power button.
- Unplug it once the fans stop running.

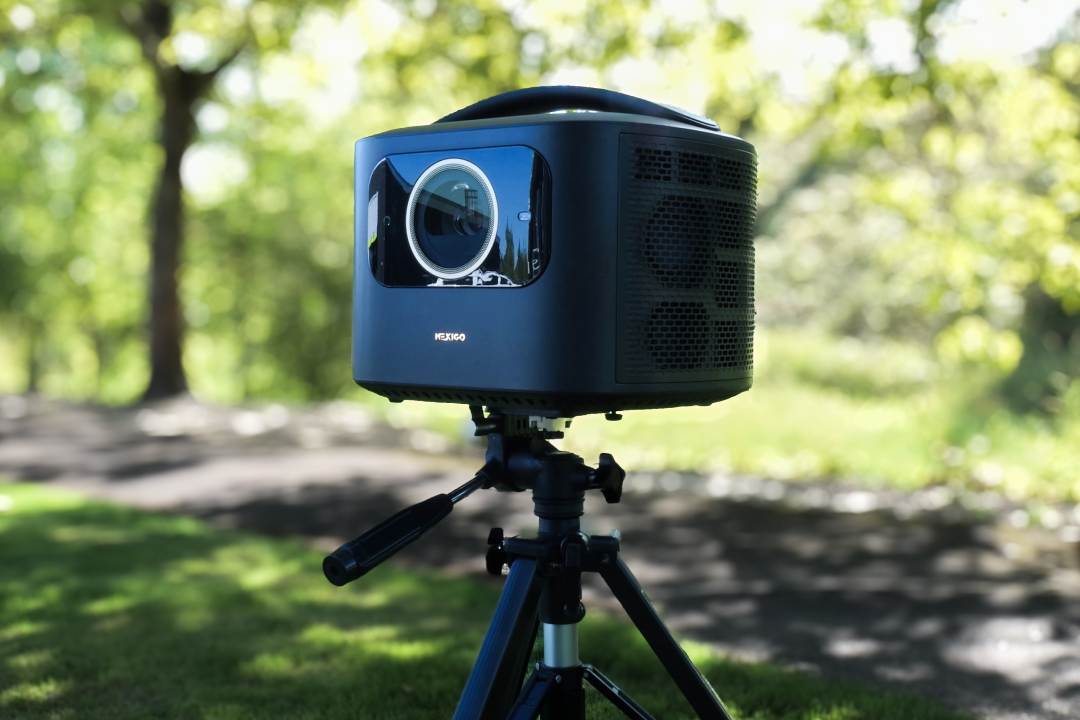
Press the power button to turn off your projector
(Pictured: NexiGo Aurora Pro)
Step 2: Clean the projector lens
- Use compressed air to remove dust from the lens.
- Clean the lens with a clean, dry microfiber cloth. Gently rub in a circular motion.
- For a deeper clean, you can wet the cloth with water. Just make sure that you squeeze out most of the water so that the cloth is slightly damp when you use it.

Wipe the lens with a microfiber cloth
(Pictured: NexiGo PJ40)
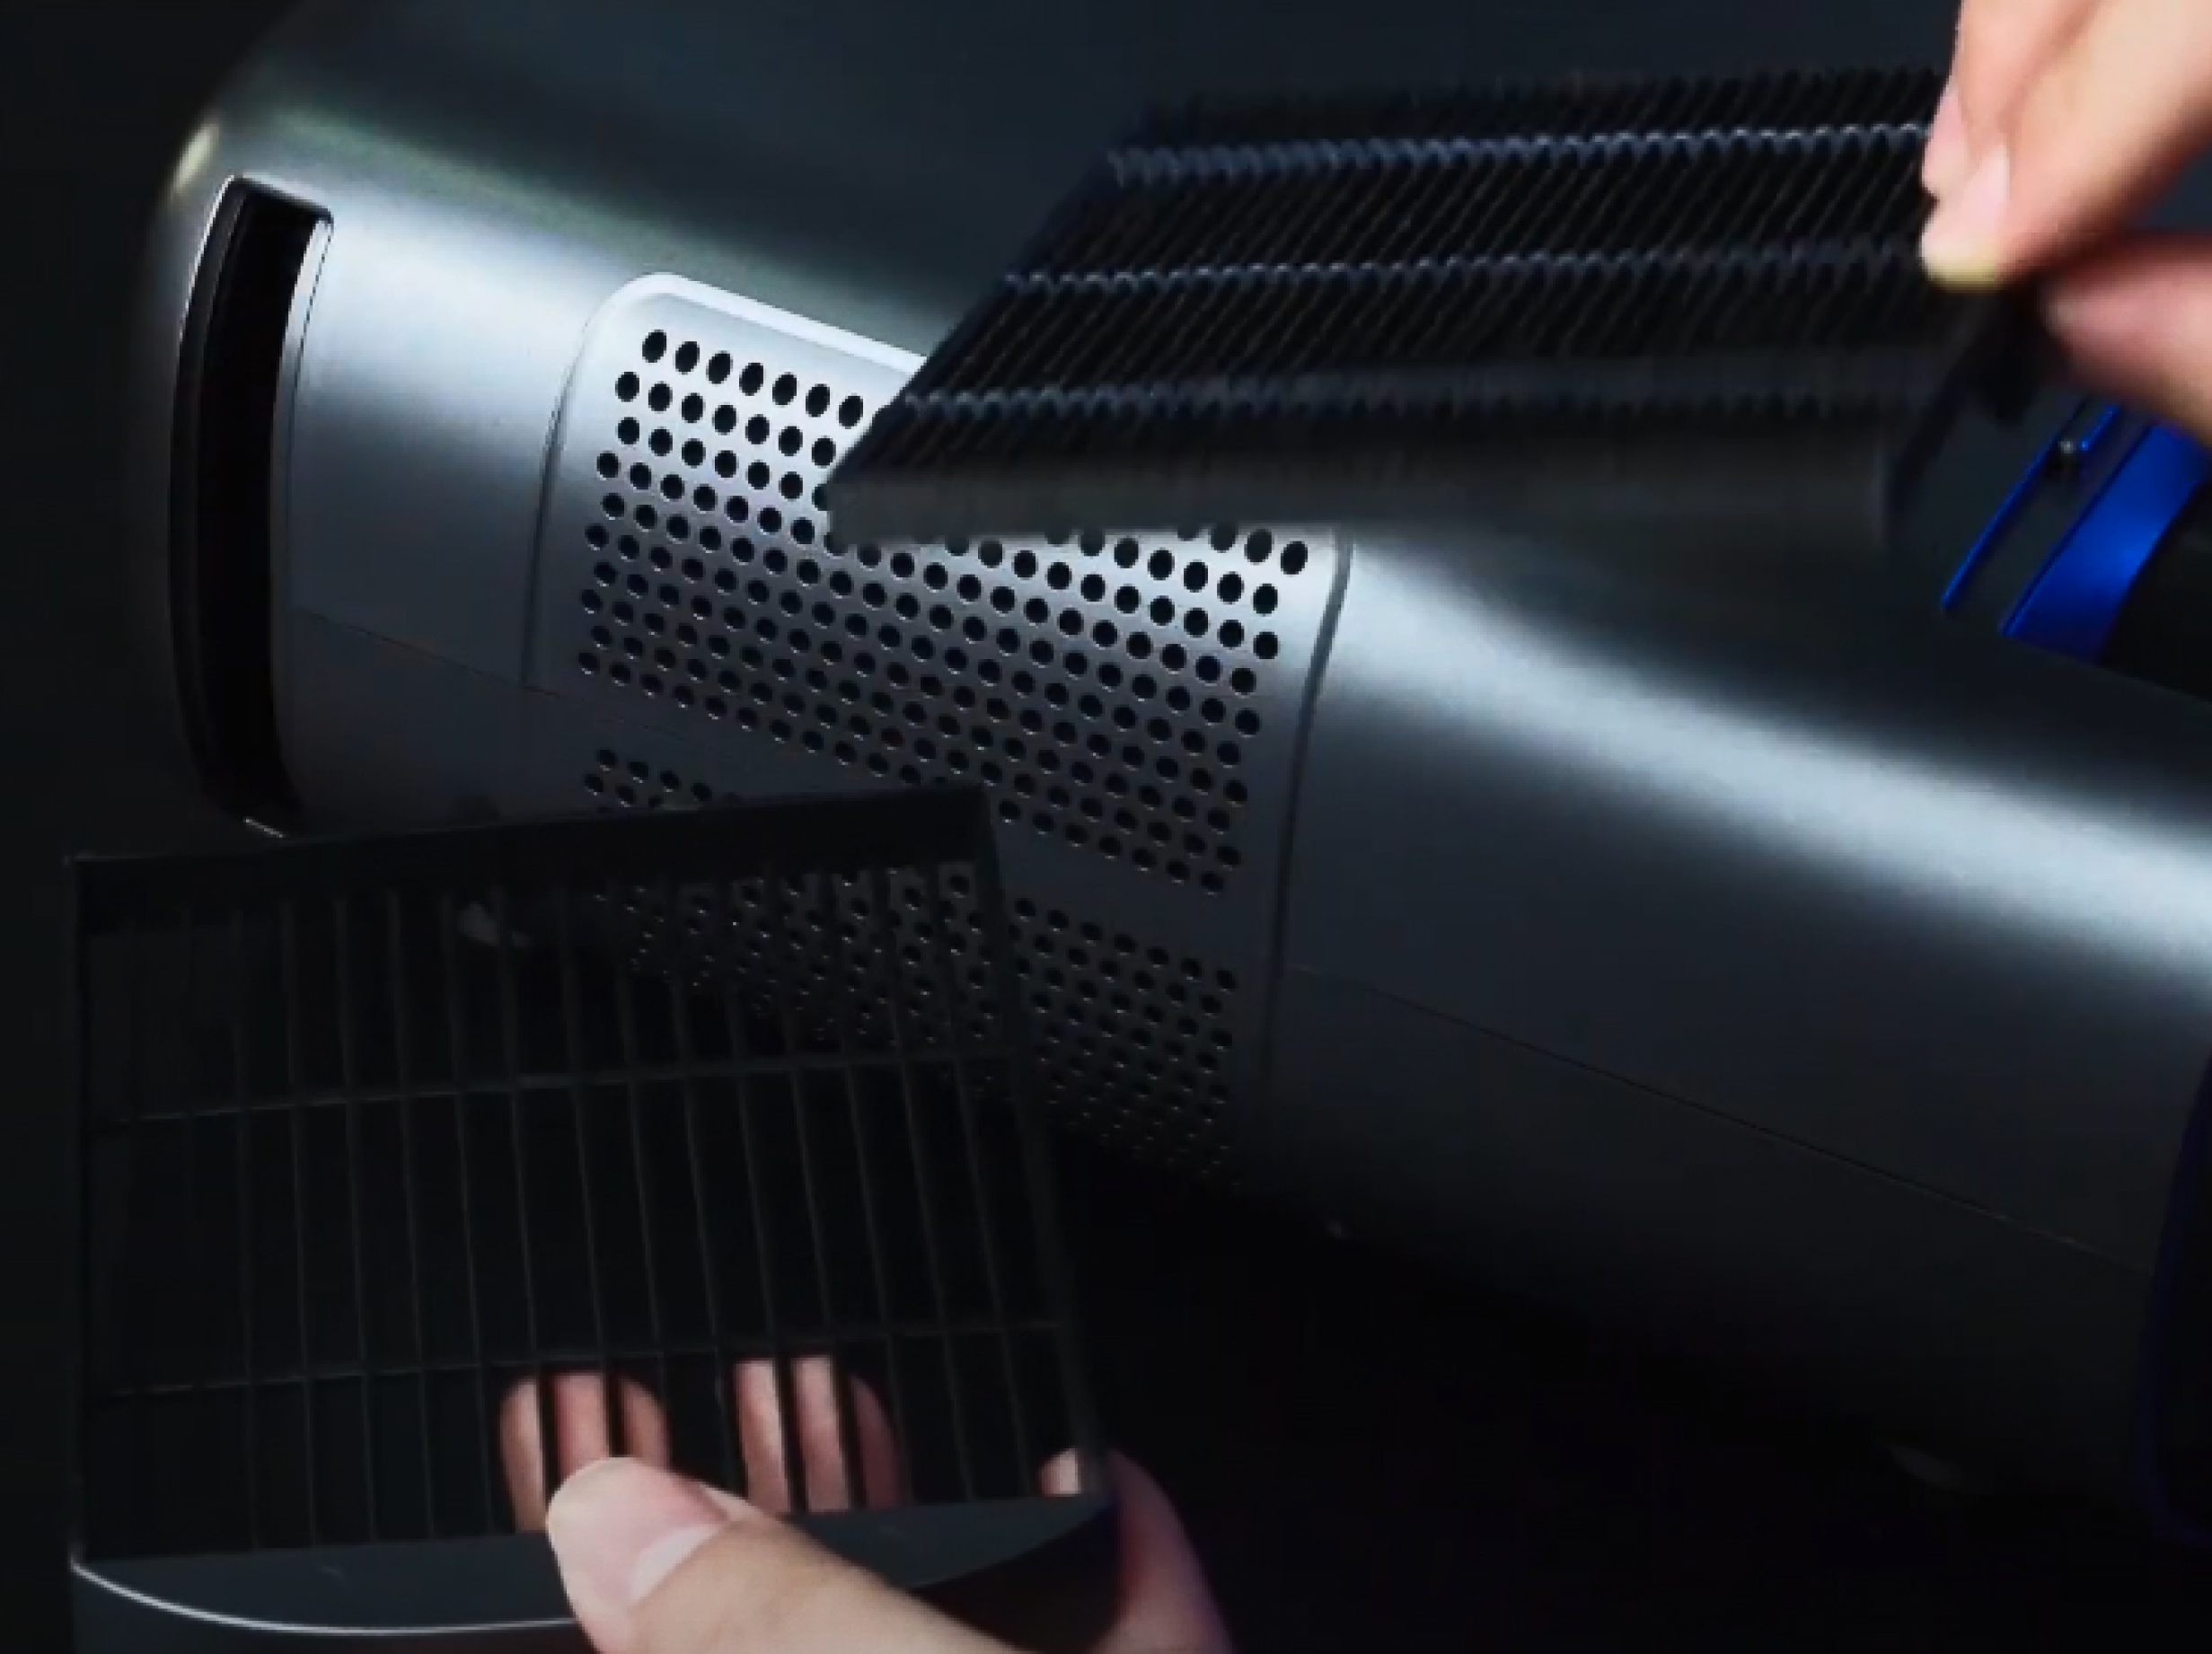
Step 3: Clean the projector air filter, or remove dust from the projector vents
1. Remove the air filter from your projector, if your projector has one. It will most likely be right next to the air vents. If your projector does not have a removeable air filter, skip to step 5.

Remove the dust filter from the side of the projector
(Pictured: NexiGo PJ40)
2. Separate the air filter from the cover, and wipe down both with a dry microfiber cloth.

Separate the dust filter from the tray
(Pictured: NexiGo PJ40)
3. For a deeper clean, you can rinse the filter under running water. Leave it to air dry without heat. In the meantime, you can use a spare filter, provided that your projector came with extras. The NexiGo PJ40 series projectors come with multiple replacement air filters.
If you choose to wash your air filter, make sure it is completely dry before putting it back into your projector.
4. Put your clean air filter back into the tray, then insert the filter tray back into the projector. You are now done cleaning your projector.
5. If your projector doesn’t have an air filter, check the settings menu for a dust removal cycle. This feature is designed to kick the fans into high speed so that they push out any excess dust caught in the vents.
On the NexiGo Aurora Pro MKII and NexiGo TriVision Ultra, you can find this setting by going to Settings > General > Dust Removal. Make sure to run this process once a month to keep your projector in working condition.

Run a Dust Removal cycle
(Pictured: NexiGo TriVision Ultra)
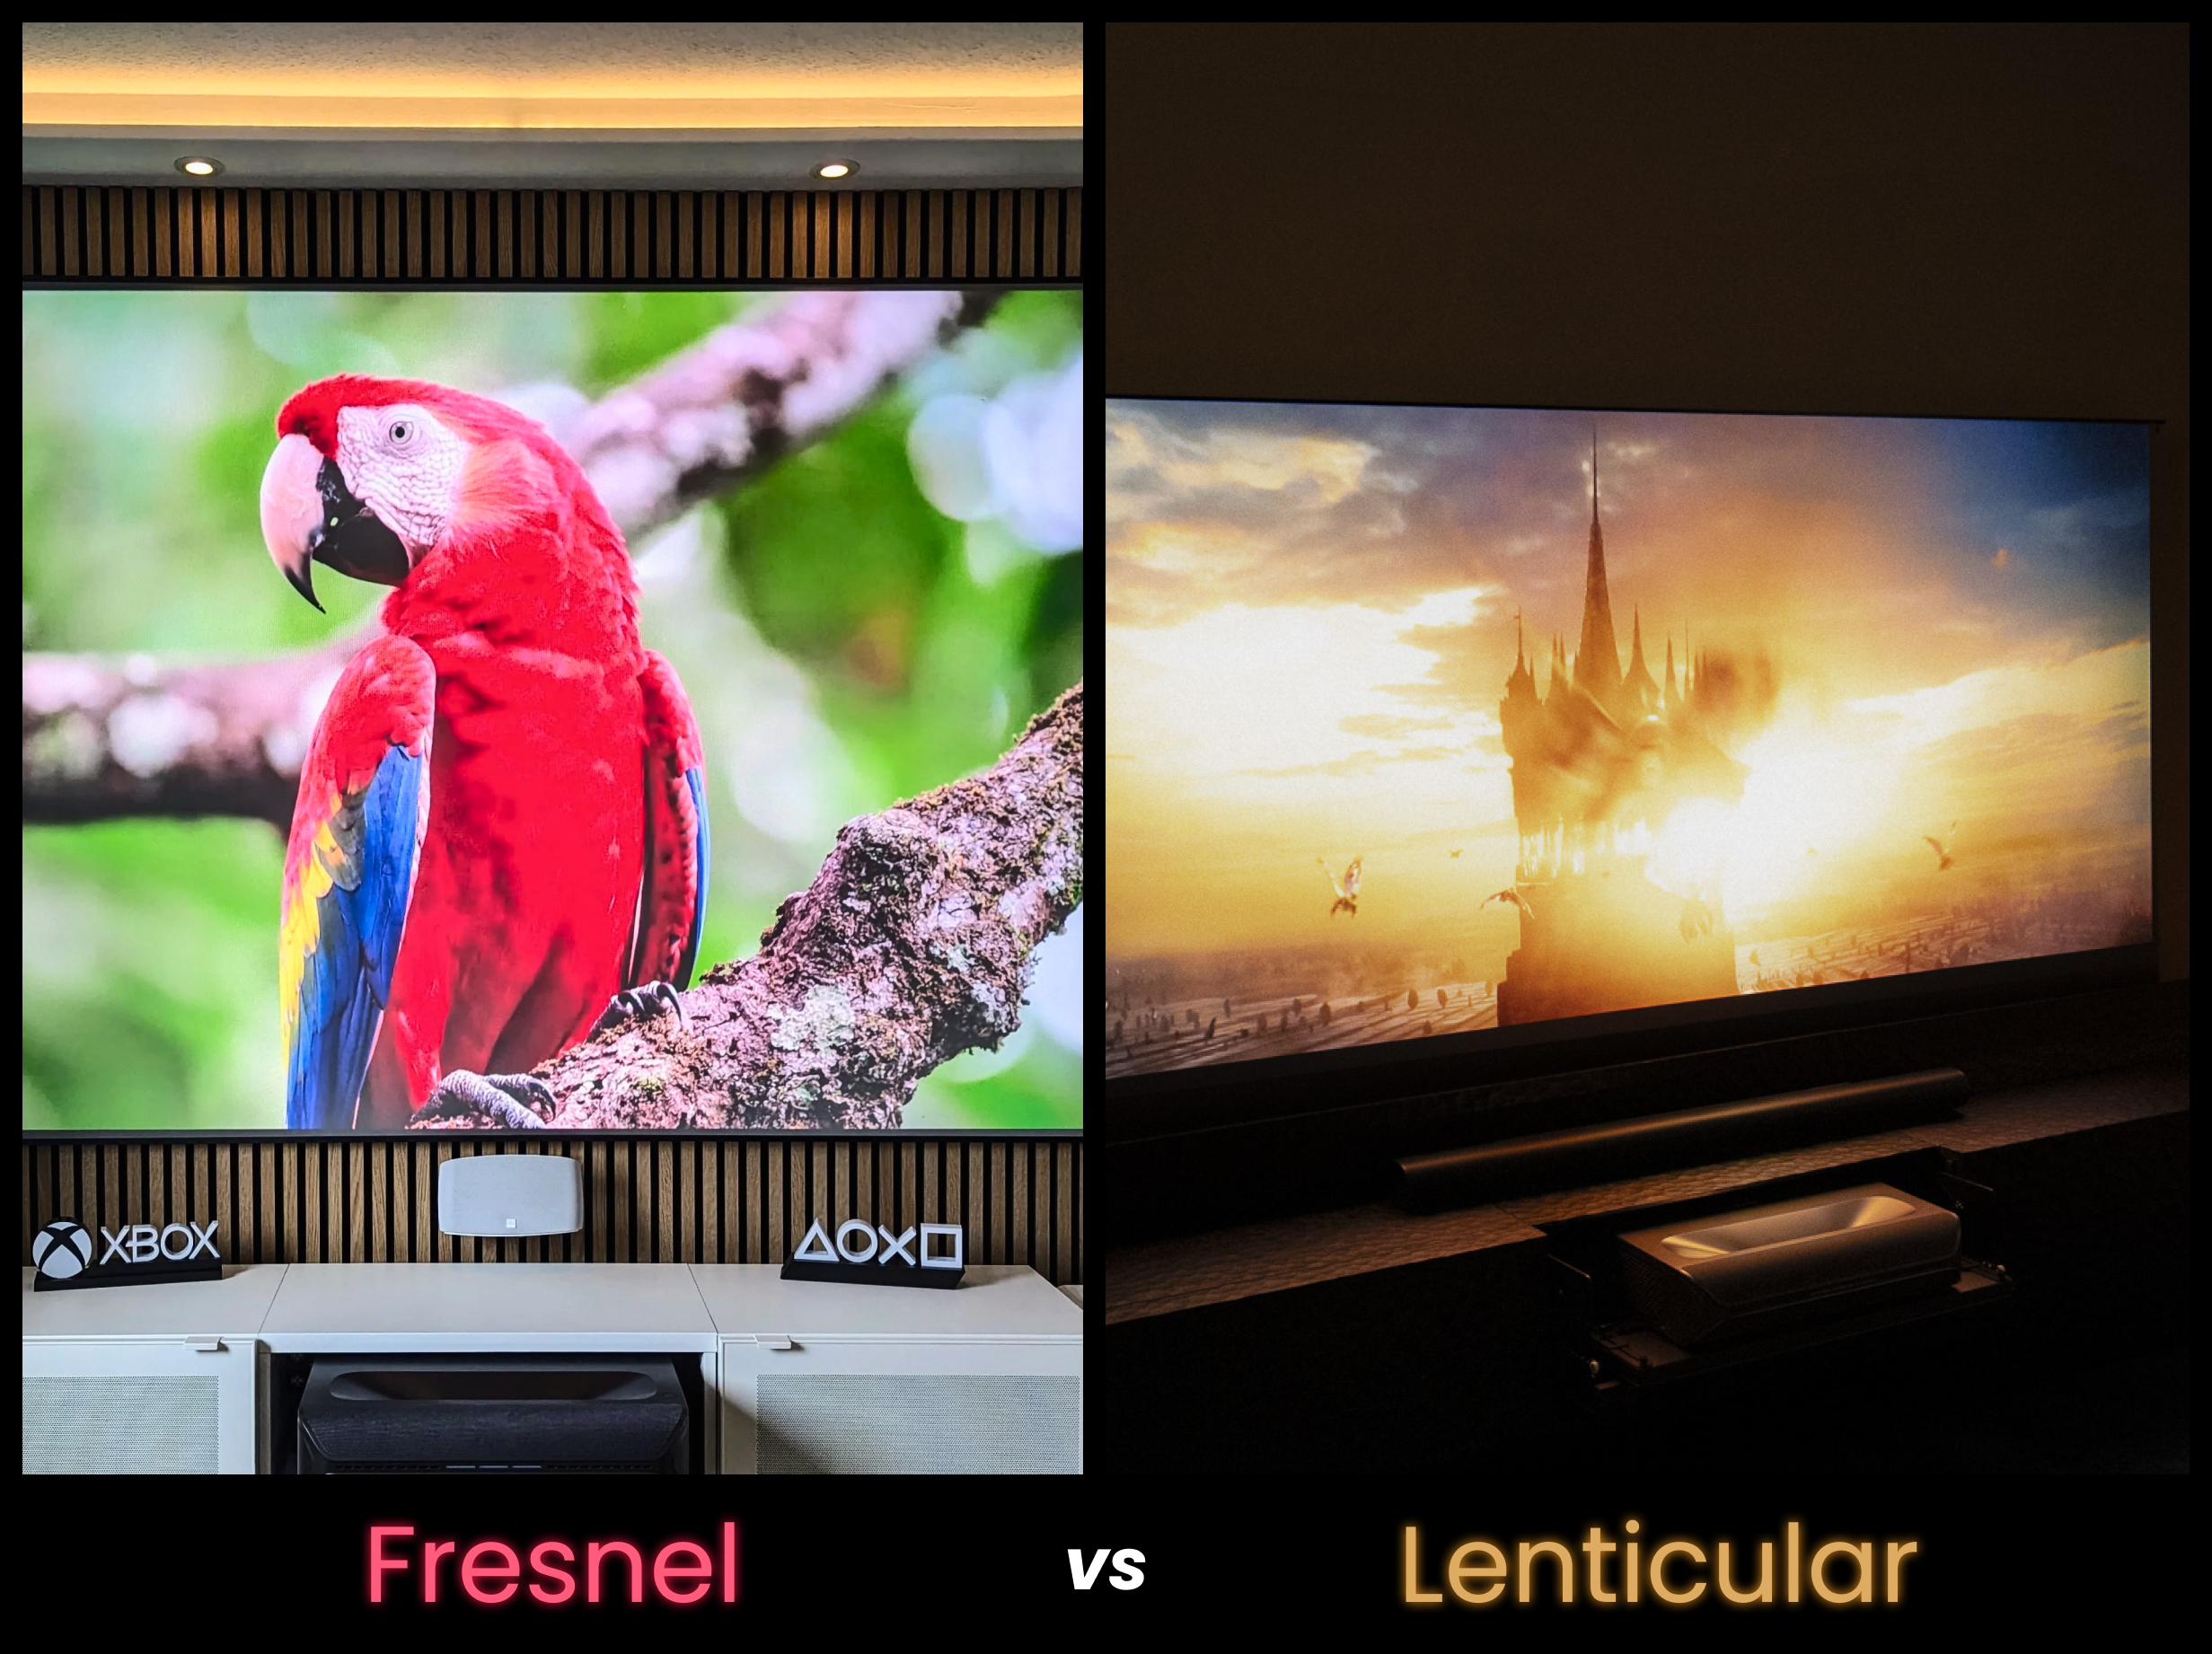
How to Clean a Projector Screen
Projector screens need occasional cleaning, and due to the gentle surface of the screen, the process takes a little bit of extra care. Depending on the type of screen you have, you'll need to use different materials and technique.
I'll go over how to clean a Fresnel, Lenticular, and matte white screen. Regardless of screen type, the process should not take more than 5 minutes.
Projector screens only need to be cleaned a couple times a year, but don't skip this quick task. Dust buildup can reduce color accuracy and contrast. In fact, if it's been a while, you may be suprised how much brighter and more vibrant your projector looks after cleaning your screen.
Cleaning a Fresnel Screen
Fresnel ALR Screen are the easiest to clean, but you should still take your time to avoid scratching the screen. To clean a Fresnel screen:
- Clean the screen with a dry, lint-free microfiber cloth or a soft brush.
- Gently wipe in a circular motion.
- For a deeper clean, you can wet the cloth with water. Just make sure that you squeeze out most of the water so that the cloth is slightly damp when you use it.
Cleaning a Lenticular Screen
Lenticular screens are the most delicate screen type, and as a result will take the longest to clean. To clean a Lenticular screen:
- Clean the screen with soft, dry brush.
- Gently wipe in a left-to-right motion, along the grain of the screen.
- Do not use any water or cleaning solutions on the screen.
Cleaning a Matte White Screen
Matte white screens are less delicate, but they're more likely to show dirt, scuffs, and other marks. For this reason, it make take a couple passes to get the more stubborn spots out the screen. To clean a matte white screen:
- Clean the screen with a dry, lint-free microfiber cloth.
- Gently wipe in a left-to-right motion (not circular!)
- For a deeper clean, you can wet the cloth with water. Just make sure that you squeeze out most of the water so that the cloth is slightly damp when you use it.
- For stubborn spots, gently dab with a Q-tip dipped in isopropyl alcohol.
What happens if you don't clean your projector?
If you don't clean your projector, dust may build up and cause it to overheat easily. Over time, this can cause irreversible damage to your projector, including permanent burn spots.
To avoid this issue, check for signs of overheating and remember to clean and power off your projector regularly.
Signs of Overheating
If your projector is overheating, you may notice the following signs:
- Increased fan noise
- Powers off unexpectedly and without notice
- Won't power back on
- Flashing or solid temperature warning light
- Hot to the touch
- Burning smell
- Melting or discoloration on the plastic casing
- Burn spots or discoloration on the projection

Burn spots are obvious and permanent signs of chronic overheating
Final Thoughts
Projectors are an investment. To help them last longer without overheating, it's crucial to practice good maintenance and remove any dust build-up from the vents. With just a few minutes a month, you can extend the lifespan of your projector by years.
Frequently Asked Questions
Whether you work at home or in the office, NexiGo provides a wide range of quality and affordable technology to elevate your daily life. Our products encompass everything from webcams and portable monitors to projectors and gaming accessories.
Articles we think you'll love