Article Overview
Video TutorialWhat You'll Need1. Choose tabletop or wall projection2. Decide how to power your projector3. Set up your tripod4. Fix distortion with keystone correction5. Find or build a map6. Load map onto your projector7. Set up audio8. Set up tableD&D Projector Tips & InspirationBest Projector for D&D MapsTroubleshooting & FAQs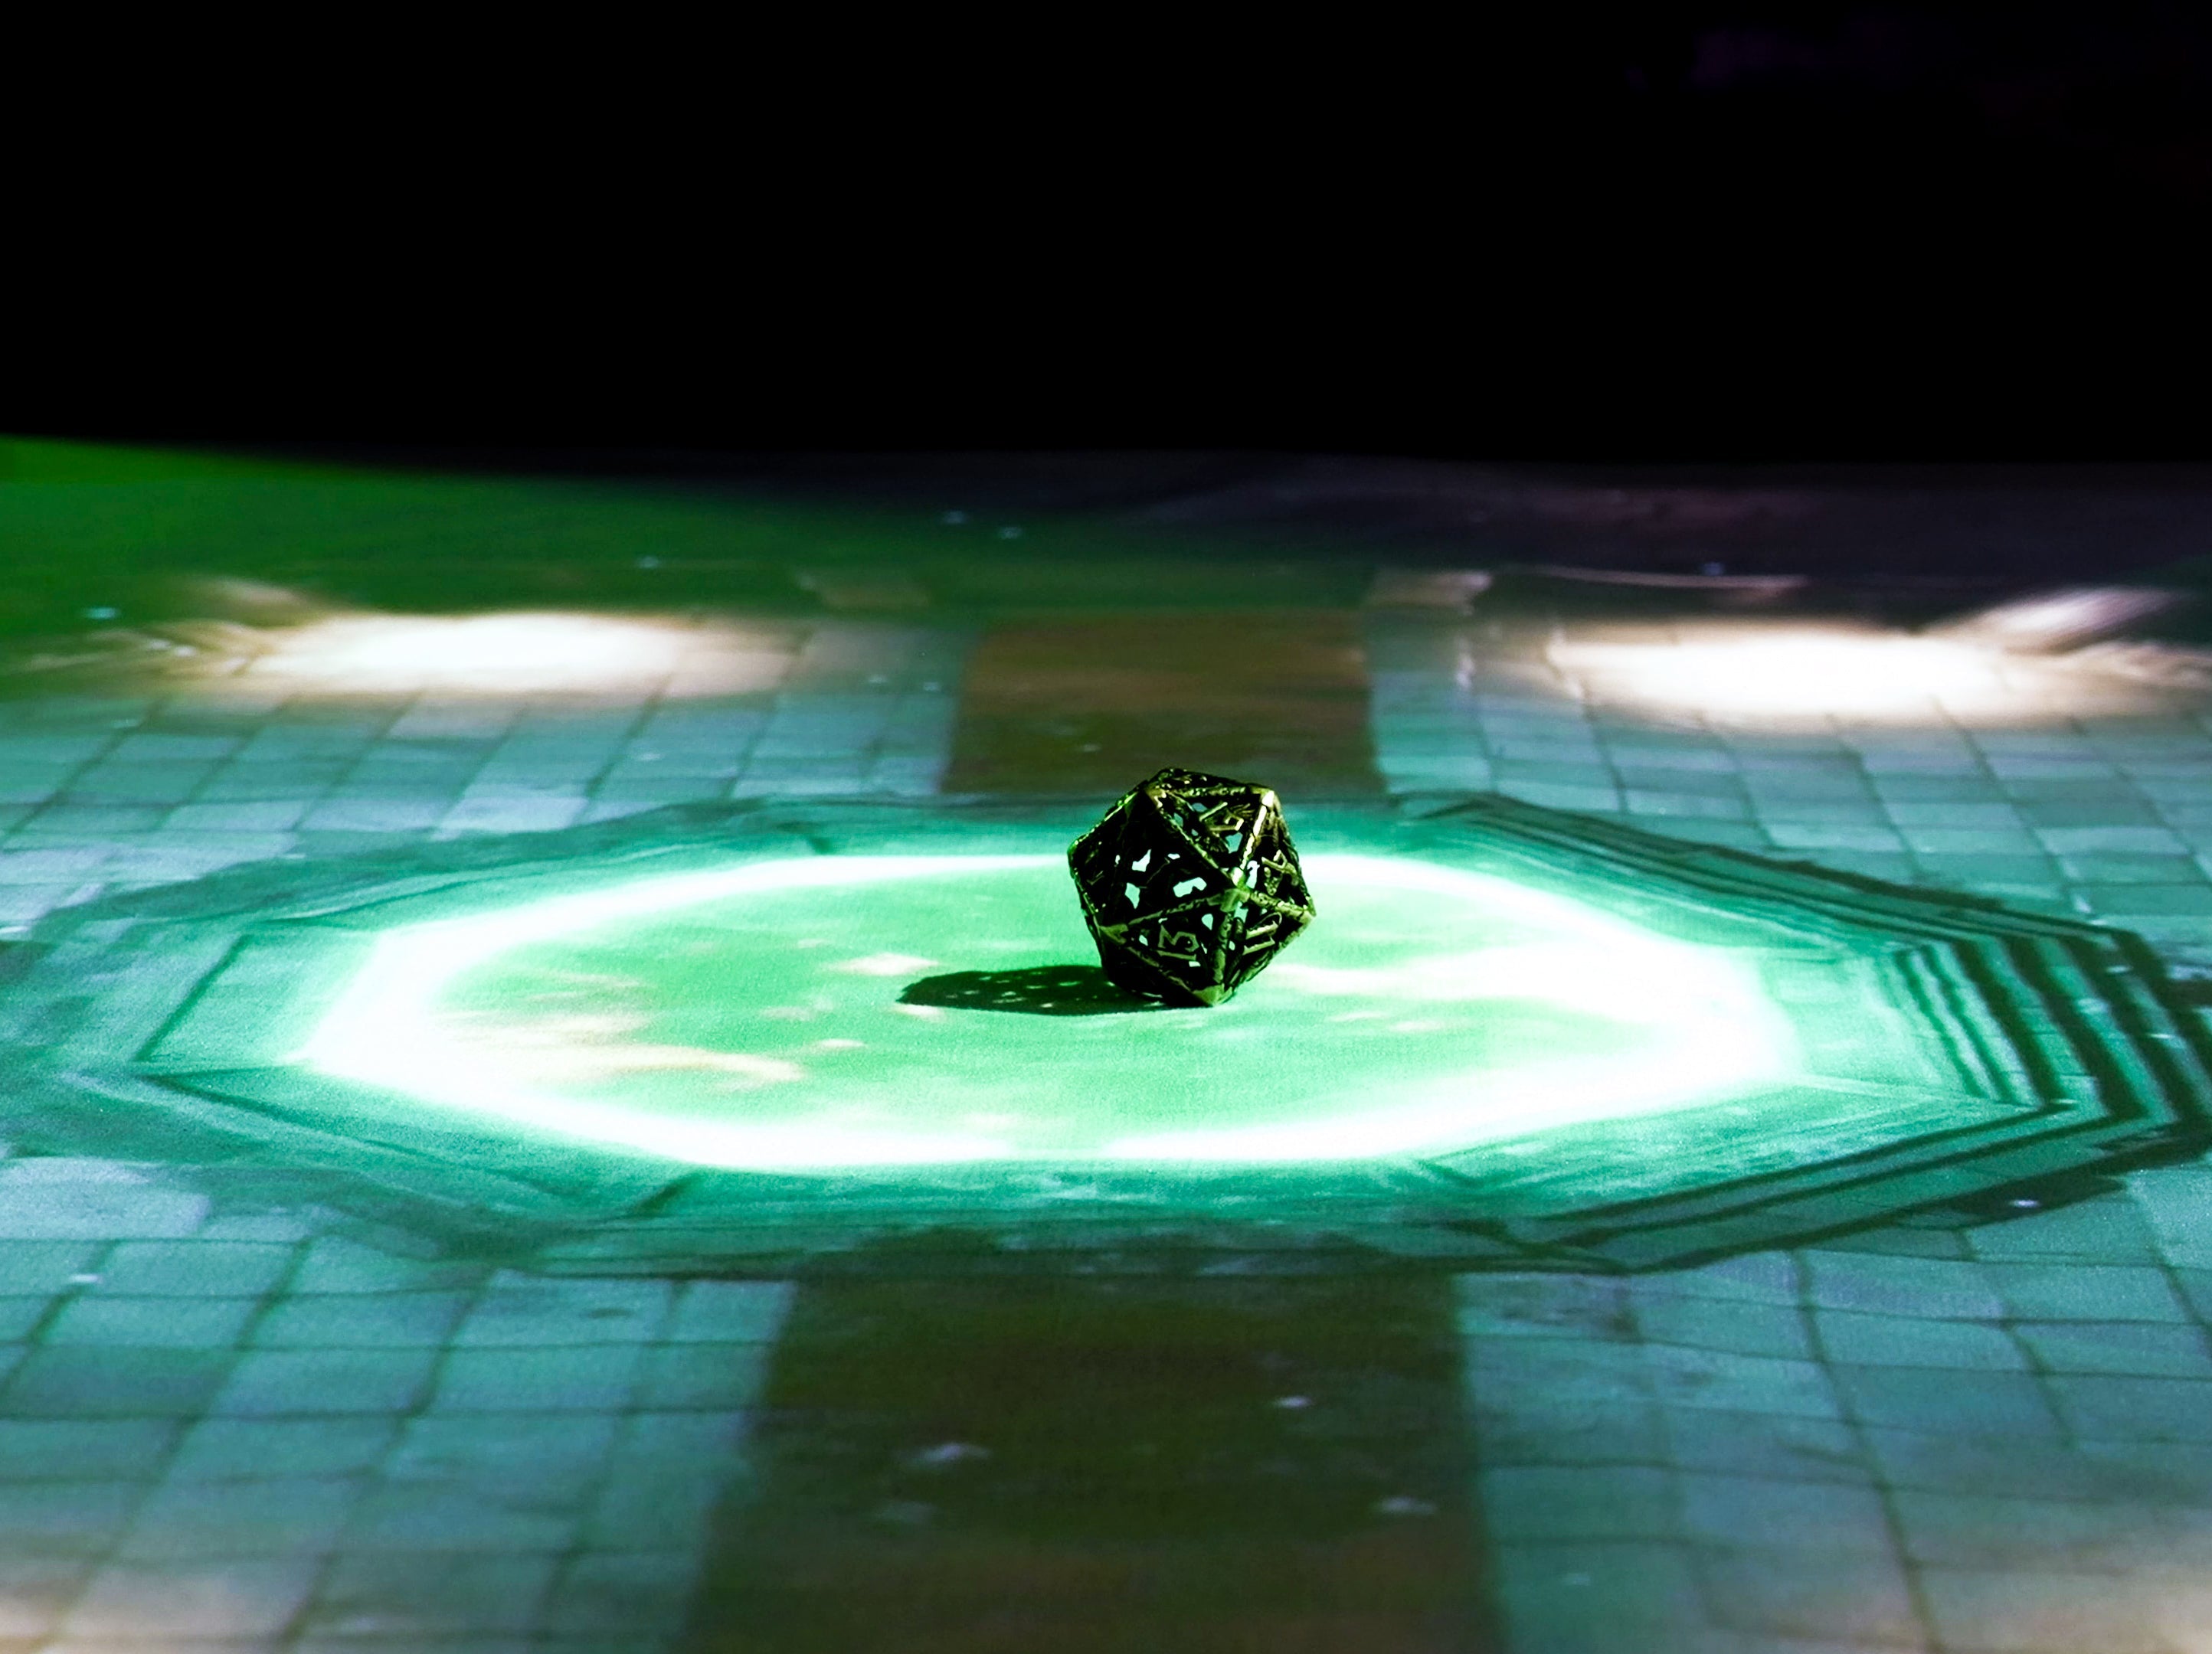
How to Use a Projector for D&D: Setup Guide, Free Maps & Tips
Amber Stefanson | August 24, 2026
Digital tools have changed D&D for everyone except the table you actually play at in person. Dynamic maps, fog of war, mood lighting have all locked behind a screen, until now. This guide shows you how to project any of it straight onto your table or wall, no ceiling mount or IT degree required.

I’ll walk you through how to set up your projector to project a D&D map. I’ll cover options for tabletop and wall projection, step-by-step A/V setup, and resources for finding great maps online. At the end, I’ll give you some inspiration for new and creative ways to incorporate a projector into your next session.
Let’s jump in!
Setup Overview
- Choose tabletop or wall projection
- Decide how to power your projector
- Set up tripod
- Fix distortion with keystone correction
- Find or build a map
- Load map onto your projector
- Set up your table
Estimated time: 8 minutes + map building time
Video Tutorial
Prefer to watch a video tutorial? Taylor did a demo of this setup on our YouTube channel. Check it out here:
What You’ll Need
This tutorial is for a quick and portable setup that doesn’t require mounting to a ceiling or wall. To get started, you’ll need the following equipment:
- Portable projector with a tripod thread (In this demo, Taylor is using a NexiGo Nova Mini)
- Tripod
- Power source (regular outlet or power bank, depending on your space)
- Media source (USB drive, HDMI cable + laptop, or wireless casting device)
- Digital map
- White tablecloth or matte white screen
- Bluetooth speakers (optional)
- Miniatures (optional)
1. Choose tabletop or wall projection
There are two places you can project your map: on a tabletop or on a wall. Decide which direction you want to go early, before you start setting anything up.
| Comparison | Wall | Tabletop |
|---|---|---|
| Best For | Ambient visuals, concept art, giving clues or exposition | Battlefields, fog of war maps, interactive play |
| Pros | Easy setup, projector doesn’t need to be close to the table | Equally easy for everyone to see, highly interactive |
| Cons | Not possible to see from every angle, may cast shadows or cause eye damage* if the projector is too low | Difficult to get the perfect angle, requires keystone correction, takes up more space at the table |
* Important note on eye safety: If you choose to project onto a wall, make sure to raise your projector high enough so that it's not shining directly into your players' eyes. Looking directly into a projector lens or any other strong light source can cause permanent vision damage.
2. Decide how to power your projector
You’ll need to plug in your projector, and the easiest solution is to plug it directly into an outlet. If you don’t have one nearby, you can use a portable battery instead. Check the user manual that came with your projector to see the wattage requirements.
The NexiGo Nova Mini requires 100 W, which means you can use a small portable battery like the Anker Prime Power Bank. If your projector requires more power than that, you’ll need to source a power station like the Anker Solix (up to 1,500 W).
Want to know more about how long portable projectors last on battery? Check out our testing data here to learn more.
3. Set up your tripod
Next, mount your projector to your tripod. This will help you get your projector to the perfect height. For tabletop projection, you’ll want your projector high enough to point down at the table. For wall projection, you’ll want it to be high enough to go over everyone’s heads in order to avoid casting shadows.

How to attach a projector to your tripod
- Find the 1/4" tripod thread on the bottom of your projector. It may be hidden under a removable rubber foot.
- Screw the quick-release attachment into the projector, then fasten it to the tripod.
- Raise the tripod to your desired height. The higher and more centered you can get the tripod, the better. This will help reduce shadows.
- Tilt the projector towards your wall or table (wherever you want to project your map!)
- Weigh down the tripod. I like to use a tote bag full of books, but you can use any heavy household objects that you can hang from the sandbag hook.
- Plug in your projector, fastening a power bank if needed.

Angle your projector by adjusting the tripod

Fasten your power bank if needed (Taylor used regular packing tape)
4. Fix distortion with keystone correction
After you turn the projector on, you’ll want to fix any distortion using keystone correction — especially if you’re projecting down onto a tabletop, where the projector is hitting the table from a steeper angle. To do keystone correction:
- Open the settings menu and find keystone correction. (On the NexiGo Nova Mini, go to Settings > Projector > Keystone Correction > Manual Keystone).
- Adjust the corners to best fit your wall or table. Note that you can only bring the corners in; it’s not possible to extend the corners past their default setting.
- Pay attention to aspect ratio! Try to bring in all corners evenly, otherwise you might end up with a stretched out image.

Check the calibration circle in the center for distortion;
if it’s a perfect circle, you’ve successfully corrected the image.
5. Find or build a map
Now for the fun part: choosing a map. Find or build battlemaps to display at your next session. You can incorporate fog of war to hide unexplored areas, dynamic lighting effects, props, and enemy tokens to bring your creation to life.
Not sure where to get a map? There are many paid and free options, including VTTs, map builders, marketplaces, and free community resources.
VTTs
VTTs (virtual tabletops) are highly interactive apps that can display maps and that change in real time. This is a great option for both in-person and remote games. Popular VTTs include:
- D&D Beyond Maps (uses custom & official campaign maps)
- Roll20
- Foundry VTT
Map builders
Map builders are apps that enable you to build and customize maps for your adventures. They’re usually static, but they’re easy to export directly onto your projector or into VTTs for greater customization. Popular map builders include:
- Dungeon Scrawl (integrates with Roll20)
- Dungeon Fog
- Inkarnate
Online marketplaces
Online marketplaces are download stores where you can purchase custom maps, art, adventures, and more. Popular online marketplaces include:
Community Resources
There are many community resources that act as free libraries of custom maps, concept art, and other visual assets made by independent artists. Popular community resources include:
- Subreddits like r/dndmaps, r/battlemaps, and r/fantasymaps
- YouTube channels like Beneos Battlemaps, Animated Dungeon Maps, and Magic Maps
- Independent creators like Dice Grimorium, Dyson’s Dodecahedron, and The Fateful Force
6. Load map onto your projector
Once you have your maps downloaded, load them onto your projector in one of the following ways:
- Download onto USB (Recommended for static maps): Download your map onto a USB drive and play it from your projector. This is the easiest setup for static maps that don’t change as the players encounter new places and enemies.
- Display via HDMI (Recommended for interactive maps): Display your map on a computer, then connect that computer to your projector via HDMI. This method offers the best flexibility for interactive maps with dynamic lighting, fog of war, and custom event triggers. (Tip: Set the projector as a second screen and use your primary screen for private DM notes!)
- Cast wirelessly: Cast maps from your phone, tablet, or computer directly onto the projector.
- Play from YouTube: Display maps and videos through YouTube, using a built-in library or an external device like a Fire TV Stick.

Using a laptop gives you the most flexibility for interactive maps
7. Set up audio
You’re already going the extra mile with visuals, why not add some music too? You can play some ambient music directly through your projector speakers. For even better audio, pair some Bluetooth speakers.
Audio setup varies slightly based on how you’re getting your map on-screen. Refer to the chart below to get your personalized setup steps:
| Setup method | Instructions |
|---|---|
| USB drive | Turn all your map images into videos, download some music, and use a free video editor like iMovie or DaVinci Resolve to add it to your map. Alternatively, stream music from a separate device. |
| HDMI + Laptop (Easiest!) | Select the projector as your audio output device. Then, stream music as you normally would. |
| Wireless casting | When you start mirroring your screen, choose to mirror your whole device rather than one individual app. That way, you can play audio from an off-screen app while keeping the map visible. |
| YouTube | Choose a video with ambient audio already built-in. |
8. Set up table
Finally, set the scene for your game. With a few tweaks to your table, you can make your projector look better and give your players more reasons to actually interact with the projection in front of them.
Project onto a white surface
I recommend setting up a white tablecloth (for tabletop projection) or a matte white projector screen (for wall projection) so that your projector has a smooth, neutral base to work off of. This will ensure that your visuals are clear and bright, without any unnecessary warping from the surface texture of your wall or table.

Turn off the lights
Turn off the lights for high-impact visuals, or keep them on so players can easily reference their character sheets. You’ll still be able to see the map, but the shadows may be a little washed out. Want to go the extra mile? Set up dynamic app-controlled lighting and queue the lights to turn off at dramatic moments when you want your visuals to shine.

Lights on

Lights off
Bring out the minis
Finally, liven up the table with minis, glow-in-the-dark dice, and other fun accessories.

D&D Projector Tips & Inspiration
That's it; tripod up, projector on, and a table that finally looks like the world you've been describing all along. Next up: figuring out what to throw at your players now that they can actually see it coming.
To give you inspiration for your next session, here some unique ways that you can use a projector for D&D.
Keep track of distance during battle
It can be hard to keep track of proximity during battle, so many DMs ignore it. Projectors make for an easy way to bring back the extra challenge.
When you project a map with a grid, you can easily track character speed and the distance players need to travel in order to pull off their next maneuver.
The standard character speed is 30 ft per turn. That means if each square represents 5 ft, players can move up to 6 squares per turn. With minis or tokens on the table and the whole battlefield mapped out in front of them, players can visualize distance and strategize their next move.

Speed up combat with turn timers
Do your players take too long plotting their next move? Encourage them to speed things along with turn timers in a highly visible space directly on the board.
Create a fully-immersive experience
As a DM, you create the world your players exist in. You create the NPCs, the locations, and the plot. With a projector, you can also create the atmosphere. Run a campaign they’ll never forget with a full digital A/V setup:
- Ambient music and sounds to add texture to gameplay (Bluetooth speakers recommended)
- Color-changing LED light strips (like Philips Hue or Govee) that syncs to the music, or changes scene-to-scene
- When you're in tavern, NPC's home, or any other location that doesn't need a map, display concept art and videos of the current location
Loot reveals
At the end of a long battle, reveal hard-earned loot by projecting an image of each item for dramatic effect.
Puzzles/riddle displays
Do you like to plan intricate puzzles, riddles, and ciphers? Display them on the table for players to solve together.
Use dynamic maps
When you use a projector, you can create maps that move. Create tension with a volcanic map that fills up with lava the longer characters take to make their next move.
Add moving icons for an enemy that the players are trying to sneak around.
Include fog of war that dissipates as players explore their surroundings.
These dynamic visuals are what can turn a humble map into an interactive world that your players can't wait to explore.

Session recap slides
At the beginning of the session, instead of reading out a recap or having players take turns describing what they remember, display a few session recap slides. Like the “previously on…” section at the beginning of a TV show, this can help ease players into where they were in the campaign.
Best Projector for D&D Maps
Need help deciding on a projector to use for your D&D nights? I have a few recommendations for you, based on whether you want to use tabletop projection, wall projection, or both.
| Spec | NexiGo Nova Mini | NexiGo Aurora Pro MKII | NexiGo PJ40 Pro |
|---|---|---|---|
| Best For | Tabletop and wall projection; portable setups | Wall projection; luxury setups; permanent setups | Wall projection; budget setups; portable setups |
| Smart OS | Google TV | Android | Google TV |
| Resolution | 1080p | 4K | 1080p, 4K upscale supported |
| ANSI Lumens | 1200 | 2400 | 800 |
| Avg. Power Consumption | 100 W | 280 W | 160 W |
| Distance required for a 80” screen | 7 ft, 1 in. (216 cm) | 1 ft, 3 in. (38 cm) | 8 ft, 6 in. (259 cm) |
| Dimensions | 7.8 x 7.8 x 2.3 in. (19.7 x 19.7 x 5.8 cm) | 21.54 x 4.81 x 16.04 in. (54.71 x 12.22 x 40.75 cm) | 11.3 x 10.79 x 4.8 in. (8.7 x 27.4 x 12.2 cm) |
| Weight | 3 lbs. (1.36 kg) | 22 lbs. (9.98 kg) | 4.85 lbs. (2.20 kg) |
Best tabletop projector: NexiGo Nova Mini
For tabletop projection, you’ll want a lightweight projector that offers you the flexibility to set up without any extra cables or devices dangling from the tripod. The perfect tabletop projector would be…
- Lightweight enough that the tripod doesn’t tip over when it’s fully extended or overhead
- Small enough to pack away or carry home
- Energy efficient, so that you can use a power bank if there is no outlet nearby
- Powered by a smart OS that supports screen mirroring and built-in apps
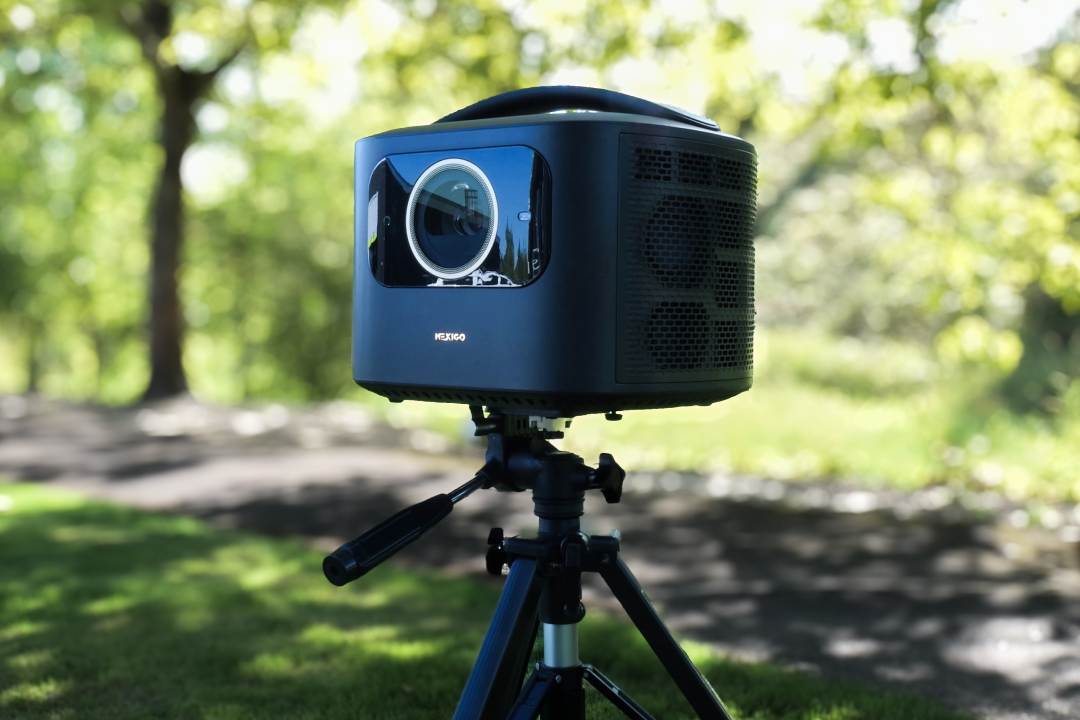
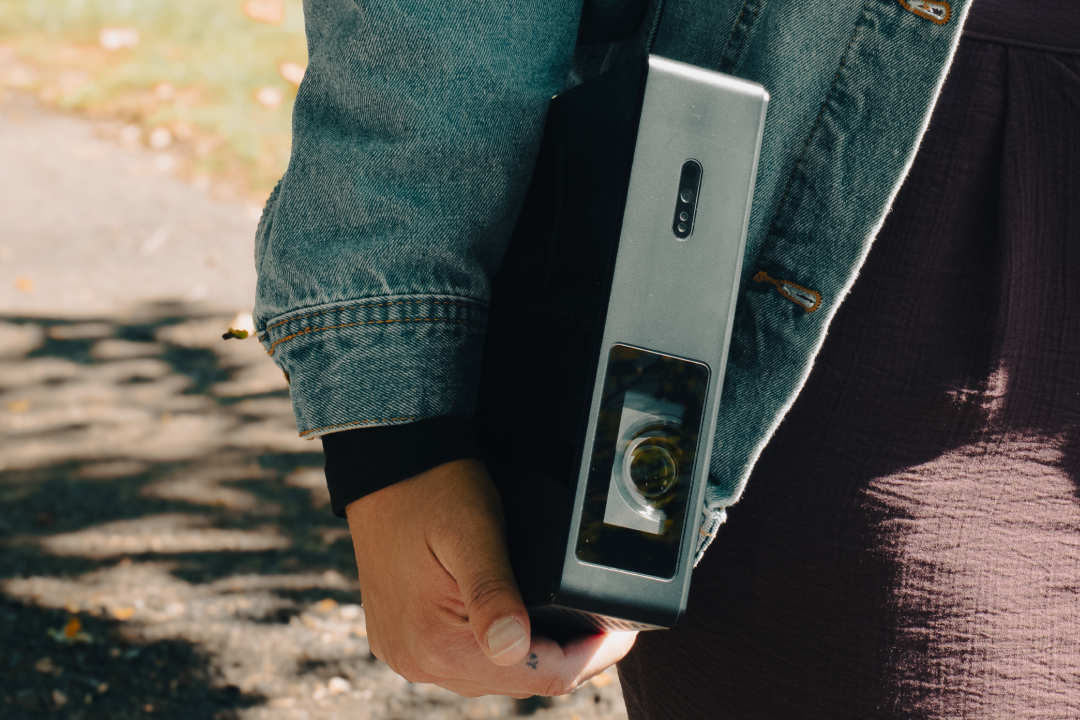
Our best projector for this setup is the NexiGo Nova Mini. The lightweight body of the NexiGo Nova Mini makes it uniquely suitable for tabletop projection.
At only 3 pounds, it won’t tip over the tripod and it fits easily in your bag (it’s smaller than the Dungeon Master’s Guide, Player's Handbook, and Monster Manual stacked together). Consuming only 100 W of electricity, you can pair it with a small portable battery for hours of uninterrupted use, even if there’s no outlet nearby.
It also comes with Google TV, which means that you can cast maps directly from a computer or phone or play directly from the YouTube app. Like every other NexiGo projector, the NexiGo Nova Mini also features HDMI and USB ports if you prefer a physical connection.
Best wall projector: NexiGo Aurora Pro MKII
For wall projection, the best projector is one that is…
- Projected onto a screen
- Semi-permanent
- Ideally, ultra-short throw (meaning that you can keep it close to the wall, saving space and preventing shadows)
If you’re projecting ambient visuals onto the wall, the single best option is the NexiGo Aurora Pro MKII. Unlike standard projectors, this ultra-short throw projector sits close to the wall, reaching unimaginable size without consuming the whole room. Since it sits so close to the wall, you don’t have to worry about casting shadows or blinding your players.
The only disadvantage: it’s not portable. This projector is best used for a permanent or semi-permanent setup in your own home. At 20 pounds, you don’t want to be lugging this one around in your backpack.
Best budget projector: NexiGo PJ40 Pro
The NexiGo PJ40 Pro combines the best of both worlds at a much smaller price:
- Portable form factor
- Smart OS for easy casting and streaming
- Perfect for both permanent and temporary setups
The only drawback: compared to the other models, you'll need more distance from the wall or table to get a screen of the same size. Because of this, we recommend getting your projector up as high as possible before angling it down to get a large screen size without any shadows.
To do this, you can use a tripod (as detailed above), a gimbal stand, or even a ceiling mount if you want something more permanent. In fact, the NexiGo PJ40 Pro is uniquely suited to ceiling mounting, due to its lightweight design and long throw ratio.
Troubleshooting & Frequently Asked Questions
When you’re done playing, all you have to do is break down the tripod, remove the projector, and gently pack it up. Then you can start scheming up what you’re going to do next session.
Thank you for reading! If you run into any hiccups along the way, check out our troubleshooting guide or feel free to reach out via Instagram or email at cs@nexigo.com.
Not filling whole table
Make your projection rager by raising the projector up higher. Try to get it as close to the center of the table as possible; this is what will help fill all four corners of the table evenly with minimal keystone correction. Plus, the closer the projector is to the middle of the table, the fewer long shadows you’ll get along the way.
Keystone not working all the way
If keystone correction can’t fully fix the image, try projecting at a less dramatic angle. For tabletop projection, it can be helpful to use an overhead tripod to get the right angle without distorting the image.
Overheating during long session
To prevent your projector from overheating, make sure that there’s enough airflow (at least 18” on each side of the projector). It can also help to lower the brightness of your projector and keep the ambient temperature well within the recommended operating temperature (typically 32~104 °F / 0-40 ℃).
Player’s personal devices/lamps washing out projector
If your players are using lamps so that they can see their character sheets, the trick is to create an environment with controlled lighting; bright enough that players can see their character sheets, but dim enough that the projector isn't affected. There are a few ways to go about this:
- use only maps and visuals bright enough to create ambient light
- put a white border around all maps (if the maps takes up the whole table, this white border can act as the lit "character sheets zone")
- use app-controlled lights to light the room with a dim setting
If your players use D&D Beyond or similar software to track their rolls and abilities, ask them to lower the brightness on their devices until the projector is no longer washed out.
How do I save my setup so I don't have to redo keystone correction every session?
Mark the tripod height with a paint marker, use the bubble level, and tape the tripod location on the floor to make your setup easy to recreate without redoing keystone correction every time. To avoid having your keystone correction reset, make sure to turn off auto keystone correction if it’s an option.
Alternatively, you can enable auto keystone correction so that you don’t have to manually set it up every time, regardless of whether you put your tripod in the same place.
How do I make my map bigger / take up the whole table?
If you find that the map is too big or too small, you can adjust the height of the tripod: raise the tripod to make the map bigger, or lower the tripod to make it smaller.
If the map only fills one side of the table, move the projector closer to the center of the table. The closer you can get the projector to the center of the table, the more evenly the projector will fill the table. To get this effect, you can push the tripod against the table like it's another player at the table, or switch to an overhead tripod.
Should I turn the lights off for D&D map projection?
You should turn off the lights if your priority is dramatic, immersive visuals. However, most players will prefer if you keep the lights on dim so that they can both enjoy the projector visuals and see their character sheets.
With a bright enough projector, your visuals will look great in the dark and with the lights on. Make sure to choose a projector with at least 1000 ANSI Lumens for the best effect.
Lights on
Lights off
What’s the fastest and cheapest way to project a map in D&D?
Get a low-cost LCD projector, place it on your table, and point it at a wall. Connect a laptop via HDMI and display a map from one of the following free sources: YouTube, subreddits like r/dndmaps, or the free version of Roll20.
This easy setup eliminates the need to create custom maps or spend extra money on assets and equipment like tripods or USB drives.
Should I project my D&D map onto a wall or tabletop?
Tabletop projection is best for interactive maps. Wall projection is OK if the map is for reference or atmosphere only.
Whether you work at home or in the office, NexiGo provides a wide range of quality and affordable technology to elevate your daily life. Our products encompass everything from webcams and portable monitors to projectors and gaming accessories.
Articles we think you'll love