How To Extend Your Webcam’s USB Cable For Video Conferencing
Savanna Smithee | August 1, 2023
When you set up your webcam, you may feel limited how long its cable is, especially if you need to place the webcam further away from your computer. Whether it's for a large conference room, a newly renovated home office, or a space with an inconveniently located outlet, a powered extension cable can provide greater flexibility in webcam placement. While USB hubs are a popular option, they can cause issues such as latency and power limitations.
USB Hubs vs. Powered Extension Cables

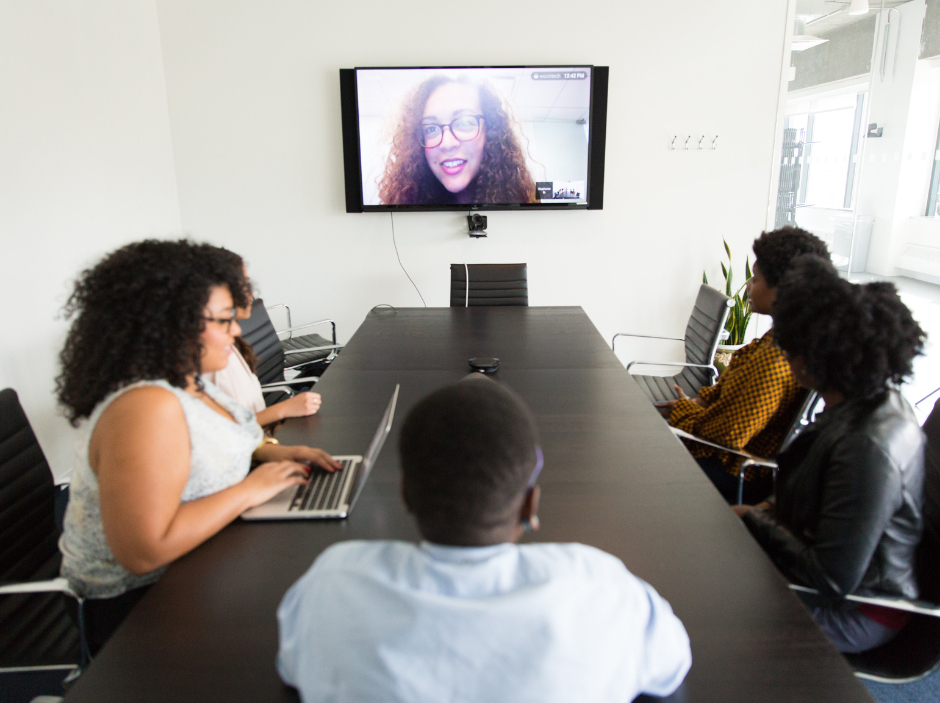
Image Credit: Rann Vijay on Pexels
USB hubs are a convenient way to extend your webcam when you are plugging in multiple devices, but they may cause more problems than a powered extension cable. USB hubs are notorious for causing latency issues like video delays, lag, and even freezing up entirely.
USB hubs can also overheat easily and limit how much power you’re getting for connected devices. A hub splits the power of the port on your computer into multiple, weaker ports, each with only a certain percentage of the power drawn from your device.

Image Credit: Lindy
Powered extension cables have a more direct connection than a hub, which means you’ll experience less interference. Not to mention, if you have a large space and need to extend your webcam's cable, having an active extension cord is the best available option.
The Most Reliable Way To Extend Your Webcam Cable
First, you’ll need to get an active extension cable for your webcam. We recommend the WEme Extension Cable because after our in lab testing, it shows no noticeable delay or degradation.

Image Credit: WEme
This active extension cable has a length of 32 feet, making it compatible with almost any situation. To set it up, run the length of the extension cable to your desired location for the webcam.

Image Credit: Ugreen
Next, plug your webcam’s USB cable into the extension cord and then plug the extension cord into your computer. Your computer should instantly detect that a camera has been connected. However, if it doesn’t detect the webcam, you can plug the provided AC adapter into the extension cord to power it. This additional power source may be all that is needed for your computer to detect your webcam.
Next, plug your webcam’s USB cable into the extension cord and then plug the extension cord into your computer. Your computer should instantly detect that a camera has been connected. However, if it doesn’t detect the webcam, you can plug the provided AC adapter into the extension cord to power it. This additional power source may be all that is needed for your computer to detect your webcam.
Troubleshooting Guide
My Computer Isn’t Detecting My Webcam
In some situations, your computer still won’t detect your webcam even when the extension cable is powered. If you’re experiencing this issue, try connecting your webcam directly to your computer first with its provided USB cable. Your computer may first need to install or update drivers and this can sometimes be hampered by using an extension cable.
In many cases, webcams need a direct connection to a computer first to set up before they will perform correctly.
Our support page can walk you through standard troubleshooting to help you ensure the webcam is working properly first. Once you determine that your webcam is functioning properly, try to use the extension cable again.
Zoom Isn’t Detecting My Webcam
Another common problem that can occur with powered extension cables is certain applications won’t function properly with them, while other applications work just fine. Zoom has directly addressed this issue in some of their help documentation. They advise reverting the OS of the computer to resolve the problem.
My Webcam Is Lagging
One more potential issue with extension cables is a slight delay between the camera’s recording and the playback that you see or hear on your computer. If you think you may be having this issue, follow the steps below to test for lag.
Fixing Webcam Lag
- Open a recording program like OBS, the Camera application on a Windows computer, or PhotoBooth for Macs.
- Open up a digital stopwatch on your screen. We recommend this stopwatch website if you don’t have a stopwatch built into your computer.
- Split your screen so that half of your screen displays the digital stopwatch while the other displays your recording program of choice.
- Point your webcam at your screen so that it only captures the digital stopwatch, and none of the recording the program.
- Start a screen recording. If you’re unsure how to do this, PC Mag has a great step-by-step guide for both Windows and Mac users.
- Start the timer and let it run for a few seconds before ending your screen recording. Review the video clip and compare the time of the webcam’s recording to the computer’s recording at different frames to determine the delay of playback.

Your results should look something like this.
These reults indicate under 0.2 seconds delay.
You can compare the webcam’s direct USB cable with the active extension cord to determine how much delay is caused by the extension cord.
Our testing has shown that the delay of the WEme Extension Cable playback is minimal. Generally, delays less than 250 milliseconds for conference calls are mostly related to internet issues rather than hardware.
Enjoy Having a Longer Cable!
With all of this said, powered extension cables are the way to go if you want a reliable, lag-free webcam connection. Check out the WEme Extension Cable for the best compatibility with our webcams, or learn more about our webcams that come out of the box with longer cables.
Like what we do? Stay tuned for more.
Whether you work at home or in the office, NexiGo provides a wide range of quality and affordable technology to elevate your daily life. Our products encompass everything from webcams and portable monitors to projectors and gaming accessories.
Articles we think you'll love


