
Projector Troubleshooting Guide: 7 Image Blemishes & How to Fix Them
Amber Stefanson | March 19, 2026
Spots, splotches, and speckles — all are signs that something’s not quite right with your projector. Known as image blemishes, these common projector issues are caused by a variety of factors, such as dust, poor focus, and screen choice.
The most common image blemishes are:
- Burn Spots: Brown or blue splotches caused by chronic overheating
- Dark Spots: Dark specks caused by dust or debris on the lens
- Hot Spots: Overly bright areas caused by using USTs with high-gain screens
- Dead Pixels: White or black dots caused by excessive heat, manufacturing defects, or aging components
- Laser Speckle: Grainy texture caused by using a laser projector with an uneven screen surface
- Color Fringing: Red, green, and/or blue outline (usually around text) caused by poor focus
- Rainbow Effect (RBE): Bands of color and/or disorienting flashes of color when you move your eyes around the screen
In this article, I’ll go over each of these image blemishes, what causes them, and if/how they can be fixed.
Key Points
- The 7 most common projector image blemishes are burn spots, dark spots, hot spots, dead pixels, laser speckle, color fringing, and rainbow effect (RBE)
- Burn spots are permanent and caused by chronic overheating; prevent them by cleaning your air filter monthly and limiting runtime to 8 hours
- Dark spots are usually fixable by wiping the lens with a soft microfiber cloth
- Hot spots are caused by pairing a UST projector with a high-gain screen; switching to a low-gain screen resolves the issue
- Dead pixels may be "frozen" and fixable with a pixel-fix video; true dead pixels require a warranty claim
- Laser speckle is best prevented by choosing a lenticular or matte white screen, or a projector with built-in speckle reduction
- Rainbow effect (RBE) cannot be fixed — choose an LCD, LED, or tri-color laser projector to avoid it entirely
1. Burn Spots
Do you have brown or blue burn spots on your projector? These are caused by chronic overheating.
Unfortunately, once you get a burn spot on your projector, it’s there to stay. No amount of troubleshooting will remove it. However, you can easily prevent them with some basic projector maintenance.
What are burn spots on a projector?
Burn spots are discolored splotches that appear on LCD projectors as a result of chronic overheating. Burn spots may be dark, brown, blue, or even multi-colored. They vary in size and intensity, with some being faint and small, while others are large and prominent.

This is an example of a severe burn spot. Over 30% of the screen is strongly discolored.

This is an example of a moderate burn spot. Less than 30% of the screen is discolored. The burn spot is faint, but still immediately noticeable.

Some burn spots may appear shadowy and black, especially on darker screens.

Some burnt spots are even blue. Blue burn spots are generally caused by a burnt polarizer film, whereas brown burn spots are caused by a burnt LCD panel or projector lamp.
What causes burn spots on a projector?
Chronic overheating can cause burn spots to develop over time, as the excess heat sears the projector lamp, LCD color panel, or polarizing filter. Overheating often happens because dust builds up and restricts air flow to the device, but it can also happen if you leave your projector on for too long or set your fans too low.
Can burn spots be fixed?
Unfortunately, once a burn spot forms, it cannot be fixed without replacing major components of the projector. If you have warranty coverage, you can reach out for a repair or replacement. Otherwise, the cost of repair may be high enough that it makes more sense to buy a replacement outright.
If the burn spot is minor and you want to keep using the projector, you can prevent it from getting worse by taking a few precautions to keep your projector from overheating again.
How to prevent burn spots on a projector
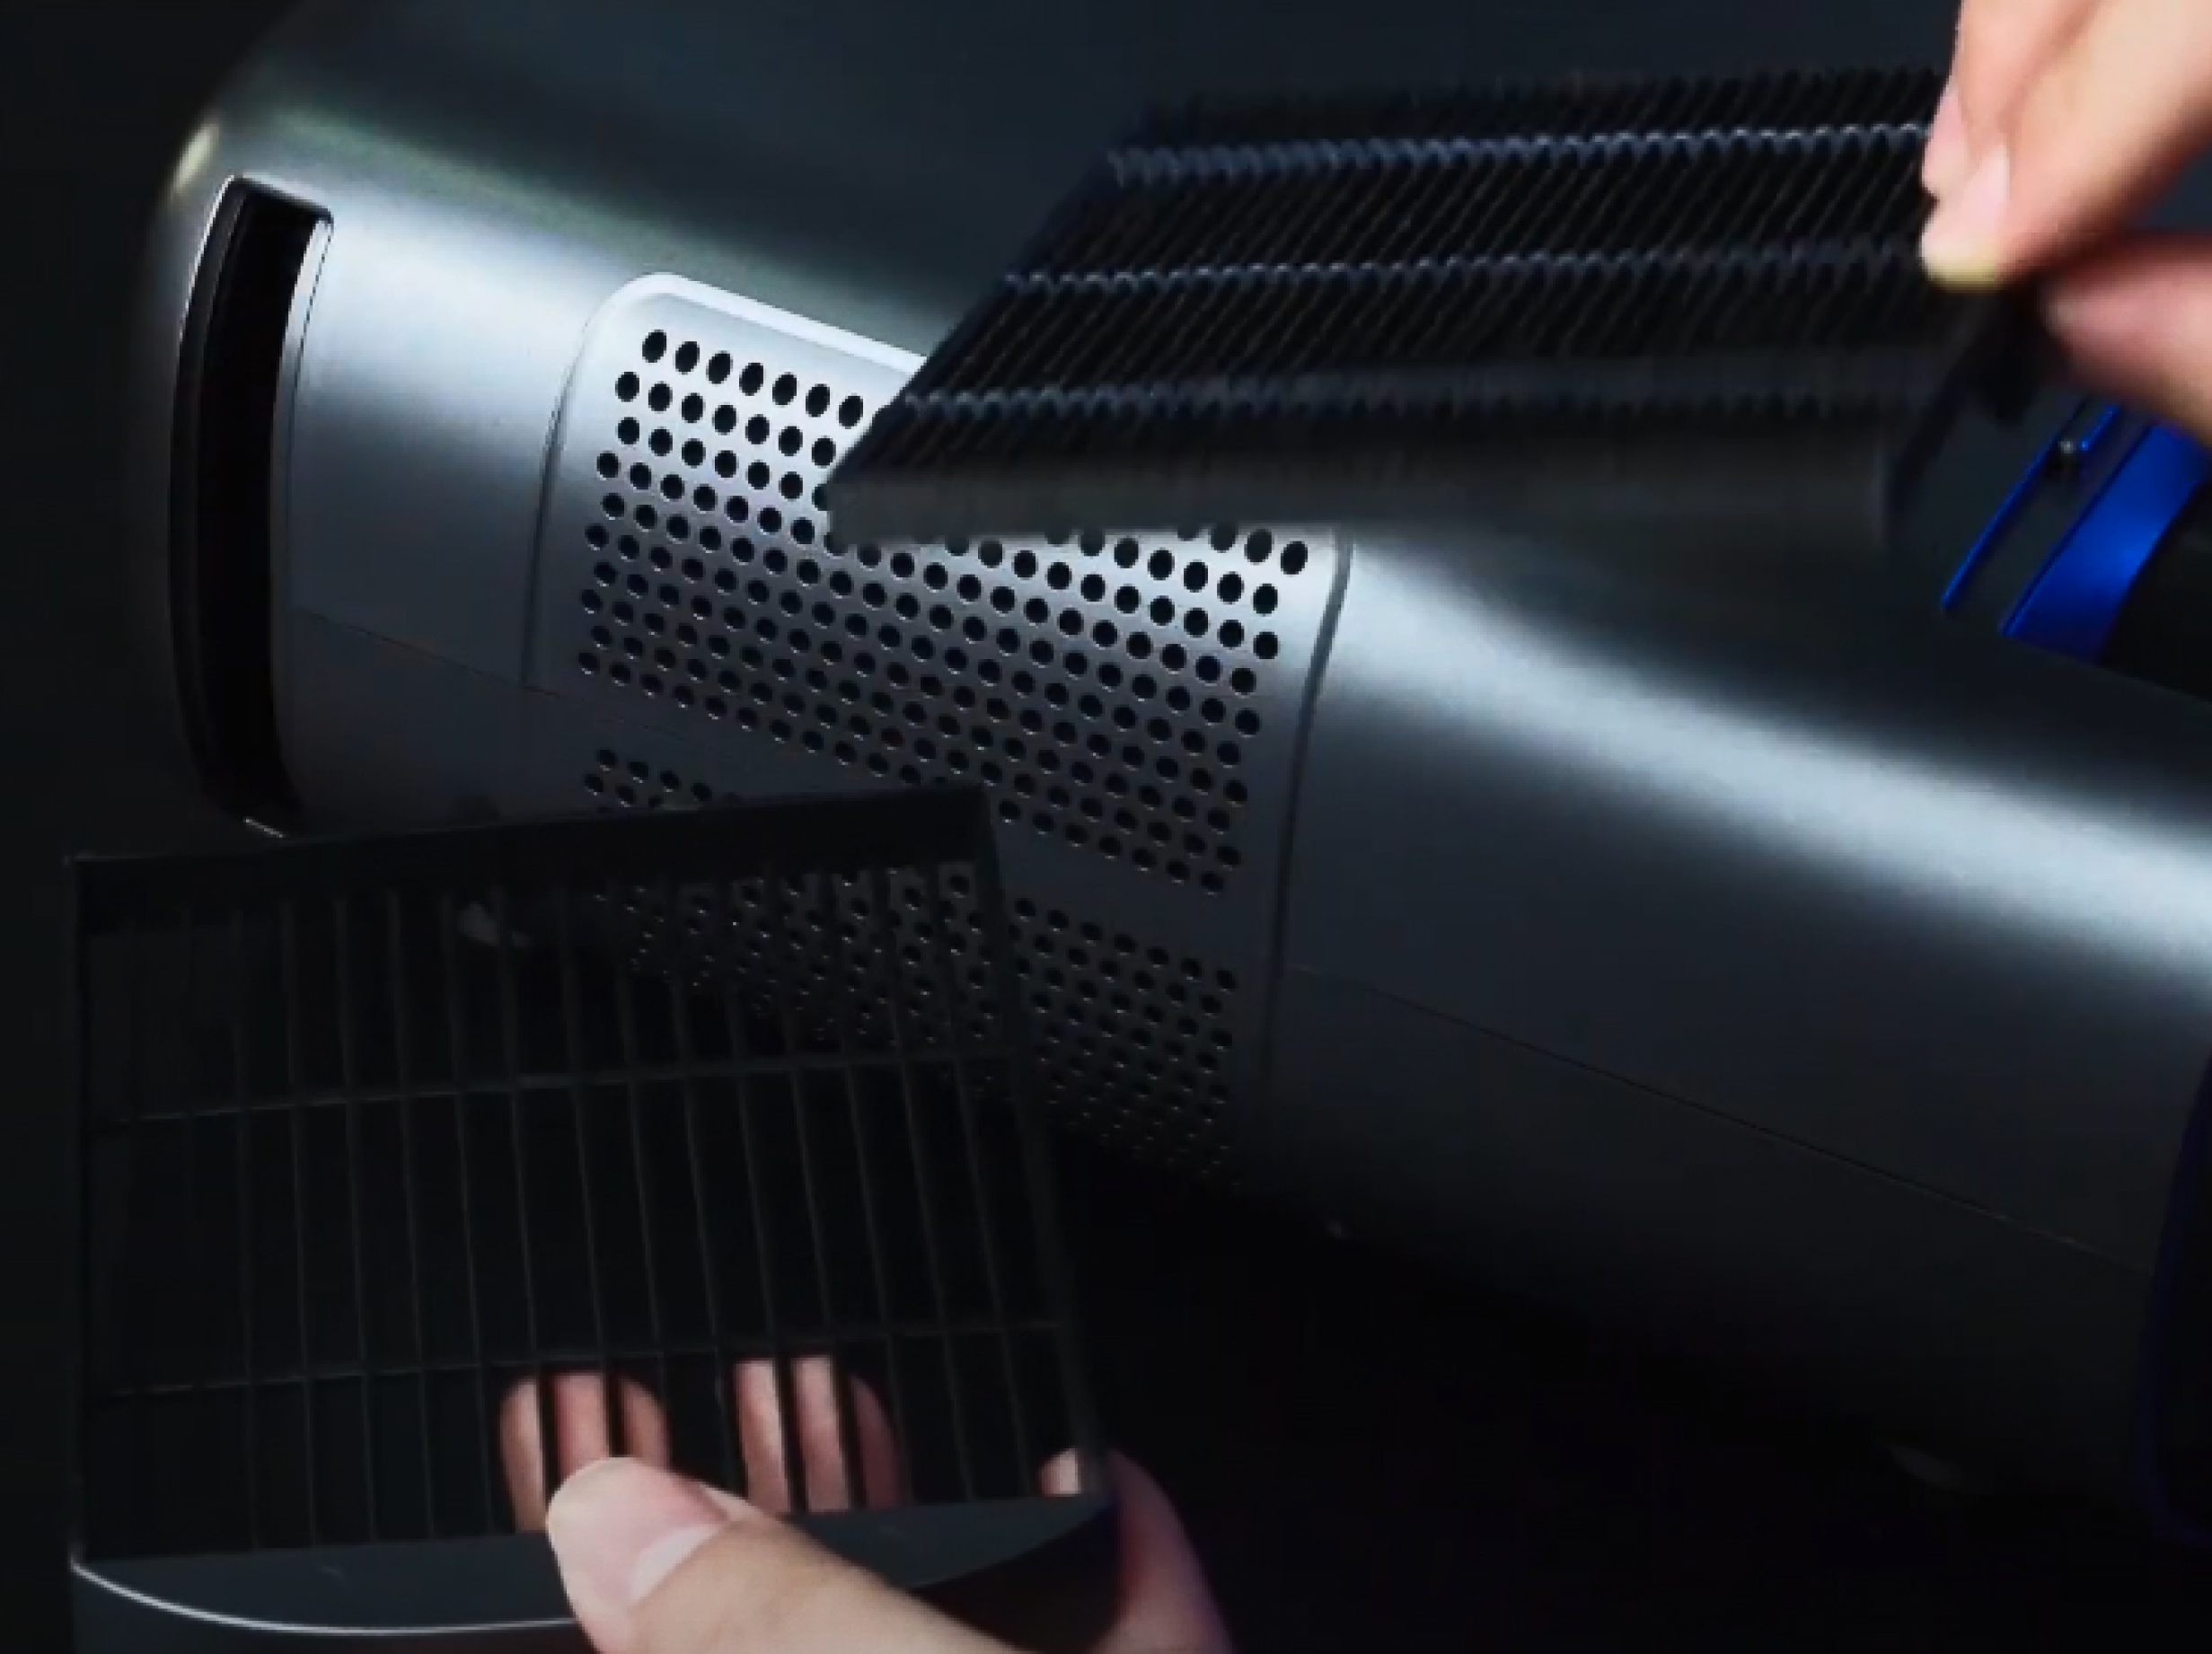
To prevent burn spots from happening, it’s important to clean your projector regularly, about once a month. To prevent burn spots, we recommend the following:
- Clean or replace your projector air filter about once a month
- Give your projector adequate airflow
- Don’t leave your projector on for more than 8 hours at a time
- Don’t leave your projector on a static screen for extended periods
2. Dark Spots
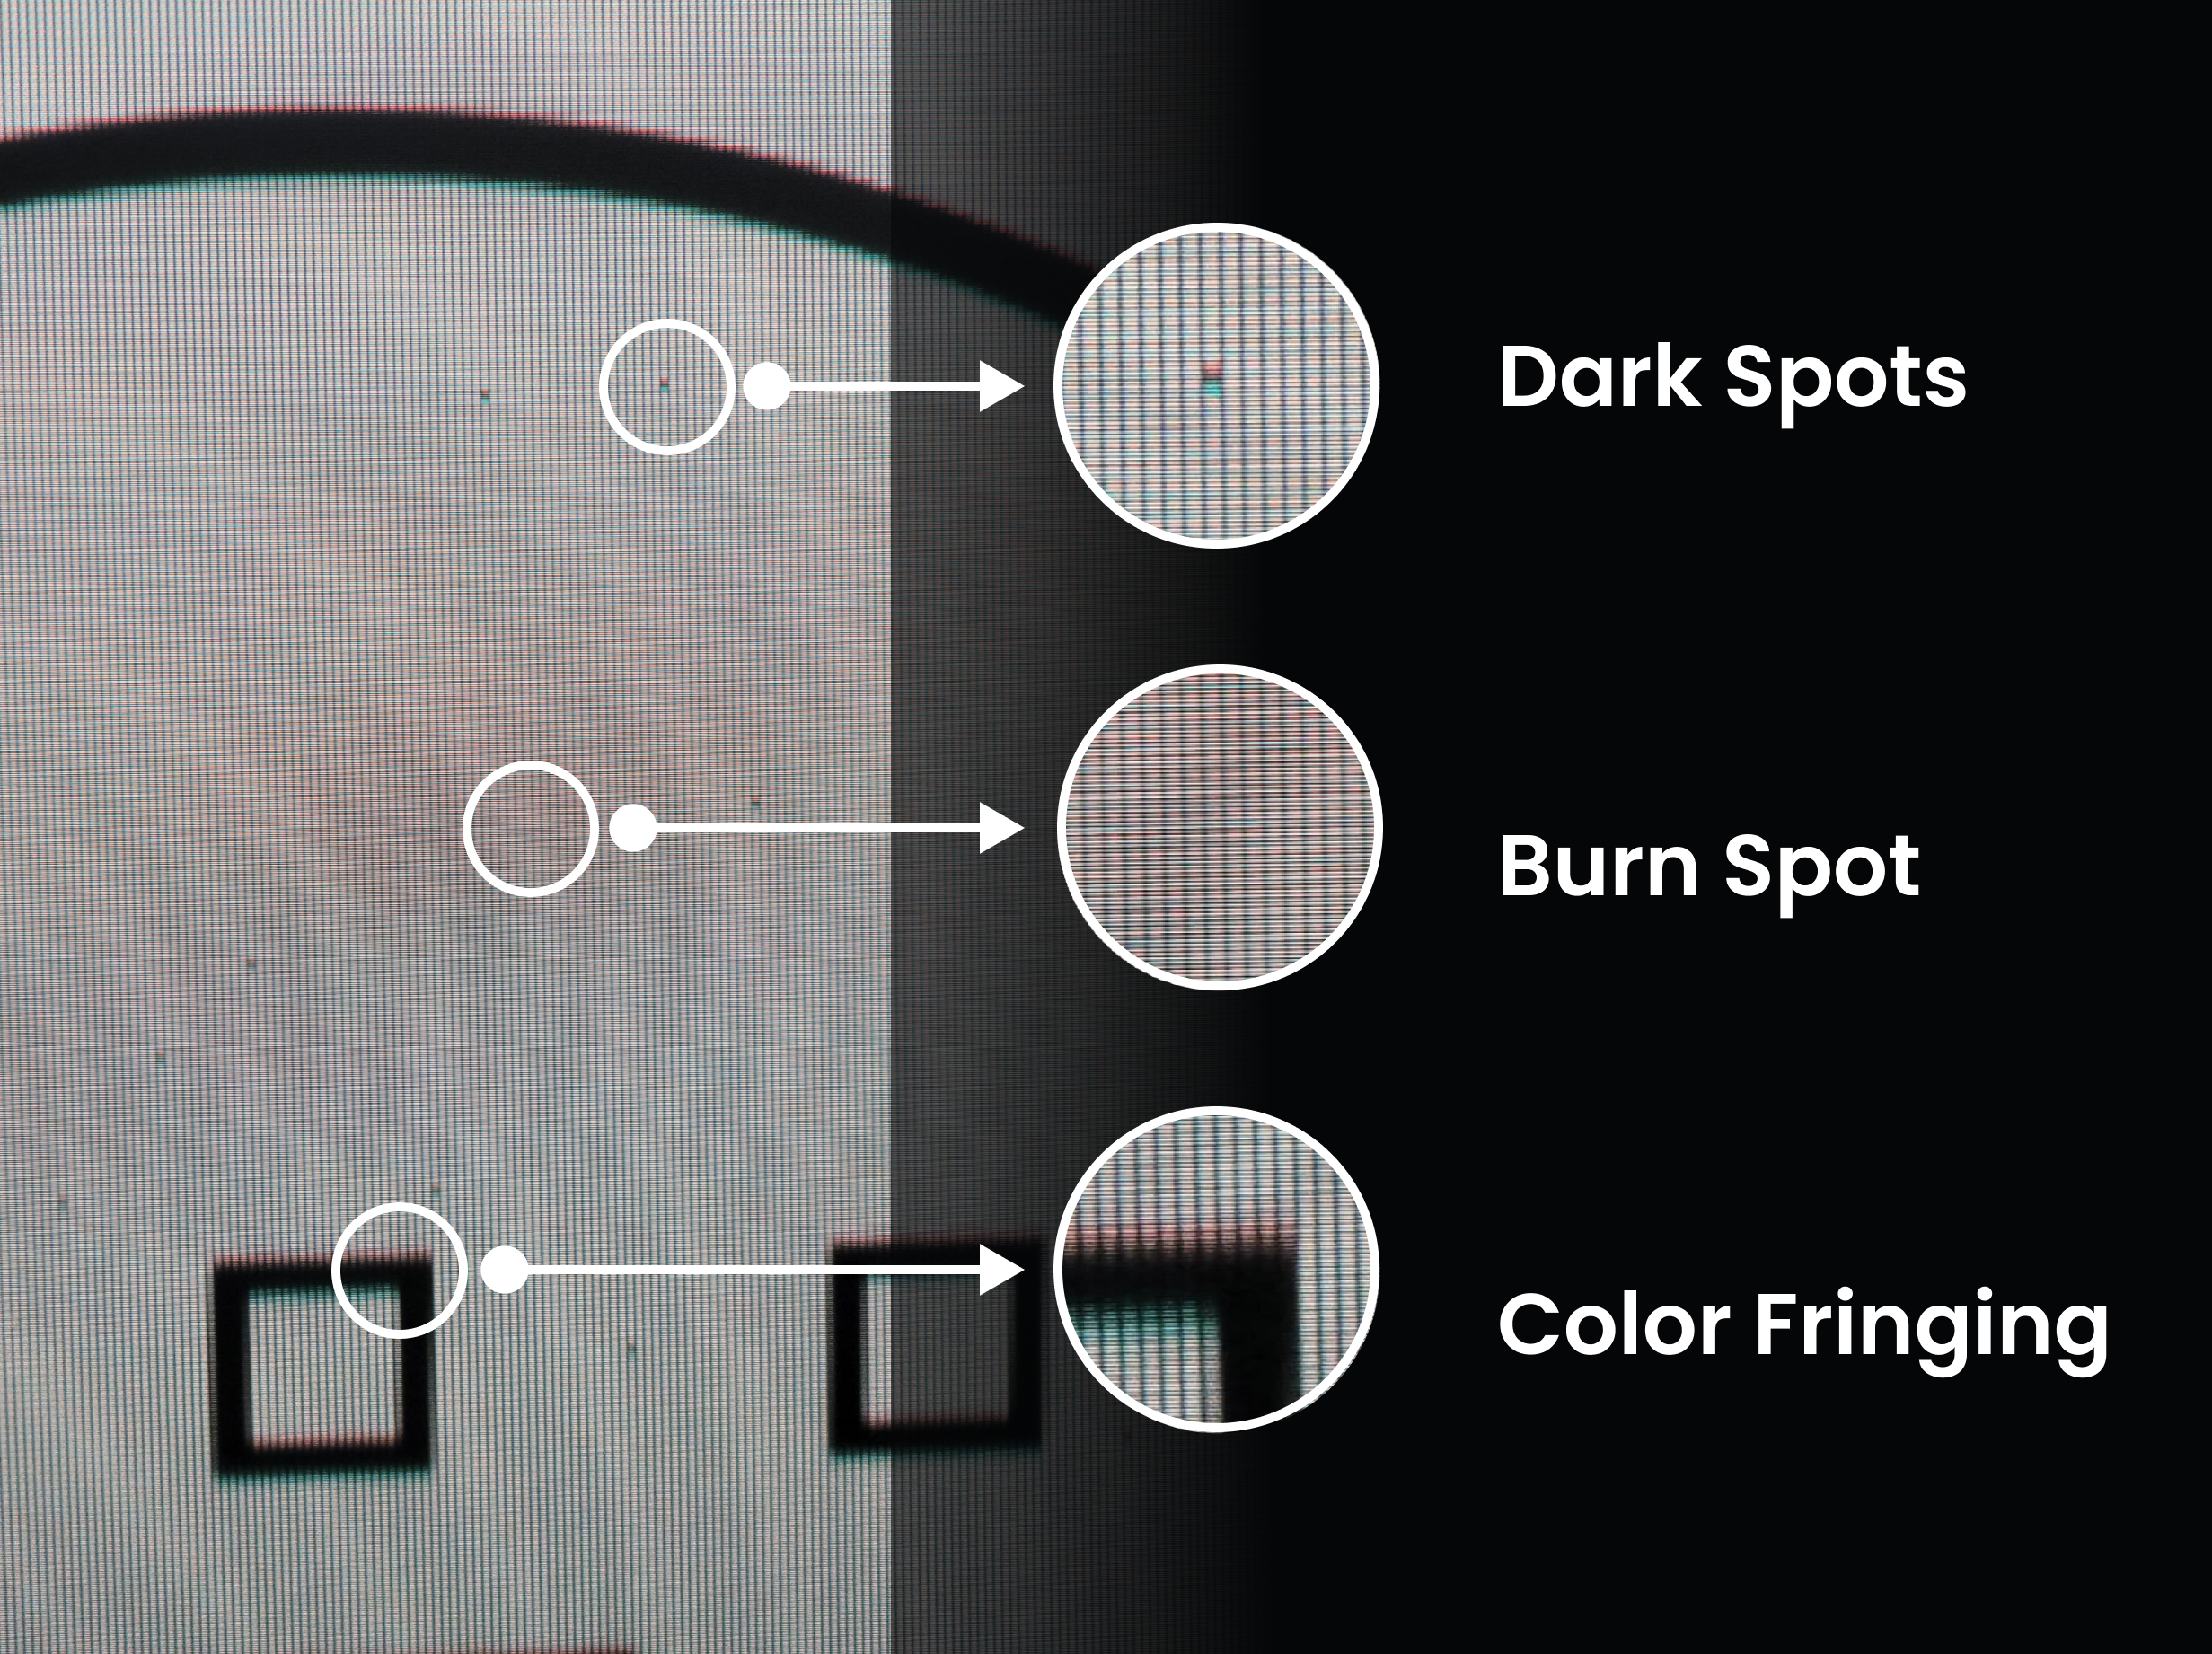
Although they sound similar, dark spots are different from burn spots. They’re smaller and darker, and unlike burn spots which bloom across the screen, dark spots speckle across it like constellations.
Dark spots vs Burn spots on a projector
| Quality | Dark Spots | Burn Spots |
|---|---|---|
| Size | Tiny specks | Large splotches |
| Color | Black or gray | Brown or blue |
| Cause | Dust on lens | Overheating |
| Fixable? | Yes | No |
Dark spots come from dust or debris on the lens. If it’s on the outside of the lens, it can easily be wiped away. But if there’s dust or debris on the inside, the projector will need to be sent in for professional cleaning.
What are dark spots on a projector?
Dark spots are small dark speckles caused by dust on the projector lens. They may be gray or black, and they’re usually blurry.

Some dark spots are only noticeable up close, or when the projector is displaying a white screen.

Larger debris like hair or lint can cause more noticeable dark spots.
What causes dark spots on a projector?
Dark spots are caused by dust or debris on the lens. Since many projectors use a closed lens system, it’s much more common for dust to settle on the outside of the lens. That’s great news — if the dust is on the outside of the lens, it’s easy to wipe away.
However, if your projector doesn’t have adequate airflow, dust may have gotten sucked into the projector and stuck onto the lens from the inside.
Can dark spots be fixed?
Yes, since dark spots are caused by dust on the lens, you can fix them by cleaning the lens. You may or may not be able to do this at home, depending on where the dust is:
- If the dust is on the outside of the lens, it can be wiped away with a soft microfiber cloth.
- If the dust is trapped behind the lens, the projector must be professionally cleaned.
- If the dust is inside the lens, it cannot be cleaned. However, this counts as a manufacturing defect, making it eligible for warranty replacement.
Not sure where the dust is? Try cleaning the outside of the lens first, using a soft microfiber cloth. It can either be dry or slightly dampened with water or lens cleaning solution.
If the dark spots persist, the dust may be an internal issue and you should contact the manufacturer about potential warranty coverage.
How to prevent dark spots on a projector
Prevent dark spots by cleaning your projector lens regularly and keeping the device in a well-ventilated area to reduce dust buildup.
3. Hot Spots
Bright spots in the middle of your UST screen are known as “hot spots”. They’re easy to fix if you swap out your projector screen, but if you don’t want to spend on a new screen, you may be able to fix it by adjusting your projector brightness and other settings.
What are hot spots on a projector?
Hot spots are bright or washed-out areas on the screen, usually circular in shape. They’re brightest in the center (for long-throws and USTs) or near the bottom (for U STs) of the projector screen.

While watching content, the hot spot may cause the image to be washed out towards the center or bottom of the screen.

The effect is even more obvious when displaying a plain white screen. Notice the spotlight effect in the middle of the projector screen?
What causes hot spots on a projector?
Hot spots usually happen because you’re watching a UST projector on a high-gain screen. The reason that hot spots are common for this exact combination is two-fold:
- The placement of UST projectors in front of the screen creates uneven light distribution. Since the light has less distance to travel in the center-bottom of the screen than the top and outer edges, the light is more concentrated towards the bottom.
- High-gain screens are more reflective than low-gain screens, which can amplify any differences in light concentration.
Can hot spots be fixed?
Yes! By changing your projector settings, throw distance, and screen type, you can easily reduce or eliminate hot spots.
How to prevent hot spots on a projector
The best way to prevent hot spots on a projector is to choose the right screen for your space before you buy. If you already have a projector screen, there are a few ways you can reduce or eliminate hot spots.
- Adjust the screen gain setting on your projector: Some projectors give the option to change the screen gain or screen type. Adjusting this setting may reduce hot spots. On the NexiGo Aurora Pro MKII, you can do this by going to Settings > Display > Projector Screen.
- Lower your projector brightness: Reduce brightness or gamma by 1–2 points to gently lower the intensity of your projector. This will give your projector a more balanced look and reduce glare on high-gain screens.
- Move your projector farther away from the screen: Increasing the distance between the projector and the screen may help reduce the intensity of light on the screen, spreading it more evenly and reducing hot spots.
This method is not recommended unless you’re projecting onto a wall or oversized screen. On a smaller screen, you may have to resize your screen digitally to make your projection fit, which will result in lower resolution and higher latency. However, it’s still worth it to try as a last resort before spending money on a different screen. - Use a different screen: Lower-gain screens (under 1.0) are less likely to develop hot spots. Just keep in mind that the ideal screen gain varies depending on how much ambient light there is in your space. For help finding the right UST screen, check out our recent blog.
4. Dead Pixel or Frozen Pixel
If there’s a single white pixel on your projector screen that won’t change, you likely have either a dead pixel or a frozen pixel. If the pixel is permanently unresponsive, it’s a dead pixel. In some cases, it may be possible to reset the pixel by watching a frozen pixel fix video (warning: may cause seizures!), in which case it’s simply a frozen pixel.
Note that while black, red, green, and blue dead pixels are also possible, they’re less common on projectors.
What are dead pixels on a projector?
Dead pixels are single pixels that won’t respond even after switching to different content or restarting your projector. They may be white, black, or any bright single color. However, on projectors, they’re most often white.

Dead pixels on a projector are usually white

Dead pixels are more visible on an all-black screen

In extreme cases, there may be multiple dead pixels
What causes dead pixels on a projector?
Dead pixels are a rare issue, usually caused by aging components, physical damage, or manufacturer defects.
Can dead pixels be fixed?
Dead pixels cannot be fixed. However, it’s possible that the pixels are frozen, rather than dead. In this case, the problem can be fixed. Sometimes, dead pixels can become unstuck on their own after a few days.
If the pixels don’t reset after a couple days, you can try playing a video specifically designed to fix the issue. Frozen pixel fix videos are generally long (up to 10 hours) and work by flashing multiple colors and shapes in quick succession.
Due to the strobing nature of these videos, they can cause seizures or migraines and we don’t recommend staying in the room while it’s playing.
Instead, we recommend putting on one of the following videos, leaving the room, and coming back to restart the projector when it’s done. Below are three frozen pixel fix videos that we recommend. Start with the shortest one, and if that doesn't fix the issue, you can try one of the longer videos.
- 10 minute version (try this one first): https://www.youtube.com/watch?v=ePJQewAdszM
- 1 hour version: https://www.youtube.com/watch?v=LMK5aUPpak4
- 10 hour version (we recommend turning it off after 8 hours to prevent overheating): https://www.youtube.com/watch?v=uhXMDrPgIhI
If the pixel doesn’t reset after running one of the longer videos, it’s likely a dead pixel, meaning that it’s there to stay. We recommend reaching out to the manufacturer to ask about warranty coverage.
How to prevent dead pixels on a projector
Since dead pixels are usually caused by manufacturer defects or aging components, it’s not always possible to prevent them. However, you can help prevent dead pixels from physical damage by doing the following:
- Perform good projector maintenance, including cleaning your projector regularly and making sure not to run it more than 8 hours.
- Don’t leave your projector on a static screen for too long.
- Keep your projector off the ground and out of reach from children and animals.
- Keep the box your projector came in so that you have a safe way to transport it in case of a move.
5. Laser Speckle
When you look closely at your laser projection, do you see a layer of grain, like TV static? This is called laser speckle, and it’s common for UST projectors.
Some newer projectors like the NexiGo Aurora Pro MKII come with software to reduce laser speckle, but lower-end models may not have this feature. Luckily, you can fix this issue with the right projector screen.
What is laser speckle on a projector?
Laser speckle is a visual defect common to laser projectors. It looks like digital noise or TV static.

Laser speckle comes from a concentrated laser beam striking an uneven surface and scattering

Up close image of laser speckle on a projector screen (top) and a sheet of papter (bottom)
What causes laser speckle on a projector?
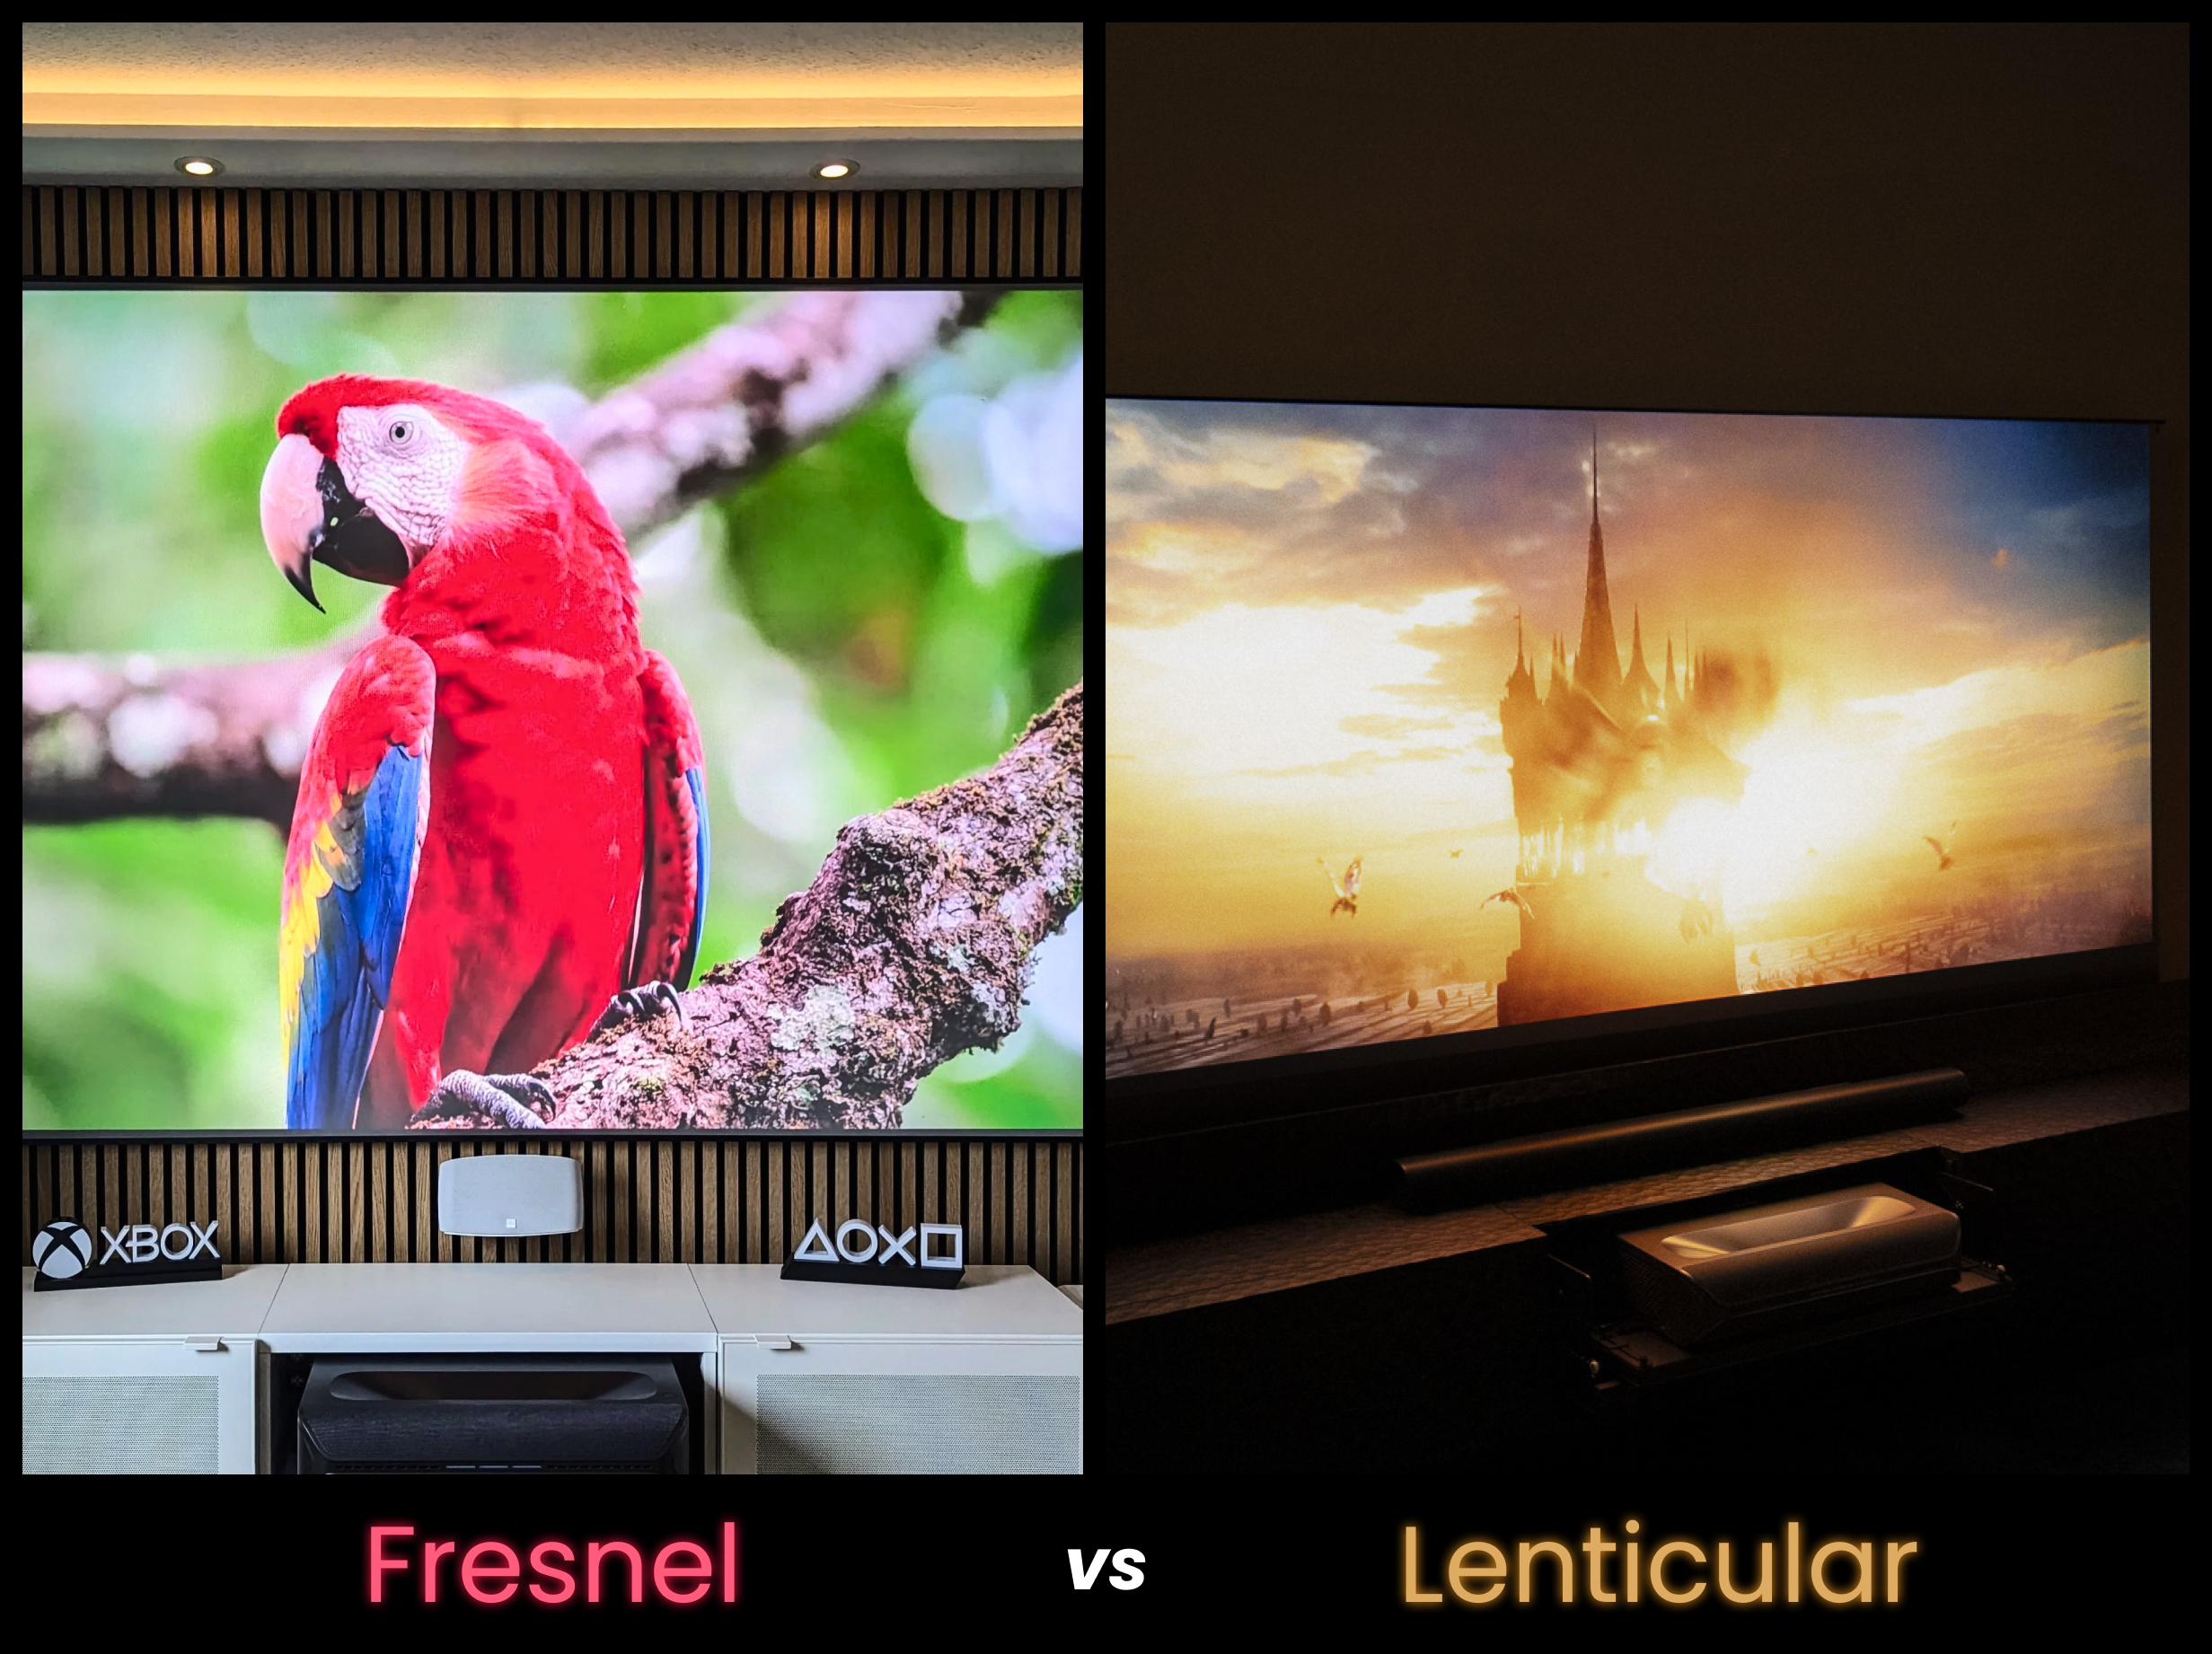
Laser speckle happens when the strong, concentrated beam of light from a laser hits a surface and scatters. It’s a common issue for laser projectors, and the effect is stronger on surfaces with an uneven texture, like painted walls or Fresnel screens.
Can laser speckle be fixed?
Yes, it’s possible to fix laser speckle by using a different screen. Out of the types of UST screens that reduce laser speckle, lenticular screens provide the best visual experience, but a matte white screen can resolve the issue too at a fraction of the cost.
How to prevent laser speckle on a projector
To prevent laser speckle, it’s important to consider what equipment you buy to furnish your home theater before you buy it. Otherwise, you may have to buy a different screen to fix the issue. To prevent laser speckle, you can:
- Use a projector immune to laser speckle. This could be a laser-LED hybrid like the NexiGo TriVision Ultra, a budget-conscious LCD projector like the NexiGo PJ40 Pro, or a laser projector tuned to reduce or eliminate speckle like the NexiGo Aurora Pro MKII.
- Use a projector screen that will reduce laser speckle. Lenticular and matte white screens are less likely to show laser speckle than Fresnel screens.
6. Color Fringing or Chromatic Aberration
Two names for the same issue, color fringing and chromatic aberration are a type of image blemish that happens when a projector isn’t perfectly in focus. Usually you can fix it by re-focusing the projector, but in some cases it can’t be fixed, when it’s caused by misaligned components or some other manufacturer defect.
What is color fringing on a projector?
Also known as chromatic aberration, color fringing is an image blemish where colors don’t line up, creating a blue, red, and/or green outline around text and other fine details.
In minor cases, this may look like a faint colorful edge to your subtitles, while in more extreme cases, it may create a full double image in several noticeable areas of your screen.

Color fringing is most obvious around white letters.

Color fringing may be most noticeable near the edge of the screen.
What causes color fringing on a projector?
Color fringing is caused by poor focus. It’s a sign that the lens is not focusing all colors at the same point. Sometimes it’s a manufacturing issue where some internal parts are misaligned. Other times, it’s just a result of the projector going out of focus, either from being moved, from an error during autofocus, or from the focal length changing as the projector warms up.
Color fringing is most common in LCD and 3LCD projectors, although it may happen in laser projectors too.
Can color fringing be fixed?
Sometimes. Minor color fringing can be fixed by adjusting projector focus, but if the color fringing is too severe, it may be a hardware issue and unfixable without professional repair.
How to prevent color fringing on a projector
To prevent color fringing on your projector, it’s important to make sure your projector is always in focus. Follow these guidelines for ensuring good focus:
- Adjust the focus in the settings menu. If autofocus doesn’t fix the issue, try focusing the projector manually.
- Turn on the projector ~30 minutes before you want to start watching, so the projector has had time to warm up. The focus can sometimes shift during the first half hour after powering on, so if you adjust the focus right away, you may have to adjust it again soon after.
- Clean your projector regularly, as dust on the lens can sometimes cause focus or color fringing issues.
- Point your projector straight at the screen or wall, so that you don’t need keystone correction to get a perfect image. When the projector is at an extreme angle, focus issues and color fringing can happen on one side of the screen, since both sides of the screen will have different focal lengths.
If you still have color fringing, please reach out to the manufacturer, as there may be an internal issue causing it.
7. Rainbow Effect (RBE)
Have you turned your head in front of a projector and seen rainbows? That makes you a member of the 40% of people who can see rainbow effect (RBE).
Rainbow effect (RBE) is a phenomenon that happens when the colors in a projector refresh at a different rate from one another, and/or at a different rate from your eyes. There’s no fix to rainbow effect (RBE) without replacing your projector, so make sure to test your new projector for rainbow effect (RBE) early while it’s still in the return window.
What is rainbow effect (RBE) on a projector?
Rainbow effect (often abbreviated as RBE) is a visual artifact that looks like rainbows moving across the screen. In mild cases, rainbow effect (RBE) may look like a colorful double image that only appears during fast scenes or when you move your eyes across the screen. In more extreme cases, you can see visible bands of color on your image that remain static or roll up/down the screen.

Rainbow effect (RBE) usually looks like a colorful double image. This type of rainbow effect (RBE) cannot be easily captured on camera, but here is a digital approximation.

More extreme rainbow effect (RBE) looks like bands or gradients of color. This is the type of rainbow effect (RBE) that’s easier to pick up on camera.
Rainbow effect (RBE) is most obvious with DLP and single laser projectors, but it can appear in other types of projectors too. Some people may not notice RBE at all and may need a camera to see it, while other people are especially sensitive to RBE and may feel physical effects, including the following:
Symptoms of RBE Sensitivity
- Dizziness
- Disorientation
- Headaches
- Nausea
If you feel these symptoms while watching your projector, stop watching immediately and consider exchanging your projector for a tri-color laser or LED model. If you have a severe reaction to RBE, please consult a physician.
What causes rainbow effect (RBE) on a projector?
Rainbow effect is caused by a mismatch between the refresh rate of the screen and the framerate of your eyes or camera.
Can rainbow effect (RBE) be fixed?
Rainbow effect can not be fixed; it’s an inherent quality of some projectors.
How to prevent rainbow effect (RBE) on a projector
The only way to prevent rainbow effect (RBE) is to choose a projector with technology designed to reduce rainbow effect (RBE). This often means choosing a projector without a DLP chip or spinning color wheel.
Which projectors don’t get rainbow effect (RBE)?
- LCD projectors don’t get rainbow effect (RBE) at all
- LED projectors are also resistant to rainbow effect (RBE)
- Tri-color laser projectors are less likely than single laser projectors to get rainbow effect (RBE)
- Hybrid light sources are less likely to get rainbow effect (RBE). NexiGo TriVision Ultra uses a hybrid light source that brings the best of tri-color laser and tri-color LED. As a result, it’s brighter, more vibrant, and completely RBE-free!
Best projector for reducing image blemishes
There are many image blemishes to avoid, and some of them are more common than others. While certain image blemishes like dark spots and dead pixels affect all projectors, others only affect LCD or single laser projectors.
Image Blemish by Projector Type
| Image Blemish | Cause | Fixable? | Affected Projector Types |
|---|---|---|---|
| Burn spots | Overheating | No | LCD |
| Dark spots | Dust on lens | Yes | All of them |
| Hot spots | Screen too reflective | Yes | UST (with high-gain screen) |
| Dead pixels | Manufacturing defect or aging components | Maybe (if they're frozen pixels) | All of them |
| Laser speckle | Textured projector screen | Yes | Laser (especially single laser) |
| Color fringing | Poor focus | Maybe (if it's an internal issue) | LCD, sometimes laser |
| Rainbow effect (RBE) | Refresh rate issue | No | DLP, single laser |
By far, the most blemish-resistant projectors are tri-color laser and tri-color LED projectors. To avoid all of these common projector issues, we recommend choosing one of these projectors.
- Tri-color laser: NexiGo Aurora Pro MKII
- Hybrid tri-color laser, tri-color LED: NexiGo TriVision Ultra
But ultimately, you can prevent most of these issues by building your home theater holistically — choosing the right screen for your projector, accounting for airflow, and designing a stable mounting solution. Treat your projector well, and it’ll last you many years to come.
Frequently Asked Questions
Whether you work at home or in the office, NexiGo provides a wide range of quality and affordable technology to elevate your daily life. Our products encompass everything from webcams and portable monitors to projectors and gaming accessories.
Articles we think you'll love