
How to Use a Projector for Sewing
Amber Stefanson | August 11, 2025
Did you know you can use a projector to sew from a pattern? Instead of printing out your pattern, you can project it directly onto your fabric and trace the lines where you need to cut.
My teammate Savanna tried it out while making a plushie for her daughter. And let me tell you: it was such a time saver.

Design by TinyFolkPatterns on Etsy
When you use a projector, you don’t need to print out your pattern. This is especially helpful for large format patterns that have been purchased online. If you can’t send these patterns to a specialty printer, the common suggestion is to print the pattern out on several letter-sized pages and then tape them together. Even if you haven’t visited this particular corner of crafting hell, I’m sure you can imagine it gets very sticky very fast.
In this article, I’ll give you the step-by-step instructions for how to use your projector to transfer your sewing pattern onto your fabric. By the end, you’ll have the confidence to line up your projector and start your next project — saving you time, paper, and some sanity along the way.
What You Need
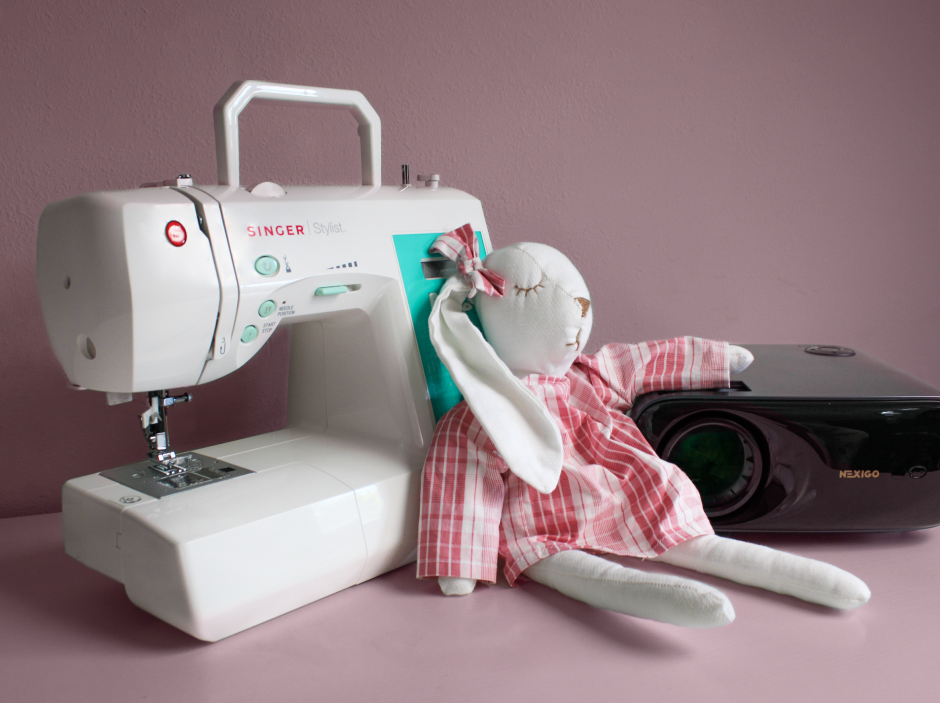
- Projector: Any projector works. For this tutorial, Savanna used the NexiGo PJ40 Ultra.
- Sewing Pattern: Any PDF sewing pattern will work; it doesn’t need to be specially prepared for using with a projector. For this tutorial, Savanna used the JOY Bunny by TinyFolkPatterns.
- Fabric: This is what you will project your pattern onto.
- USB-A Drive: To transfer your pattern to the projector.
- Computer: To convert your sewing pattern to a PNG as needed, and to transfer the file to the USB-A Drive.
- Pushpins or Tape: To hang the fabric on the wall, or to keep it in place on the tabletop.
- Overhead Tripod (optional): If you want to project the pattern down onto a tabletop.
- Tailor’s Chalk or Disappearing Marker: To trace the pattern onto your fabric.
- Fabric Shears: To cut the fabric where you traced the pattern.
- Sewing Machine and Notions: Check your sewing pattern to figure out exactly what you’ll need!
Video Tutorial
Are you more of a visual learner? Follow along with Savanna as she makes the JOY Bunny plushie by TinyFolkPatterns on Etsy.
I highly recommend this pattern if you want a quick project to try out with your projector. Since it’s not a wearable, it’s not as important to get the exact dimensions, which can take time to get right when you’re working with a projector.
Step 1: Transfer PDF Pattern to a USB-A Drive
Download a pattern on your computer and load it onto a USB-A drive. You will use this USB drive to load the pattern onto your projector.

Plug the USB-A drive into your projector
Depending on your device, you should be able to access all the files on your USB drive by opening the File Manager on your projector or by going to Input Source > USB.
If you can’t find the file with your sewing pattern, it’s possible that the file type is not compatible with your projector. Although NexiGo projectors are compatible with PDF files, for the best compatibility across all projectors I recommend converting the PDF into a PNG or JPG file. You can do this for free with Canva using the following steps.
Using Canva to Convert PDF to PNG
- Click Create (+) and select Upload from the bottom of the list of options
- Open the file
- Click Share and then select Download
- Select PNG under File type
- Click Download
Step 2: Set Up Your Projector
Next, set up your projector in a good place. There are two ways you can go about this: Wall Projection (where you point the projector at the wall) or Tabletop Projection (where you point the projector onto a tabletop).
Each method has its pros and cons. I’ll go over what they are to help you decide which method will work best for you.
When to Use Wall Projection
The easiest way to go about this is to set your projector onto a table and point it at an empty wall. You will need to pin your fabric taut on the wall.
This method gives you the freedom to move your projector closer to or farther from the wall as needed to resize the projection.

When to Use Tabletop Projection
An alternate method is to place your projector on an overhead tripod pointed down at a tabletop. You will need to lay your fabric flat on the table.
This can be easier and more comfortable to trace, but it may be more difficult to set up your projector, since you may not be able to get the perfect distance or angle with an overhead tripod.

Step 3: Resize and Measure Your Projector
Finally, you’ll need to resize the projection so that the pattern is at the correct scale. To do this, you’ll need to find some point of reference. Some patterns may include a small 2” x 2” square in the corner, or a similar scale tool. Other patterns may even come with a file made for projectors, making it even easier to find the right size.
Use a ruler or measuring tape to make sure that this reference point is 100% accurate. Even small deviations may cause your finished project to be unwearable.
How to Resize Your Projection
To increase the size of the projection, move your projector further away from the wall (or table).
To decrease the size of the projection, you can either move your projector closer, or you can use the Zoom or Resize function in the Display settings to shrink your projection to as little as 50% of its original size.
For more tips on lining up your projector, check out our free 25-page DIY guide!

In her tutorial, Savanna uses Zoom to shrink the projection.
Step 4: Pin Fabric in Place
Pin your fabric to the wall (or tape it if you’re projecting onto a tabletop). Make sure your fabric is pulled taut against the wall. You’ll want to avoid any slack, but you also want to avoid pulling so tightly that you get ripples in the fabric. You may need to use 8 or more pushpins to make sure the fabric is perfectly flat.

Savanna uses pushpins to attach her fabric to the wall.
Step 5: Trace the Pattern
Trace the pattern in your size using tailor’s chalk or a disappearing marker. It can be a bit tricky to trace without blocking the projection. To avoid casting a shadow, you may need to hold your chalk or marker at a more extreme angle than usual. This takes a little getting used to, but it’s not too bad once you’re in a flow.

Savanna traced with a pencil, but we recommend
a removable method for delicate fabrics.
One more word of caution: make sure that the fabric doesn’t move while you trace. It can be very difficult to realign it perfectly with the work you’ve already done.
Step 6: Cut Along the Lines
Finally, take your fabric down and cut along the lines that you traced. Now you’re ready to start sewing!

Savanna cuts the fabric for her project.
Get the Free PDF Guide
That’s all there is to it! Thanks for reading.
For this and more ideas on how to use your projector for DIY projects, enter your email address below and we’ll send you our free PDF guide, 3 DIY Projects to Do with Your Projector.
Whether you work at home or in the office, NexiGo provides a wide range of quality and affordable technology to elevate your daily life. Our products encompass everything from webcams and portable monitors to projectors and gaming accessories.
Articles we think you'll love