How to Set Up Your Projector for Gaming: Low Latency Settings for Nintendo Switch 2 & PS5
Ann Marie Bottita | August 29, 2025
We’ve all been there. Playing games with friends can be hard to follow on a small screen. Your section of the split-screen is small and hard to see, and you might have to crowd in or view from an awkward angle in order to see anything at all.

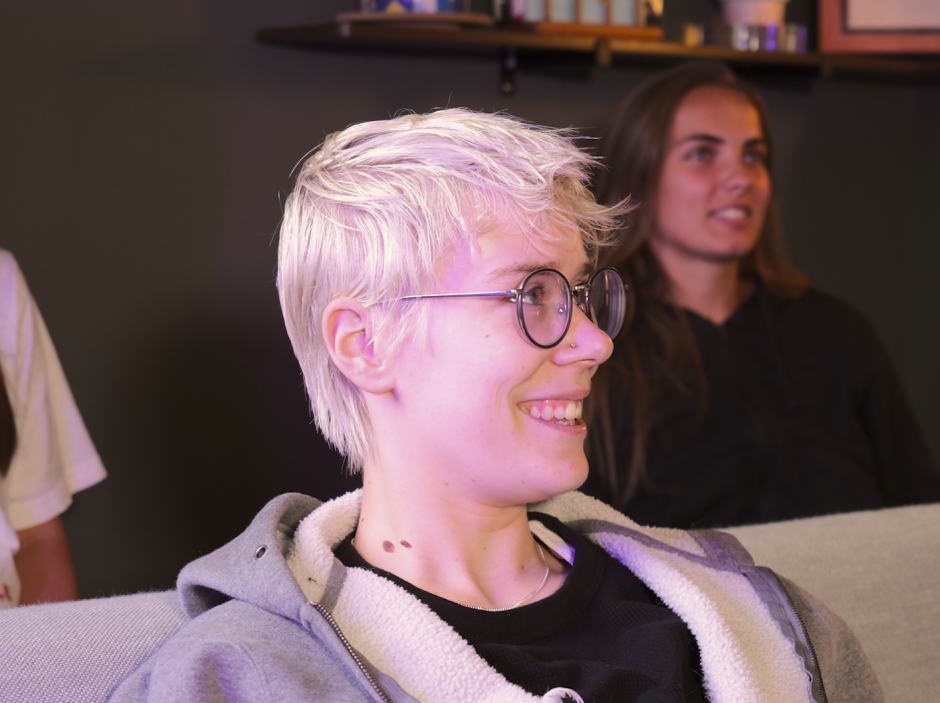
Gaming on a small screen can be frustrating!
Projectors are great for couch co-op because even at their smallest size, each player gets their own 40” screen.

Gaming on a 100" screen makes a huge difference
And with a few tricks, you can even get your latency as low as 4.2 milliseconds.
In this article, I'll go over how to set up your screen to reduce latency and the recommended settings for your projector and console. Also stay tuned for a video tutorial, coming soon to our YouTube channel!

1. Set up your screen
When resizing your screen, keep in mind that while features like Keystone Correction and Zoom make it easy to get started, they can drastically increase your latency.
Instead, do what you can to calibrate your projector by hand. Scoot it forward for a smaller screen, or pull it back for a larger one. You can use this chart to find the right distance for the screen size that you’re after.

Recommended distance for PJ40

Recommended distance for Aurora Pro
Fixing Distortion
To fix distortion, you can shift your projector side-to-side. You can also adjust the legs or kickstand on the bottom to tilt it up to the right angle.

On the Aurora Pro and Aurora Pro MKII, you can adjust the legs by spinning the dials on either side.
Raising or Lowering the Screen
To raise or lower the screen, you can use an adjustable projector stand. Three great options are a projector tripod, a desktop riser, or a motorized projector tray like the NexiGo AS400.

If you don’t have any of this gear, you can get a little creative with it. Just don’t leave your projector somewhere it could fall over!
Turn off Automatic Keystone Correction
If you’re using the TriVision Ultra or another projector that supports automatic keystone, don’t forget to go into the settings and turn this feature off. Otherwise, the next time you turn on your projector, you’d lose all your hard work!
2. Use the HDMI gaming ports
Many projectors have designated HDMI ports for gaming. If yours has one, use it! That's how you get the lowest possible latency while gaming.
Check the HDMI ports on your projectors and see if one of them is labelled “Game” or “Gaming”. On most of our projectors, it's HDMI 2.
3. Decide whether to use a screen
Depending on your projector, it can be worth considering whether to use a screen or not when playing games.
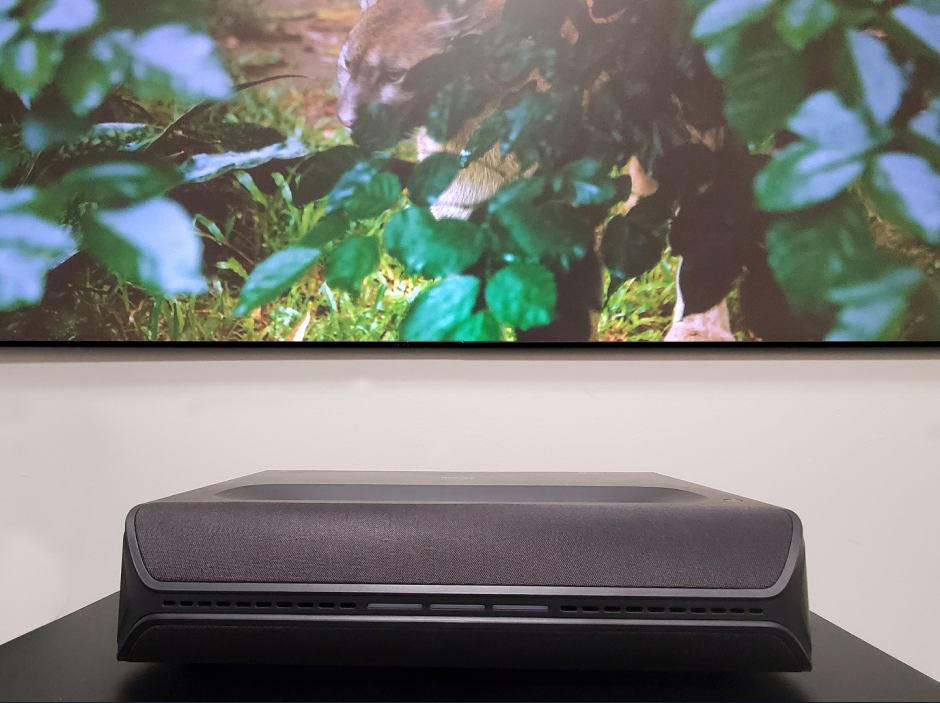
For short throw projectors like the Aurora Pro, it’s best to use a screen, since the steep projection angle will highlight any texture or bumps on your wall. An ambient-light rejecting (ALR) screen is a great choice. It will increase contrast, especially if you have any lights on in the room.

Aurora Pro projects onto an ALR screen
For long throw projectors, using a screen will make the game look better overall, but it’s not required. You can project straight onto the wall for a huge 200-inch display at a minimal cost.
4. Change your projector settings
Once you have your projector set up, it’s time to dive into the settings menu. While in an HDMI input, access the sidebar settings on your remote.
These recommended settings will give you much lower latency, but keep in mind that it will disable keystone correction to do so.
Aurora Pro Series
On the Aurora Pro and Aurora Pro MKII, locate Low Latency and enable it. Then scroll down and enable 1080P Display. Additionally, enable MEMC for smoother gaming.
TriVision Ultra
On the TriVision Ultra, scroll down and enable Low Latency. Scroll back up and enable 1080P Display
PJ40 Series
On the PJ40, go to Picture Mode, select Game, then turn on Low Latency Mode.
On the PJ40 Ultra, enable Game Mode. Note that this option is not available on the internal streaming apps, but it will work with an external input like a streaming stick.
5. Change your console settings
It’s also a good idea to optimize your console settings so that it works better with your Aurora Pro or TriVision Ultra projector.
If you’re using the PJ40 or another NexiGo LCD projector, you can skip this step, since the default settings are already optimized for your device.
Recommended Settings for Nintendo Switch
On the Nintendo Switch, go to Settings > TV Settings. Or if you have the Nintendo Switch 2, go to Settings > System Settings > Display.
For both Nintendo Switch consoles, set:
- TV Resolution to Automatic
- RGB Range to Automatic
- Screen Burn-In Reduction to On
- Match TV Power State to On
If you have the Nintendo Switch 2, also set:
- Auto Low-Latency Mode (ALLM) to On
- HDR Output to For All Software
- 120Hz Output to On (if you want smoother gaming in 1080p)
- 120Hz Output to Off (if you want sharper visuals in 4K at 60 Hz)
Finally, go into Adjust HDR and follow the on-screen instructions to calibrate the color and contrast.
Recommended Settings for PS5
On the PS5, go to Settings > Screen and Video > Video Output and set:
- RGB Range to Automatic
- HDR to On
- 120 Hz Output to Automatic
- VRR to Automatic
- Resolution to Automatic
Next, open Device Control and enable HDMI-CEC, along with every other setting. Then, go back, open Video modes, and tick every box.
6. Play
That’s all there is to it! Now you’re ready to throw an awesome game night with your projector.

Like what we do? Stay tuned for more.
Whether you work at home or in the office, NexiGo provides a wide range of quality and affordable technology to elevate your daily life. Our products encompass everything from webcams and portable monitors to projectors and gaming accessories.
Articles we think you'll love


