
How to Build a Gallery Wall the Easy Way with a Projector
Amber Stefanson | August 19, 2025
Gallery walls can be difficult to plan and execute. Luckily, there are a lot of hacks out there to make it easier. You can use painter’s tape to outline your picture frames so that it’s easier to visualize where everything will go. Maybe you’ve also heard of using a sheet of butcher paper to find the right place to nail in your picture frames. And of course, there’s the viral trick of using a fork to line up your picture wire over a nail.
In this article, I’ll go over how to do it all with a home theater projector. Using digital tools, you can take your gallery wall from the planning phase to a fully finished interior design statement in just a few minutes.
Perk of Using a Projector: Less waste
If you already have a projector, there’s a huge material advantage to doing it this way. Unlike the other methods I mentioned, if you use a projector, you won’t need to purchase tape, paper, or any extra materials that will just end up in the trash or recycling bin later.
Perk of Using a Projector: Way faster
It’s also a lot faster to use a projector. You don’t need as many measurements and you don’t need to double check for manual error. You just need to get everything digitized, and then you can let your computer take care of the math.
My teammate Ella used this hack to hang art in her new apartment, and it turned out so well! It was such a useful tool to help her imagine what her wall would look like before committing with a hammer and nails.

Ella’s finished gallery wall
Using a projector by far is the easiest and most time-efficient way to put together a gallery wall. If you’re ready to jump in and try it, you can follow along with her video tutorial below, or you can read on as I go over all the steps in detail.
Materials List

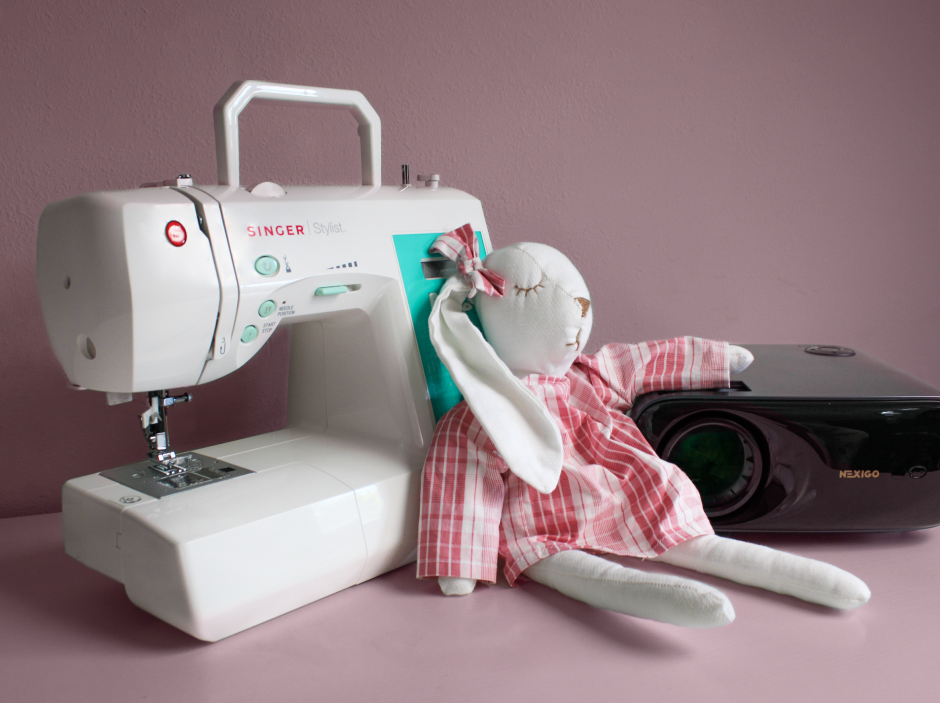
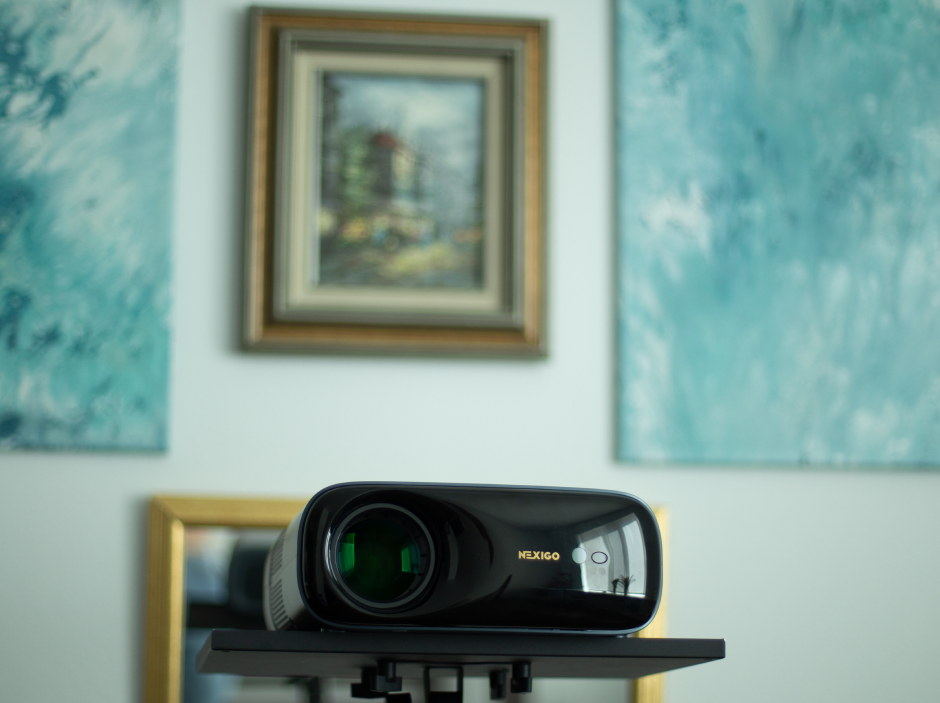
- Projector: Any projector does the trick. In her tutorial, Ella used the NexiGo PJ40 Ultra.
- Projector Tripod (optional): To set up your projector. A table or desk is a good alternative, but tripods are best because they’re height-adjustable.
- Art: Anything you want to hang on your gallery wall. Keep reading for more tips on choosing art that goes together!
- Hammer & Nails or Picture Hangers: For hanging the art on your wall. 3M Command strips are a great renter-friendly alternative!
- Measuring Tape: To measure your art & living space.
- Pencil: To mark the projection area on your wall.
- Computer: To design your gallery wall layout.
- Photoshop or Figma: To design your gallery wall layout.
- USB-A Drive: To transfer the gallery wall layout to your projector.
Video Tutorial
Are you more of a visual learner? Ella created a step-by-step video tutorial for you, so that you can follow along. Press play for our video walkthrough, or scroll down for the written instructions.
Step 1: Measure Your Art
Start by taking some measurements. Measure the width and height of each picture you’re going to hang. You’ll need these to figure out the placement of your artwork, so make sure to write these measurements down for each picture frame.

Ella measures a mirror
Don’t forget to turn the pictures over and make note of where the picture hanging hardware is, and how far from the top of the frame it is. If you’re using picture wire, make sure to pull the wire up in the middle as you’re taking this measurement.
Step 2: Measure Your Wall
Next, look at the empty space on your wall. How far do you want your artwork to spread? Visualize the total workable area as a rectangle, then use your pencil to make an L-shape mark where each of the corners would be.

Measure your total workable area
This measurement doesn’t have to be exact, but it does have to extend past where you want your artwork to be. Once you're done marking your workable area, make sure to measure it and write down the height and width for later.
Step 3: Convert Your Measurements to Pixels
Now it’s time to take all your measurements and convert them into pixels so that they’re usable in Adobe Photoshop. You can do this using the following formula using the standard PPI of projectors, 96.
Pixels = Inches x 96 PPI (pixels per inch)
You’ll need to do this calculation individually for the width and height of every picture. When you’re done, make sure to write down the height and width in pixels of each work of art.
You’ll need to do this same calculation for the total workable area that you measured in Step 2. This measurement will be used in Step 4 when you create the file for your gallery wall layout.
The whole process is easier than it sounds. To help you visualize this, let’s go over the example in Ella’s video.
Example
The math is really simple if you make note of the width and height of every picture. In Ella’s tutorial, she had five pieces of artwork to hang in her gallery wall:
- two 23” x 11” gold mirrors,
- one 14” x 16” framed italian painting, and
- two 18” x 24” blue canvases.
Ella jots down her artwork dimensions
As you can see, she made sure to break those down into width (w) and height (h).
Taking the width of the gold mirrors (23 inches) and multiplying it by 96 PPI, you get a digital width of 2,208 pixels. This measurement can then be used to digitally recreate the gold mirror to scale.
Repeating this process for all of the other measurements, we get these dimensions:
| Artwork | Width | Height |
|---|---|---|
| Gold Mirrors | 23” x 96 PPI = 2208 px | 11” x 96 PPI = 1056 px |
| Italian Painting | 14” x 96 PPI = 1344 px | 16” x 96 PPI = 1538 px |
| Blue Canvases | 18” x 96 PPI = 1728 px | 24” x 96 PPI = 2304 px |
| Total Workable Area | 60" x 96 PPI = 5760 px | 54" x 96 PPI = 5184 px |
Step 4: Set up Your Digital File
Now that you have all your measurements in pixels, it’s time to take your living room and make a digital version of it. Our goal is to recreate your wall space and artwork to scale using simple blocks of color.
Once you have this done, you can begin moving the blocks around to design the layout of your finished gallery wall.
To get started, you need to set up a digital design file in Photoshop if you have it, or using Figma as a free alternative.
Setup in Adobe Photoshop
First, we’ll need to create a file the same dimensions as the total workable area that you measured in Step 2. You can do this with the following steps.
- Open Photoshop and select New file
- On the right, set the Width and Height of the file to be the same as your total workable area from Step 2.
- Set the Resolution to 96 Pixels/Inch
Next, you’ll need to recreate all the pieces of artwork as rectangles. To do this:
- Press U to open Rectangle Tool
- Click somewhere on the screen.
- Type the Width and Height in pixels of your first piece of artwork.
- Recolor the rectangle by clicking the Fill swatch in the toolbar at the top of the screen.
- Repeat this process for each piece of artwork that you have to hang.

Setup in Figma (free option)
Don't have an Adobe subscription? No problem. You can currently use Figma for free.
First, we’ll need to create a file the same dimensions as the total workable area that you measured in Step 2. You can do this with the following steps.
- Open Figma and click Design in the upper right hand corner to create a new file.
- Press F to use the Frame tool.
- Click and drag in the workspace until the dimensions of the frame match the Width and Height of your total workable area, as measured in Step 2.
- If you don’t get it exactly right the first time, go to the sidebar and under Layout, type in the Width (W) and Height (H) under Dimensions.
Next, you’ll need to recreate all the pieces of artwork as rectangles. To do this:
- Press R to open Rectangle Tool
- Click somewhere on the screen.
- Go to the sidebar and under Layout > Dimensions, type in the Width (W) and Height (H) of your first piece of artwork.
- Recolor the rectangle by clicking on the swatch in the sidebar under Fill.
- Repeat this process for each piece of artwork that you have to hang.
Step 5: Design Your Layout
Now, it’s time to start designing your layout. Click and drag the blocks of color until you find an orientation that you like.

Ella arranged her artwork in a flower-like shape
How to Design an Aesthetic Gallery Wall Layout
Need some advice for creating an aethetic layout? It's easy enough to line up everything on a grid, but a truly beautiful gallery wall requires a lot more finesse.
The best gallery walls look and feel organic while still being organized. They look full without feeling cluttered. This is a difficult balance to strike.
That's why I put together 6 tips that will help you design the perfect layout. These include rules of thumb like putting your favorites at eye level, as well as pointers for choosing frames that go together without feeling too matchy-matchy.
You can find these tips in our free PDF guide at this link or at the bottom of this page.
How to Export Your Design
Once you've finished designing your layout, go ahead and export the image as a PNG. To do this:
- On Photoshop, go to File > Export > Quick Export as PNG
- On Figma, click Export + at the very bottom of the sidebar, then select PNG as the file type and click Export
Next, transfer the file onto a USB-A drive. Make sure that the drive is formatted to FAT32, a format that is compatible with all NexiGo projectors.
Step 6: Set up Your Projector
Once you have your layout finalized, load the image onto a USB drive and plug it into your projector. Turn on the projector and point it at your wall. Now, you’ll need to adjust the size of the projection so that it matches up with the pencil marks you made in Step 2.

Line up the projection with the L-shaped pencil marks
All of the blocks of color should now be the same size as your picture frames, but go ahead and hold up one of your frames to double check before you start hanging your art.

Step 7: Hang Your Pictures
At this point, all that’s left to do is hang the pictures. Refer to your notes from Step 1 to determine where to insert your nails or picture hanging hardware, since not all artwork is hung from the top of the frame.

Ella inserts nails 1/2" below the top of the frame.
Get the Free PDF Guide
That’s all there is to it! Thanks for reading.
For this and more ideas on how to use your projector for DIY projects, enter your email address below and we’ll send you our free PDF guide, 3 DIY Projects to Do with Your Projector.
Whether you work at home or in the office, NexiGo provides a wide range of quality and affordable technology to elevate your daily life. Our products encompass everything from webcams and portable monitors to projectors and gaming accessories.
Articles we think you'll love