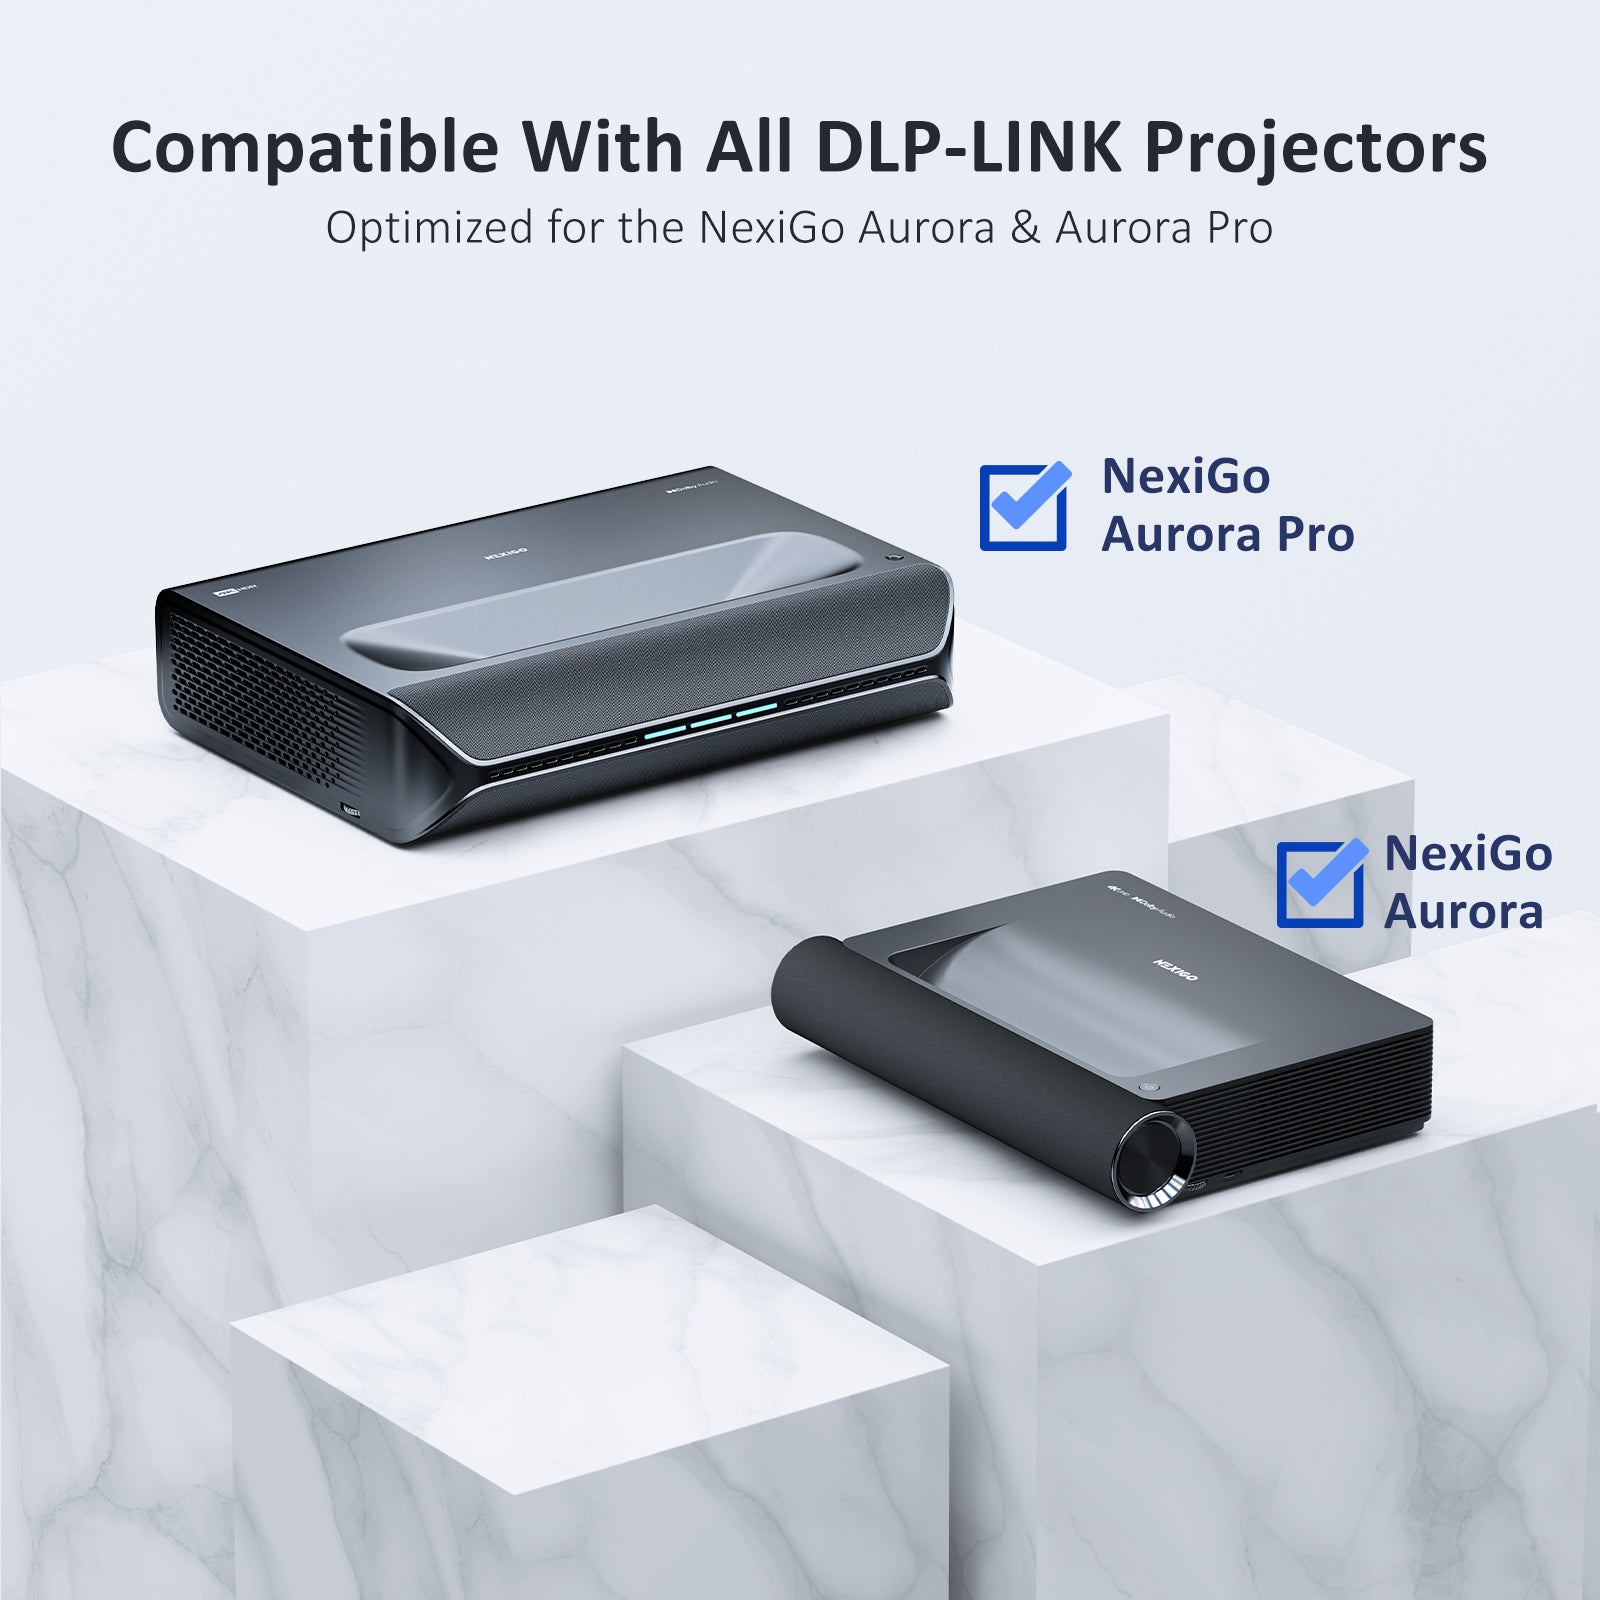
NexiGo Aurora Lite Ultra Short Throw Laser Projector User Instructions
00:00 Introduction
00:11 - How do I set up the Aurora Pro for the first time?
01:27 - How do I change the projection size?
01:34 - How do I enable Air Mouse?
02:00 - How do I connect the Aurora Pro to Wi-Fi?
02:11 - How do I access the sidebar menu?
02:31 - How do I fix the projection if it appears blurry?
02:59 - How do I fix the projection if it appears distorted?
03:49 - How do I switch between input sources?
04:08 - How do I set shortcut keys on the remote control?
04:40 - How do I install and uninstall apps?
05:29 - Recommended setting for HDMI devices.
05:33 - Fire TV
06:48 - Control with my Fire TV stick remote
07:48 - Apple TV
09:03 - NVIDIA Shield Display
10:18 - PS5
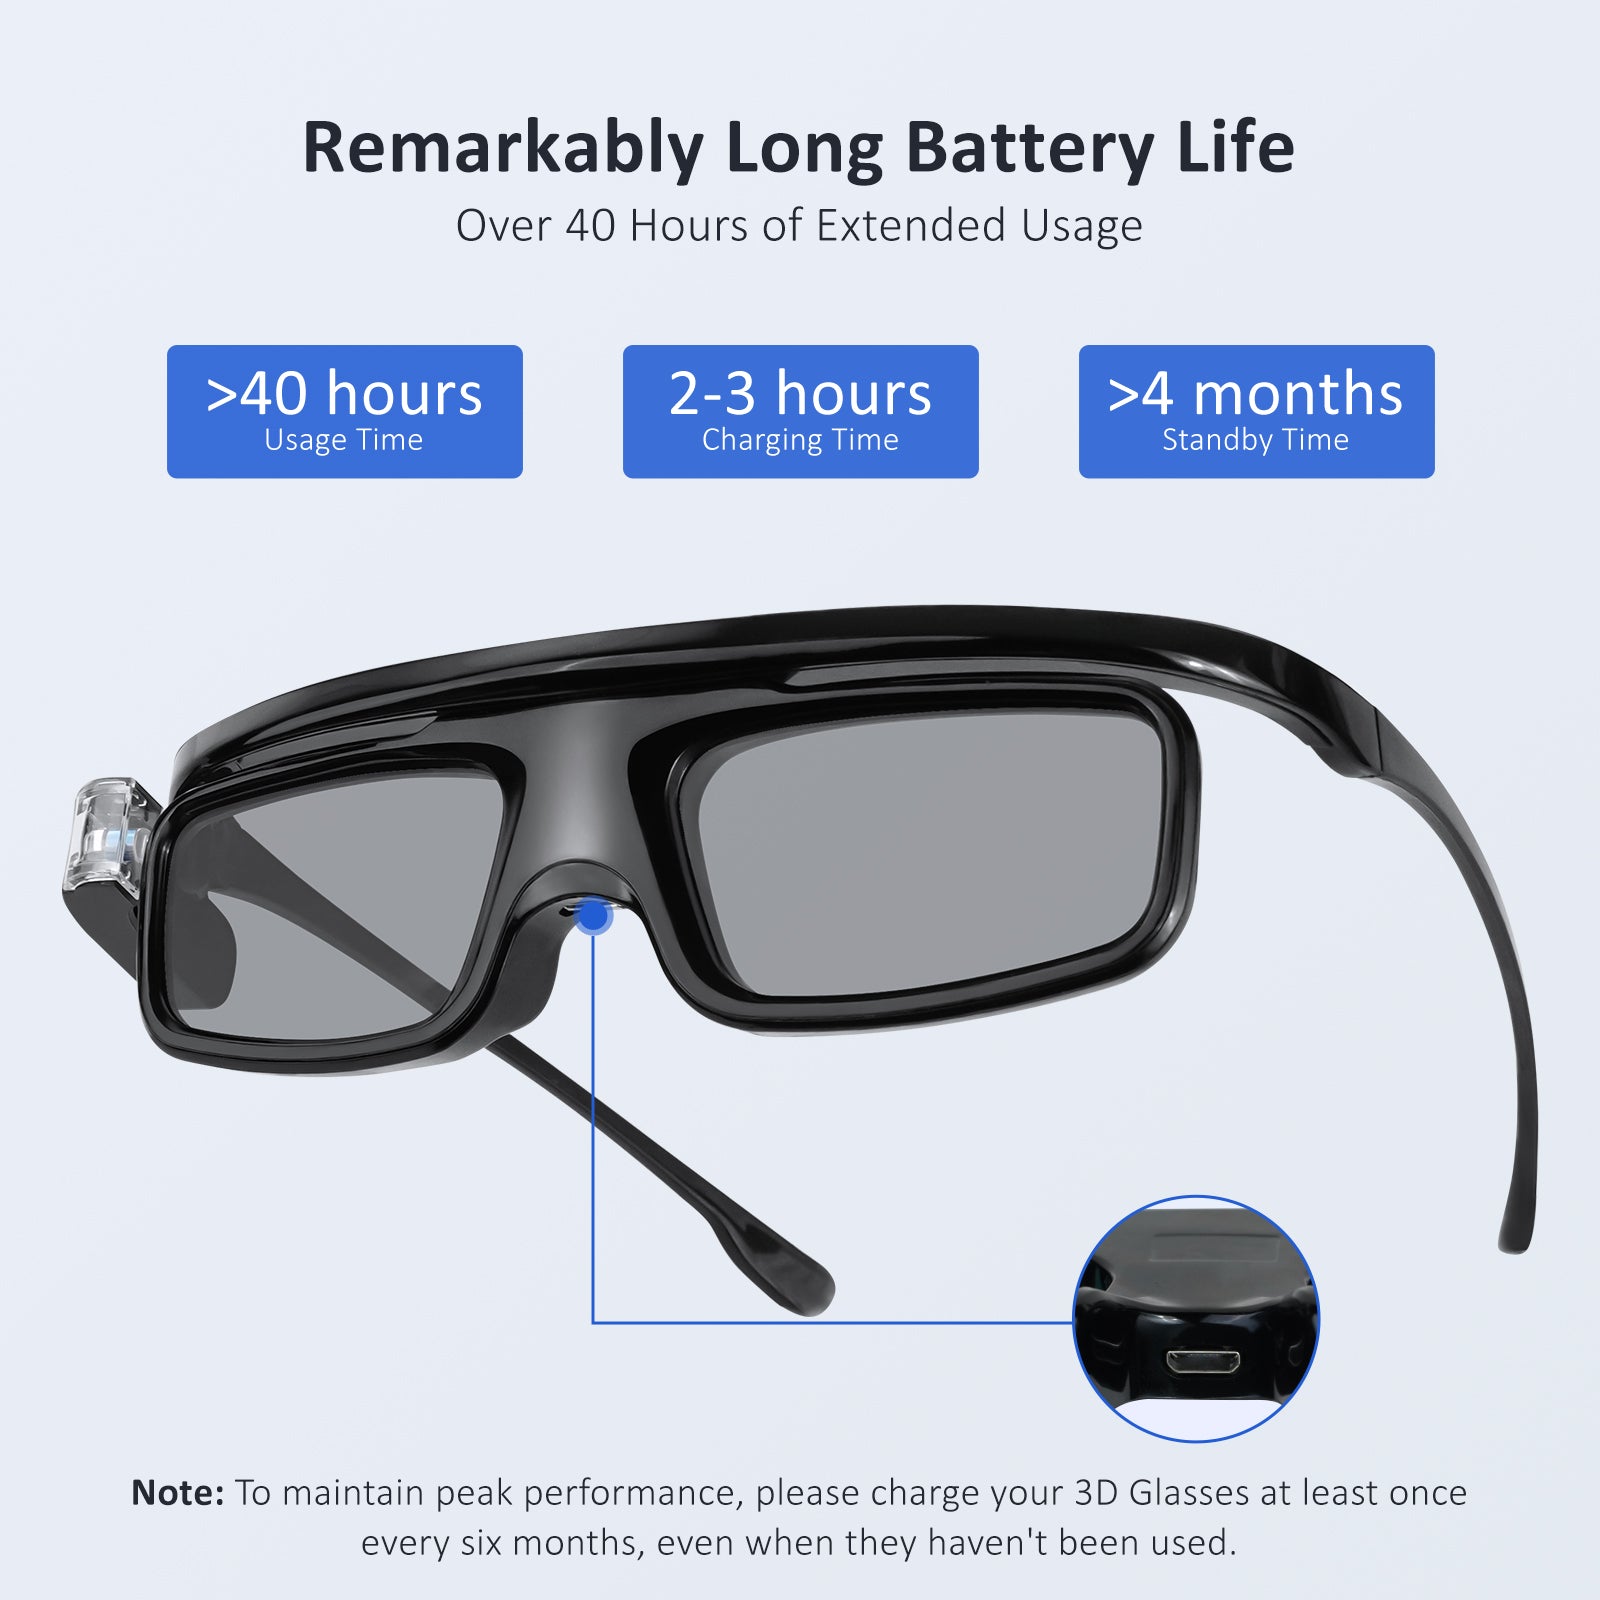
11:27 - How do I play 3D content?
12:50 - How do I enable and customize Dolby Vision?
13:12 - How do I enable and customize HDR?
13:28 - Why doesn't 24p/50p mode work?
14:25 - How do I enable Dolby Atmos?
14:47 - How do I use my Aurora Pro as a Bluetooth speaker?
15:17 - Why is there no sound coming from Aurora Pro?
15:42 - How do I wirelessly cast onto the Aurora Pro?
15:46 - Miracast for Android
16:06 - AirPlay for iPhone
16:23 - DLNA
16:37 - Miracast for Windows
16:51 - AirPlay for macOS
17:11 - Why can't I exit the HDMI input source using the return button?
17:37 - How do I disable the CEC shutdown pop-up?
17:56 - How do I control my TV stick with the Aurora Pro remote?
18:27 - How do I set the projector to automatically power onto a certain device?
19:00 - How do I game with low latency?
19:21 - What is the latency when using 1080p vs 4K?
20:53 - What is the recommended HDMI Info?
20:54 - What is the HDMI RGB range?
21:25 - How do I disable eye protection mode?
21:43 - How do I update the firmware?
21:50 - How do I disable the system update notifications?
21:59 - How do I disable the startup sound?
22:21 - How do I disable the keyboard sound?
22:36 - How do I set the auto shutdown timer?
22:57 - How do I remove dust for the Aurora Pro?
23:17 - How do I check the remote control battery level?
23:28 - Where do I find the serial number?
23:48 - How do I mount the Aurora Pro to the ceiling?
What's the throw distance for an exceptional viewing experience?

The throw ratio, or projection ratio, is 0.233:1. This ultra-short throw ratio allows the projector to produce large images even when placed close to the projection surface, making it ideal for use in smaller rooms or spaces that can’t support the longer distance that traditional projectors require.
Yes, you can adjust the image size using the zoom in/out function on the remote control.
Yes, the projector supports Dolby Vision so you can enjoy stunning HDR content with lifelike colors, brightness, and contrast.
Infrared(IR) Pairing:
There are infrared (IR) sensors at the front center of the projector and on the remote. If you choose to use this method to control the projector, it has a maximum range of 26 feet.
Bluetooth Pairing (Recommended):
Ensure that the remote is within a few feet of the front of the projector before pairing. Press and hold the Return and Menu buttons simultaneously for at least 3s to put the remote control into pairing mode with the projector. If the pairing is successful, the screen will show "The Remote is connected".
Note:
- If the Bluetooth connection is disabled, you will need to re-pair the remote in order to continue using it via Bluetooth.
- Do not place objects in front of the projector's IR sensor. This may prevent the sensor from operating properly.
- The IR sensor on the remote, like all IR sensors, can be interfered with by extremely bright light sources. If the remote is not working properly, make sure that there are no bright lights shining on them.

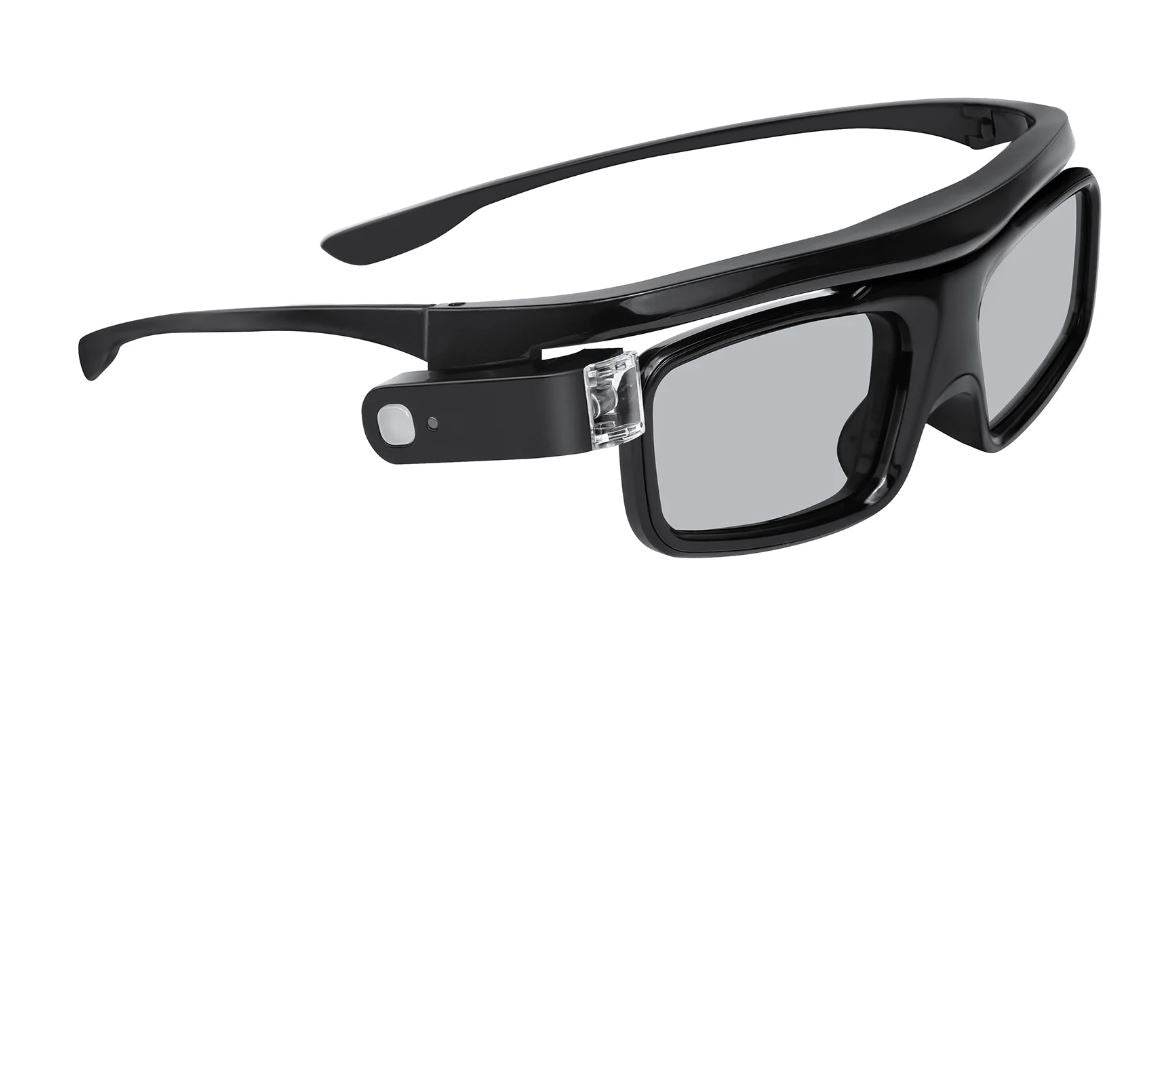
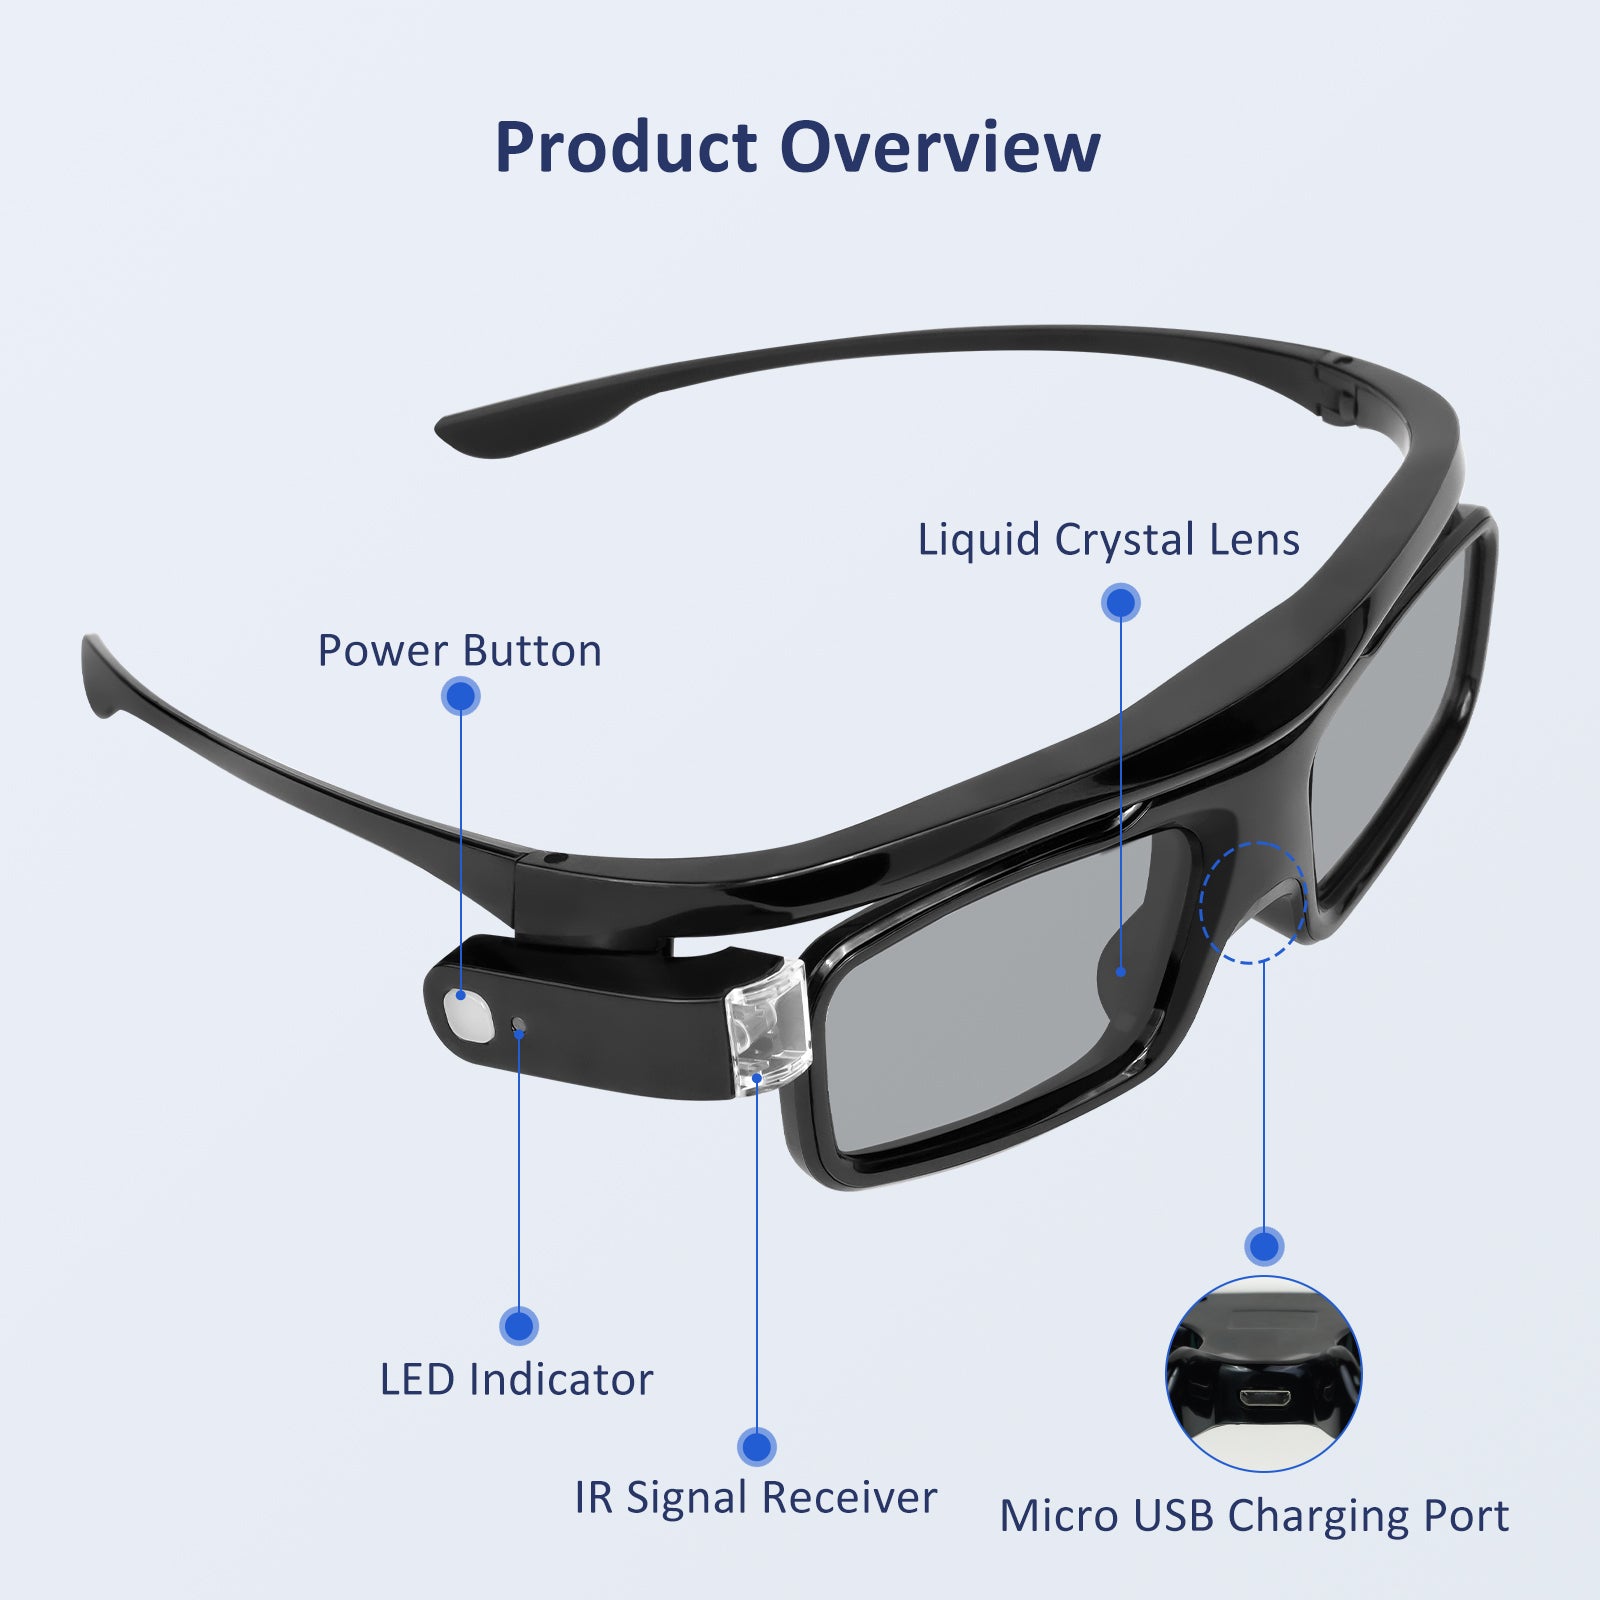
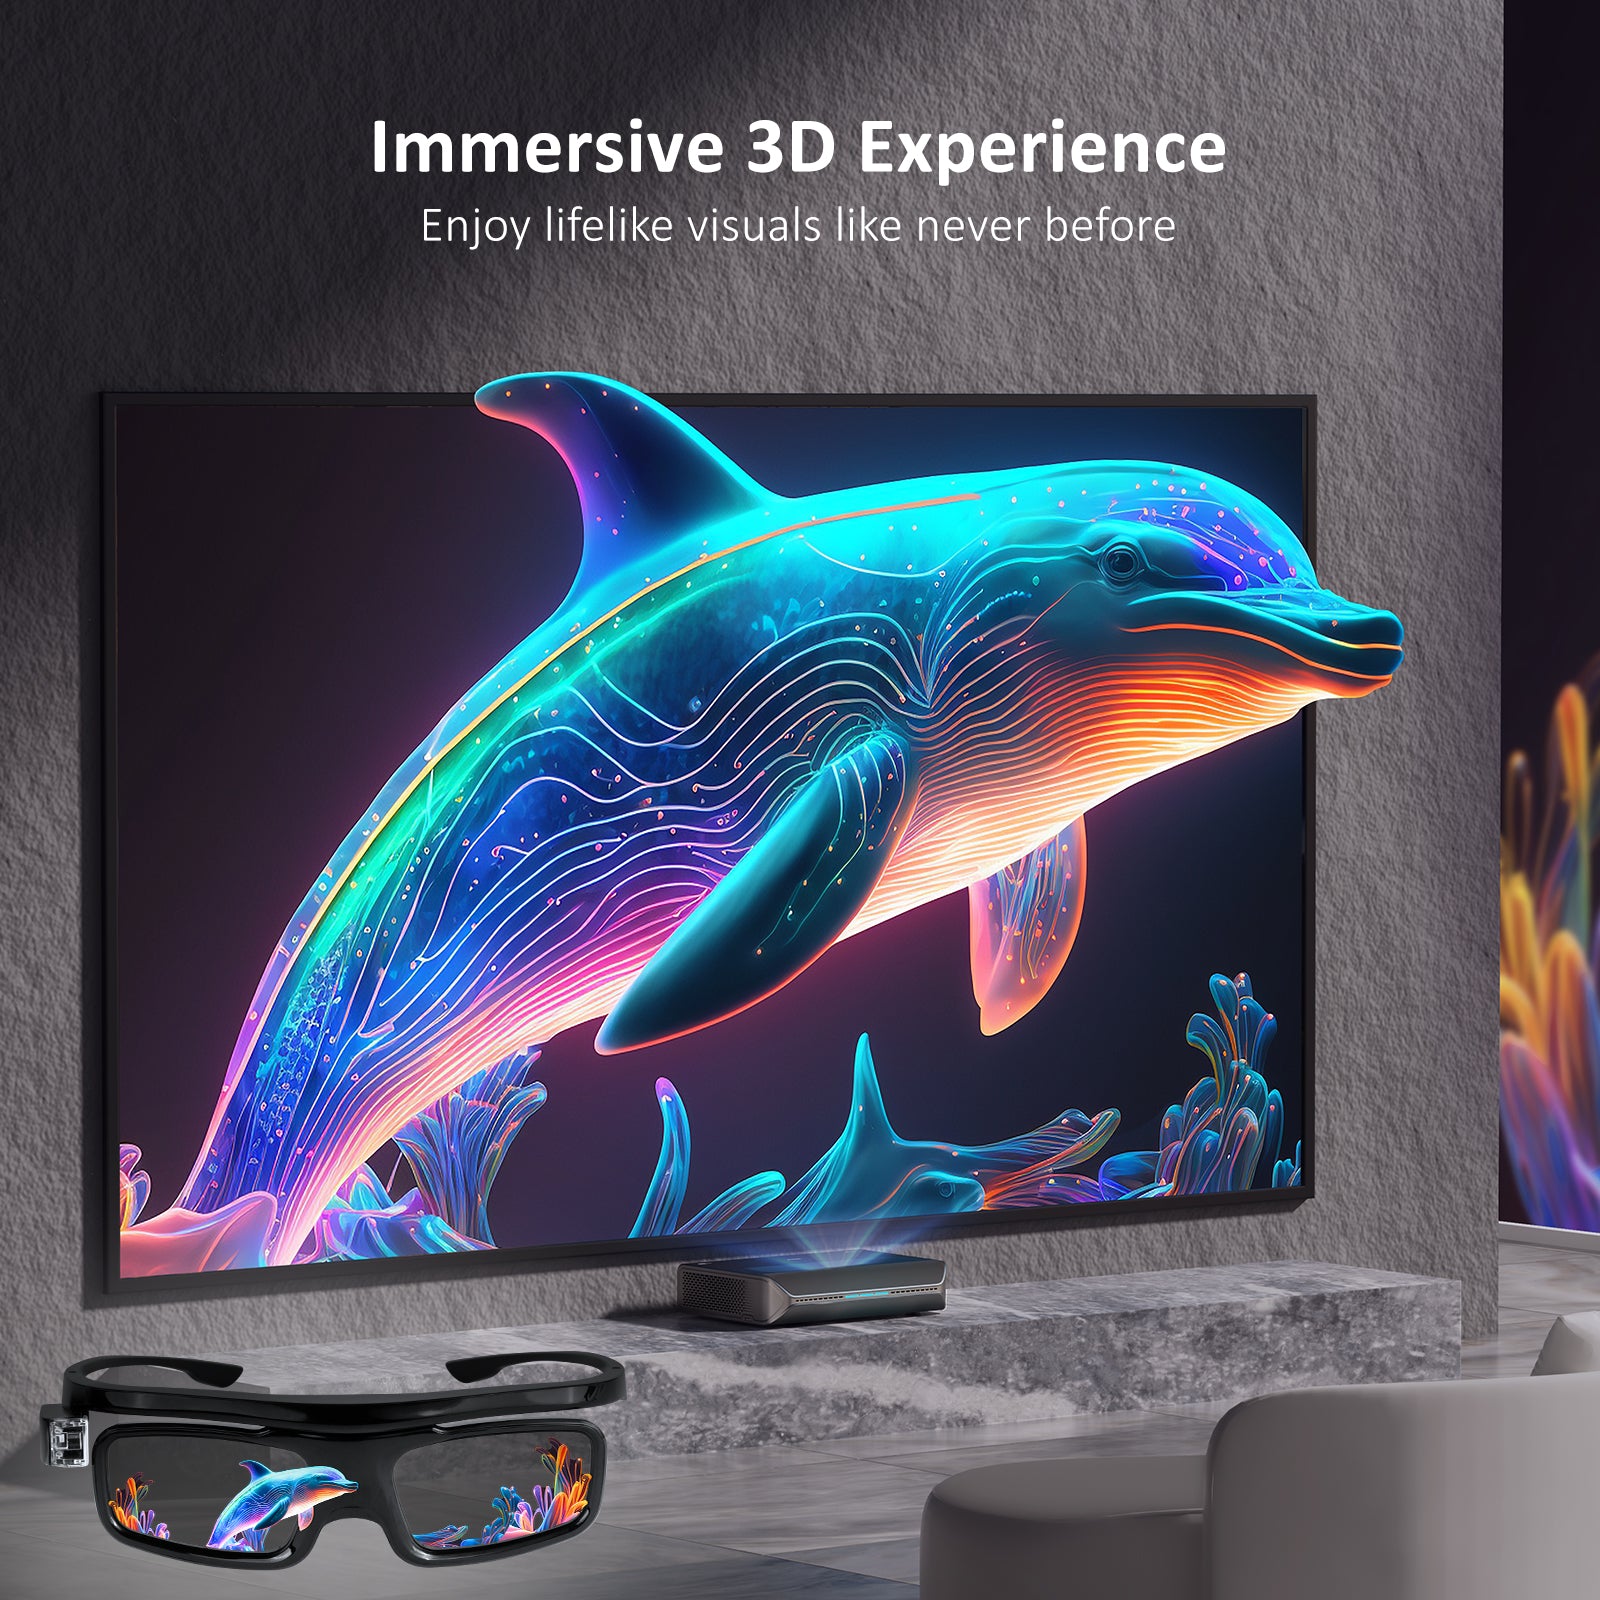
Yes, the Aurora Lite supports 3D playback in various formats, including frame packing, frame sequential, left and right, and top and bottom.
Yes.
1. Please find 4 x M4 screw holes on the bottom of the projector for mounting on the ceiling.
2. The projector's mounting holes are M4 x 14mm in size. The distance between these mounting holes on the back of the projector measures 13.1" diagonally, 11.7" horizontally, and 5.9" vertically. You could find a suitable ceiling mount based on these specifications.

Before you can install apps using APK files, you must enable installation from unknown sources.
To do this, go to Settings > General > Unknown Sources > On.
Copy an APK file from a trusted website onto a USB drive (FAT32 format), and plug the flash drive into the Aurora Pro.
Go to Input Source > USB > USB Drive > APK to open the file. Select Install to begin installing the APK file.
Previous system updates
To ensure your projector is running smoothly and efficiently, make sure it’s updated with the latest firmware.
V1.0.21 (9/22/2022)
- Initial version
V1.2.6 (2/17/2023)
- Added pop-up verification for public Wi-Fi guest login.
- Shortcut menu now has 3D playback and input source settings.
- Added Windows cast function for easy screen sharing.
- Updated user interface (UI).
- Added optional system updates notification setting in General Settings.
- Included browser options in the Apps folder.
- Added input source icon.
How do I update my projector?
Important Notes:
- Please connect your Aurora to the Internet to receive the latest firmware updates.
- Please ensure the projector is plugged into a working power outlet.
- DO NOT power off or try to use the projector during an update.
- The screenshots provided here are for reference only. The actual images that appear on your screen may differ depending on your current firmware.
Update Instructions:
Did you see a pop-up message after your Aurora was connected to the Internet?

Step 1
Click OK on the pop-up message to enter the System Version page. Here you can view the projector's current firmware version and update it if necessary.

Step 2
Click on Version Update and then select Download and install to start the update.


Step 3
Click OK to start the update process. After the update is complete, the projector will restart automatically. Please DO NOT power off or try to use the projector while the update is being installed.

Step 1
On your projector, navigate to Settings > General > System Version. Here you can view the projector's current firmware version and update it if necessary.

Step 2
Click on Version Update and then select Download and install to start the update.


Step 3
Click OK to start the update process. After the update is complete, the projector will restart automatically. Please DO NOT power off or try to use the projector while the update is being installed.

- Aurora Lite User Manual-English
- Aurora Lite Benutzerhandbuch-Deutsch
- Aurora Lite Manual del Usuario-Español
- Aurora Lite Manuale Utente - Italiano
- Aurora Lite Manuel d’utilisation-Français

Image Sensor
1/1.8" Sony® STARVIS 2 back-illuminated sensor
Resolution
(USB 3.0 Output)
MJPEG/H.264
3840 x 2160@30/25/20/15/10/5fps,
1920 x 1080@60/30/25/20/15/10/5fps,
1280 x 720@60/50/30/25/20/15/10/5fps, etc.
YUY2/NV12
1920 x 1080@60/50/30/25/20/15/10/5fps,
1280 x 720@60/50/30/25/20/15/10/5fps, etc.
Resolution
(HDMI Output)
30fps mode
3840 x 2160fps@30/25fps, 1920 x 1080@30/25fps
60fps mode
1920 x 1080@60/50fps, 1280 x 720@60/50fps
Lens
9-layer glass lens, f/2.2 aperture, 4.2 mm focal length
Field of View
D=90°/H=81°/V=55°
Focus Type
Fixed Focus
Focus Range
10" - 90" (0.25m - 2.28m)
Digital Zoom
Up to 10x digital zoom at 4K@30fps
Facial Enhancement
Support
Microphone
Dual noise reduction mics
Mic Pickup Range
Within 32.8ft (10m)
Video Output Port
1 x USB-B, 1 x HDMI
Software
Works with Zoom, Microsoft Teams, Skype for Business, Slack, Webex, and many more
Operating System
Windows 7 (Supports 1080p or lower),
Windows 8.1/10/11 or above
macOS 10.10 or above
Hardware
CPU: 2.4 GHz Intel Core 2 Duo processor or better
RAM: 2 GB or more
USB: USB 2.0, USB 3.0(Recommended)
Display
Resolution
3840 x 2160
Refresh Rate
60Hz
Throw Ratio
0.233:1
Projection Size
Up to 150"
Hardware
RAM
3GB
ROM
128GB
Wi-Fi
802.11ax 2.4G / 5G 2T2R WiFi 6
Audio
Dolby Atmos
Yes
DTS HD
Yes
Speakers
2 x 15W Woofers, 2 x 15W Tweeters
Power
Power Consumption
300W (Normal)
Input
100 - 240V ~ @50/60Hz
Standby Power Consumption
≤0.5W
Interfaces
HDMI
3 x HDMI 2.1
USB
3 x USB-A 2.0
Audio Out
1 x Audio Out
S/PDIF
1 x S/PDIF
LAN Port
1 x LAN
About
Dimensions
21.54 x 4.81 x 16.04 inches (54.71 x 12.22 x 40.75 cm)
Weight
22 LBS (9.98 KG)
Storage Temperature
-4°F-131°F (-20°C-55°C)
Working Temperature
32°F-104°F (0°C-40°C)
Operating Humidity
30%~85%


