
Article Overview
1. Why use a projector with the Switch 2?2. How to Connect Switch 2 to Your NexiGo Projector3. NexiGo Projector Settings for Lag-Free Gaming4. Recommended Switch 2 Display Settings (For Projector Use)5. Final Tips for the Ultimate Switch 2 + Projector ExperienceAnniversary Deal
Ends at July 18

TriVision Ultra
4K Tri-LED-Laser Projector with Dolby Vision & HDR10+
$1299.99 $1899.99
Learn More
How to Play Nintendo Switch 2 on a Projector: Best Settings & NexiGo Setup Guide (2025)
NexiGo | July 29, 2025
Nintendo Switch 2 has officially dropped, and it’s already redefining handheld gaming with upgraded performance, 120 Hz support, and jaw-dropping visuals. And with a projector, you can take it to the next level with a screen over 100” across.
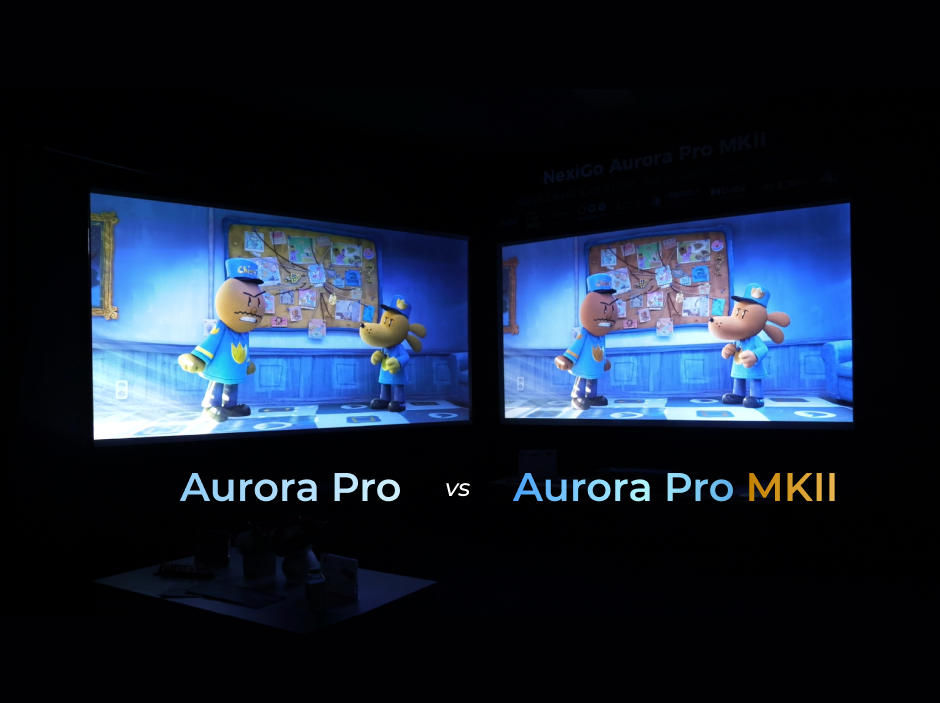
In this guide, we’ll go over how to optimize your Switch 2 with your NexiGo Aurora Pro MKII or TriVision Ultra. By the end, you’ll enjoy large-screen gaming complete with HDR and zero lag with fluid motion at up to 120Hz.

- Resolution: 4K UHD, Dolby Vision, HDR 10+
- Input Lag: 4.2 ~ 8 ms
- Brightness: 2,400 ANSI lumens
- Contrast Ratio: > 30,000:1 Contrast with SAE
- Color Gamut: 107% BT2020, Delta E≈1
- Refresh Rate: 1080p @ 240 Hz, 4K @ 60 Hz
- Audio: 2 x 15 W Woofers, 2 x 15 W Tweeters, Dolby Atmos

- Resolution: 4K UHD, Dolby Vision, HDR10+
- Input Lag: 4.2 ~ 8 ms
- Brightness: 2,600 ANSI lumens
- Color Gamut: 110% BT2020, Delta E<1
- Refresh Rate: 1080p @ 240 Hz, 4K @ 60Hz
- Audio: 30 W speakers with Dolby Audio and DTS Virtual: X
1. Why use a projector with the Switch 2?
The Nintendo Switch 2 is built for portability—but that doesn’t mean you have to play on a tiny screen. When paired with a high-performance projector like NexiGo Aurora Pro MKII or TriVision Ultra, your handheld console transforms into a home entertainment powerhouse.
Here’s why a projector is the perfect match for your Switch 2:
Immersive Big-Screen Gameplay
Upgrade your 7" screen to a huge display up to 150", filling your entire wall with vibrant, high-contrast visuals. Whether you're exploring the vast worlds of Zelda or battling it out in Smash Bros, the level of immersion is unmatched.
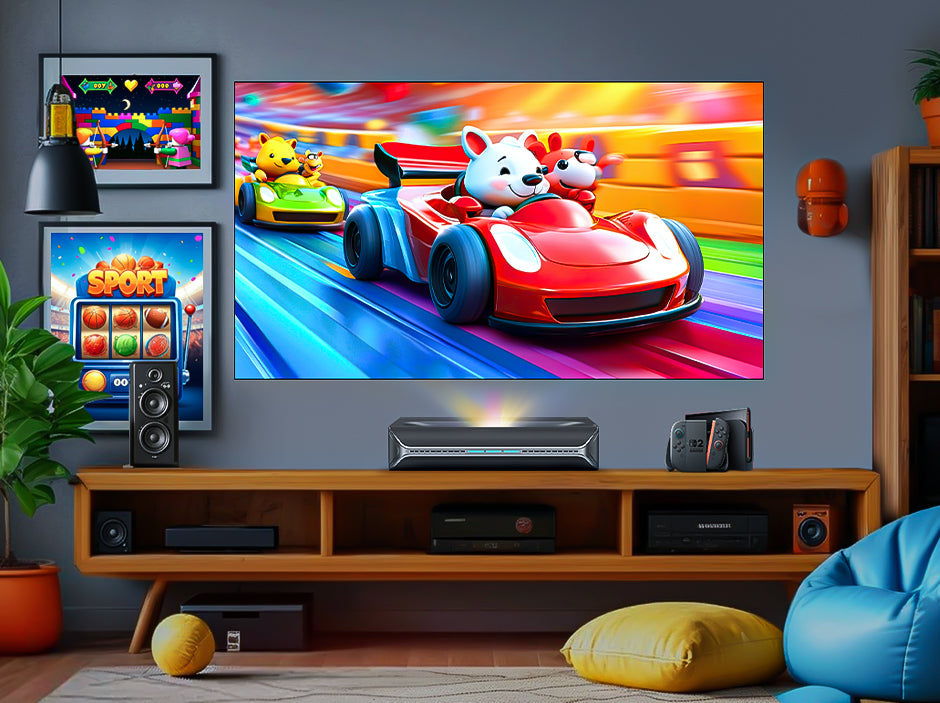
Perfect for Multiplayer Gaming
Split-screen racing or party games become way more enjoyable on a giant screen. Everyone gets their own personal display, as much as 150" across. It's the ideal setup for game nights, family gatherings, and entertaining guests.
Reduced Eye Strain
Unlike small screens or bright TV panels, projectors reflect light off a screen or wall, rather than emitting it directly. This results in a softer, more eye-friendly viewing experience, especially during long gaming sessions or late-night play.
Cinema-Quality Audio
Many NexiGo projectors feature built-in high-quality speakers and support Bluetooth audio, enabling you to pair them with a soundbar or headphones, depending on your needs.
Flexible Setup, Anywhere You Want
Whether you're in the living room, basement, bedroom, or backyard, a projector offers the freedom to game wherever you like. All you need is a power source and a flat wall or screen.
2. How to Connect Switch 2 to Your NexiGo Projector
When you dock your Switch 2, make sure you connect it to the projector using an HDMI cable that uses HDMI 2.1 or newer.
For the best results, use HDMI 2 for the TriVision Ultra and HDMI 3 for the Aurora Pro and Aurora Pro MKII. Alternatively, plug it into the HDMI port labelled "Game" or "Gaming", if this is present on your device.
3. NexiGo Projector Settings for Lag-Free Gaming
❌ Avoid Keystone Correction
Keystone correction increases latency on your projector. For smoother gaming, calibrate your projector by hand and disable all automatic features like keystone correction, screen detection, and obstacle avoidance.
✅ Enable Low Latency Mode
Low Latency Mode reduces signal processing time, resulting in smoother visuals, quicker responsiveness, and less lag. Here's how to enable it:
On NexiGo Aurora Pro MKII / Aurora Pro:
- Press the Menu button to open the side-bar menu
- Go to Image Parameters, set the first option to Game Mode (HDR)
- Scroll down and enable Low Latency
On NexiGo TriVision Ultra:
- Press the Settings button
- Go to Signal Source Settings > Enable Low Latency
4. Recommended Switch 2 Display Settings (For Projector Use)
Start up your Nintendo Switch 2 and go to System Settings > System > System Updates to update the system to the latest software version.
Then, go to System Settings > Display and make the following changes to optimize your console for gaming on your projector.

| Settings | Recommended |
|---|---|
| HDMI Output | On |
| TV Resolution | Automatic |
| RGB Range | Automatic |
| Screen Burn-In Reduction | On |
| Match TV Power State | On |
| 120Hz Output | On (for smoother gaming) Off (for 4K resolution) (More about this below!) |
| Auto Low Latency Mode (ALLM) | On |
| HDR Output | For All Software |
| Adjust HDR | Yes (More about this below!) |
120 Hz vs 4K: Which Mode Should You Use?
When 120 Hz Output is enabled and the game supports 120 Hz, the Switch 2 will automatically set the resolution to 1080p at 120 Hz. This is great for smooth gaming with quick response times.
However, if you want to play in higher resolution, you'll need to turn 120 Hz Output off. That way, you'll be able to play in 4K resolution at 60 Hz. Still smooth, but not as fluid as 120 Hz.
Decide for yourself whether you want to use 120 Hz Output, based on whether you prioritize stunning detail or fast, fluid gameplay.

| Mode | Best For | Example Games |
|---|---|---|
| 120 Hz @ 1080p: | Fast-paced, competitive gaming with ultra-smooth motion | - Mario Kart 9 (for silky drifting and precision turns)
- Super Smash Bros. Showdown (competitive fighting with quick reactions) - Metroid Prime: Reclaim (intense first-person action with rapid aiming) |
| 60 Hz @ 4K | Cinematic visuals and rich detail for story-driven or open-world games | - The Legend of Zelda: Echoes of Hyrule (exploring lush landscapes and intricate environments)
- Animal Crossing: Worldview (vibrant towns, detailed textures, and relaxed gameplay) - Pikmin Universe (colorful strategy with a focus on gorgeous visuals) |
How to Adjust HDR for Best Visuals
Adjust HDR performance by going to System Settings > Display > Adjust HDR.
Then follow these steps:
- Use the Up and Down buttons on the Joy-Con to modify brightness levels.
- Adjust the brightness until the sun icon on the left is at its darkest possible value.

- Click Next to preview how the brightness will look during gameplay.

- Press A to confirm, or press Y to recalibrate.
Final Tips for the Ultimate Switch 2 + Projector Experience
Darken the Room: Reduce ambient light to boost contrast and color clarity.
Use a Screen or Smooth Wall: Project onto a screen or flat light-colored wall for sharper visuals.
Avoid Keystone Correction: Physically align the projector to avoid input lag from image processing.
Keep Devices Updated: Regularly update your Switch 2 and projector for the latest features and fixes.
Switch Modes Based on Game Type: Use 120Hz for fast-paced games, 4K HDR for cinematic adventures.
Use Stable Internet for Online Play: Choose Wi-Fi 6 or wired Ethernet to minimize lag and disconnects.
Pair with Pro Accessories: Enhance your setup with a pro controller, Bluetooth audio, or soundbar.
Clean the Lens Regularly: Wipe the lens occasionally to maintain brightness and image clarity.
Ready to Game Big?
The Switch 2 + NexiGo projector combo unlocks a next-level gaming experience. Whether you're speed-running through dungeons, racing through neon tracks, or relaxing on your digital island, gaming on a 100"+ screen is a game-changer that you have to try.
Like what we do? Stay tuned for more.
Whether you work at home or in the office, NexiGo provides a wide range of quality and affordable technology to elevate your daily life. Our products encompass everything from webcams and portable monitors to projectors and gaming accessories.
Articles we think you'll love